Carving wood is a rewarding craft, but not all wood is cooperative right out of the gate. Hard or dry wood can be difficult to shape and may even damage your tools. Thankfully, there are tried-and-true techniques for softening wood to make carving easier and more enjoyable. Whether you’re a beginner or a seasoned carver, this guide reveals 15 effective ways to soften wood for carving, ensuring every cut feels smooth and effortless.
Learn more innovative ideas for your kitchen wall color for timeless charm.
Why Does Wood Need Softening Before Carving?
Hard or dry wood often resists carving tools, causing unnecessary strain on your hands and equipment. Softening the wood makes it pliable, reducing the chances of splintering and enabling finer details. For intricate designs, softened wood allows smoother cuts, giving your carving a professional finish. Additionally, softer wood preserves your tools’ sharpness, extending their lifespan.
The Science Behind Wood Softening Techniques
Wood softening involves altering its moisture content or structural integrity. Techniques like soaking in water, steaming, or applying chemical treatments introduce moisture or modify cellulose fibers, making the wood flexible. Modern methods, like using glycerin, also help retain the wood’s natural properties while easing carving. Understanding these processes ensures you select the best approach for your specific wood type and project.
15 Ways to Soften Wood for Carving
1: Soaking in Water
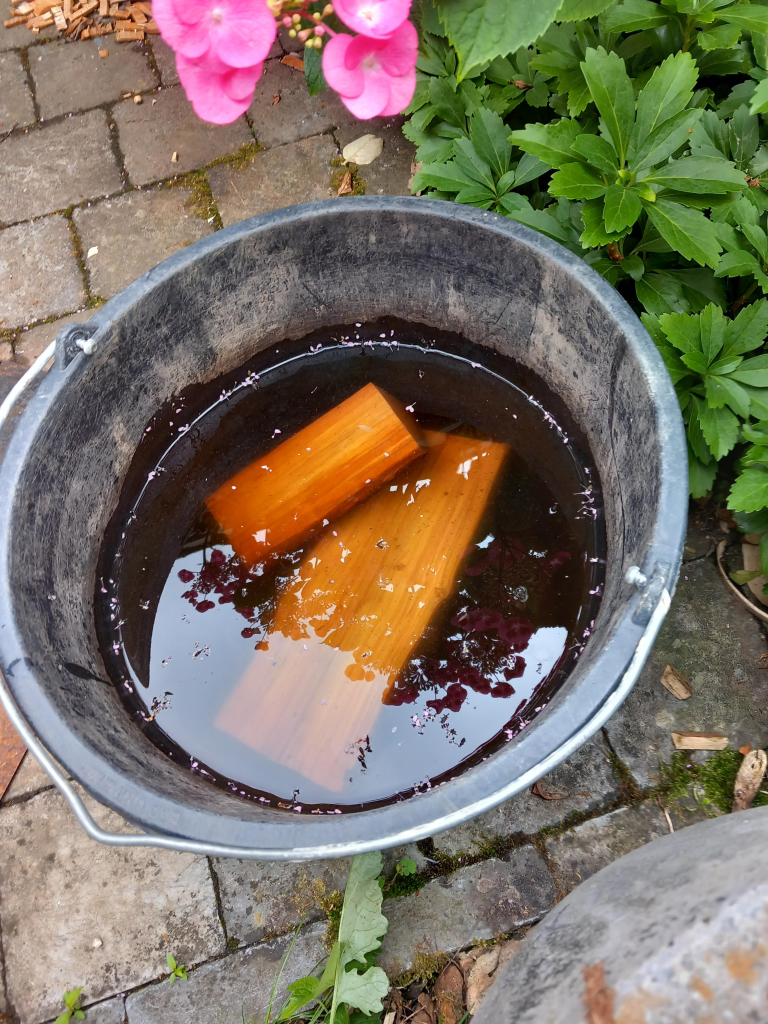
Submerging wood in water for several hours or overnight is one of the simplest ways to soften it. Use a container large enough to fit the wood piece entirely. For stubbornly hard wood, try soaking it in warm water. However, avoid over-soaking as it can weaken the wood too much, especially if it’s porous.

2: Boiling
Boiling wood softens it more quickly than soaking. Place the wood in a large pot of water and let it boil for 1–2 hours, depending on its thickness. This method works best for hardwoods like oak and maple. After boiling, let the wood cool slightly before starting your carving to avoid burns.

3: Steaming
Steaming uses heat and moisture to loosen wood fibers. You can create a simple steam box using a metal pot and a tightly fitted lid with a hose. Direct the steam onto the wood for 15–30 minutes, depending on the wood’s hardness. This is an excellent option for bending projects as well.

4: Microwaving
This method works well for small, thin pieces of wood. Wrap the wood in a damp cloth and microwave it for 30-second intervals, checking after each round. The heat softens the wood fibers, but be cautious—overheating can dry it out or even cause burning.

5: Using Glycerin
Glycerin mixed with water (1:3 ratio) is a gentle way to soften wood while preserving its natural qualities. Soak the wood in the solution for a few hours or spray it onto the surface and let it absorb. This method is excellent for intricate carvings or delicate wood pieces.

6: Applying Linseed Oil
Linseed oil softens the wood gradually over time. Apply it using a cloth or brush, allowing the oil to penetrate deeply. This method works well for decorative carvings as it also enhances the wood’s appearance and adds a protective coating.

7: Soaking in Vinegar
White vinegar is a natural and inexpensive wood softener. Soak the wood in vinegar or apply it with a brush for a few hours. This method is particularly useful for softening reclaimed or aged wood that is too brittle for carving.

8: Freezing and Thawing
Repeated cycles of freezing and thawing cause the wood fibers to expand and contract, gradually making the wood more pliable. Wrap the wood in plastic before freezing to avoid drying it out. Thaw completely before starting your carving.
9: Using Fabric Softener
A surprising but effective method, fabric softener diluted with water (1:3 ratio) can be sprayed or applied with a cloth. It penetrates the wood and softens it gently. This is especially useful for softer woods like pine.
10: Spraying with Rubbing Alcohol
Rubbing alcohol evaporates quickly but softens the outer wood fibers, making carving easier for surface designs. Spray a light layer on the wood, let it sit for 5–10 minutes, and then carve as usual.
11: Ammonia Soaking
Ammonia breaks down the lignin in wood, making it highly pliable. Soak the wood in an ammonia solution for an hour or two, but ensure proper ventilation due to the strong fumes. This method is ideal for bending wood into shapes as well as carving.
12: Using a Wood Softening Agent
Commercial wood softeners are specially formulated for this purpose. Simply apply as directed on the label, and the wood becomes pliable without losing strength. This method is reliable and widely used by professional carvers.
13: Baking
Low-temperature baking (150°F–200°F) warms the wood evenly, loosening its fibers. Wrap the wood in a damp cloth or foil to retain moisture, and place it in the oven for 20–30 minutes. Use this method cautiously to avoid over-drying.
14: Salt Water Soaking
Dissolve a generous amount of salt in warm water, then soak the wood for several hours. The salt prevents mold or bacteria from growing during prolonged soaking. This method is great for reclaimed or outdoor wood pieces.
15: Using a Humidifier
If you’re working with larger pieces of wood or live in a dry climate, a humidifier can soften the wood gradually. Place the wood in a small, enclosed space with the humidifier running for several hours or overnight. This slow method is effective for intricate carving projects.
Conclusion
Softening wood for carving isn’t just about convenience—it’s about unlocking the full potential of your artistic vision. By applying these techniques, you can turn even the hardest wood into a canvas for your creativity. Whether you’re crafting intricate designs or bold sculptures, mastering wood softening ensures your tools and skills work in harmony. Start experimenting with these methods today and elevate your carving game!
Check out these inspiring carving projects for beginners.