Painting your bathroom might seem like a straightforward task, but with the unique challenges posed by moisture, heat, and high traffic, it requires careful planning and the right materials. Whether you’re wondering what type of paint to use, how to prepare your walls, or even what kind of art to hang afterward, this guide has you covered.
Bathroom Wallpaper vs. Bathroom Paint: Which Is Better?
When deciding between wallpaper and paint for your bathroom, it’s essential to consider the environment. Bathrooms are notorious for moisture and humidity, which means you need a wall treatment that’s not only stylish but also durable and resistant to damage.
Wallpaper in Bathrooms
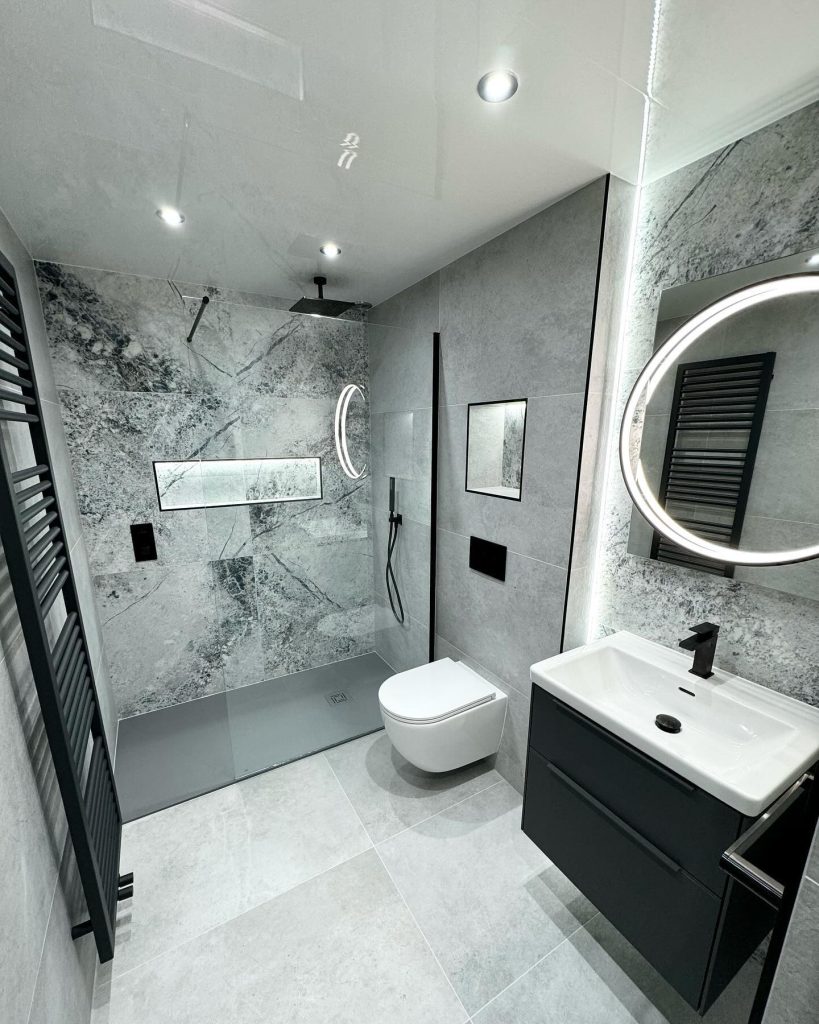
- Pros: Modern vinyl wallpapers are moisture-resistant, mildew-resistant, and easy to clean. They come in various patterns and textures, offering a bold, stylish option for creating accent walls or unique themes.
- Cons: Installation can be tricky in bathrooms due to tight spaces and fixtures, and improper application may lead to peeling in high-humidity areas.
Paint in Bathrooms
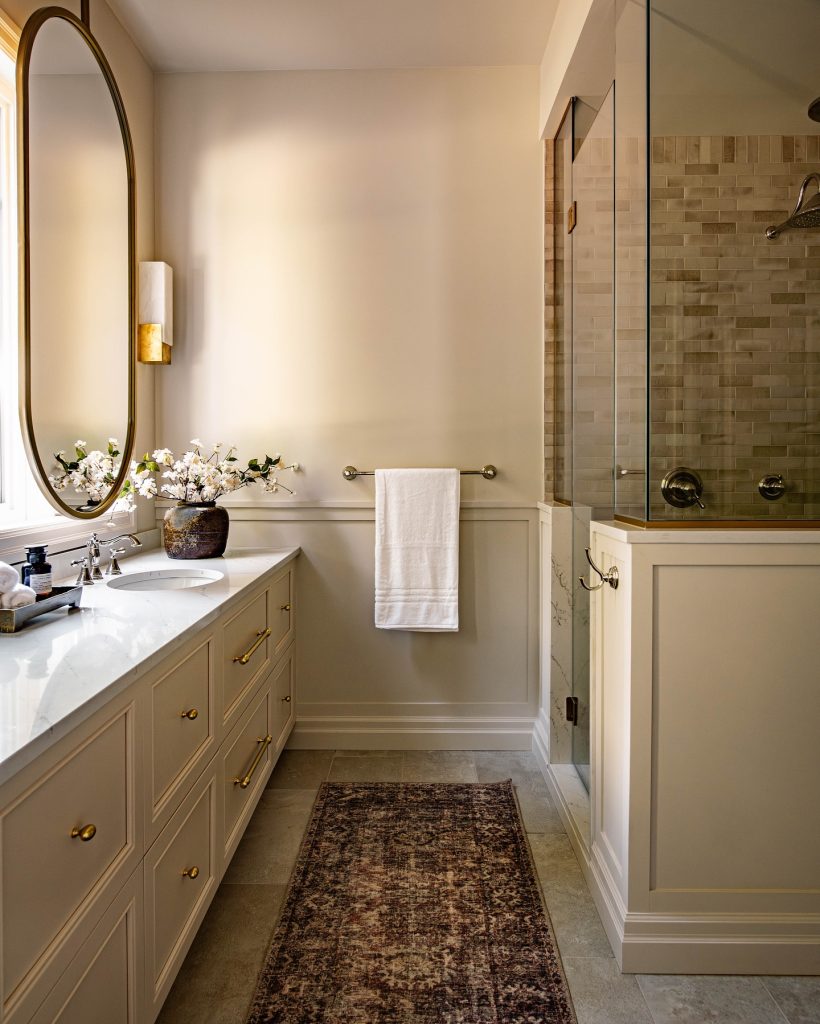
Photography by @westofmain
- Pros: Paint, especially those designed for bathrooms, offers a moisture-resistant and easy-to-clean surface. Semi-gloss or high-gloss finishes are durable and perfect for high-traffic areas. Plus, painting is straightforward and more forgiving than wallpaper installation.
- Cons: While paint is versatile, it doesn’t provide the same depth and texture as wallpaper, making it less impactful for creating dramatic designs.
The Verdict:
For high-impact, decorative designs, wallpaper is a great option—just ensure you choose vinyl varieties suitable for bathrooms. For a practical, low-maintenance approach, paint is the more straightforward choice. Ultimately, the decision depends on your style preference, the bathroom’s ventilation, and your willingness to commit to either process.
What Type of Paint Is Best for a Bathroom?
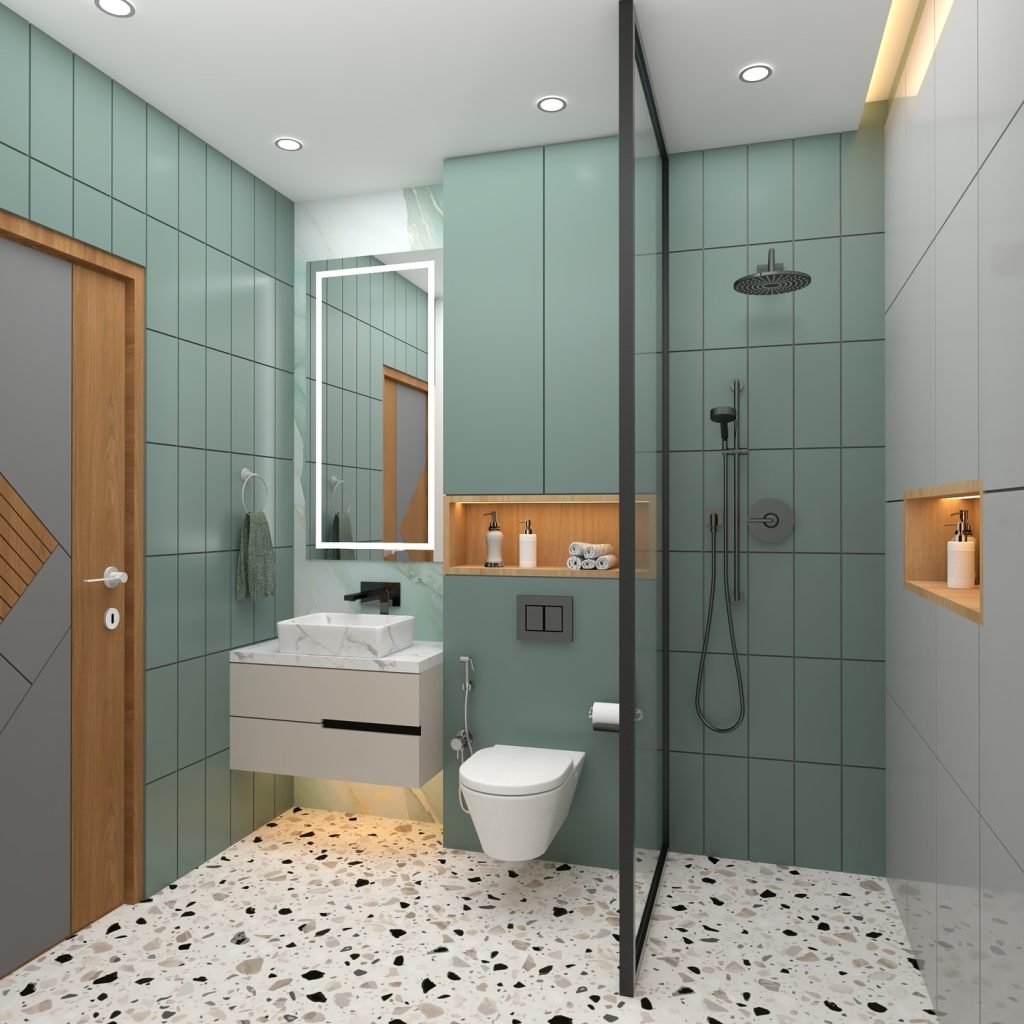
Check more decor Inspo
Bathrooms require paint that can withstand high humidity, frequent cleaning, and occasional splashes of water. Here’s what to consider:
- Moisture Resistance: Look for paints labeled “bathroom paint” or those with mold and mildew-resistant properties.
- Finish: Semi-gloss and satin finishes are popular for bathrooms because they are more durable and easier to clean. Matte or flat finishes are less common but can work if paired with a good primer and proper ventilation.
- Brands to Consider: Many brands, like Sherwin-Williams and Behr, offer paints specifically designed for bathrooms.
Bathroom Paint vs Normal Paint
- Bathroom Paint: Designed to resist moisture, mold, and mildew, it often includes additives that improve durability and cleanability.
- Normal Paint: While suitable for general use, it may not withstand the high humidity and frequent cleaning required in bathrooms.
How Many Coats of Paint in a Bathroom?
For the best results:
- Primer Coat: Always start with a primer, especially if you’re painting over a darker color or bare drywall.
- Paint Coats: Two coats of high-quality bathroom paint are typically sufficient for even coverage and durability. if you are dealing with stubborn stains that show through your paint you might need subsequent coats.
- Touch-Ups: Keep some paint handy for touch-ups in high-traffic areas or corners prone to wear.
How to Paint a Bathroom Step by Step
Step 1: Gather Supplies
You’ll need paint, primer, brushes, rollers, painter’s tape, drop cloths, and a ladder.
Step 2: Prepare the Room
- Remove fixtures, outlet covers, and any decor.
- Cover surfaces with drop cloths and tape off edges with painter’s tape.
Step 3: Clean the Walls
- Wash the walls with a mild detergent or a solution of water and vinegar to remove grease, soap scum, and dust.
- Allow the walls to dry completely before painting.
Step 4: Apply Primer
- Use a mold-resistant primer, especially in damp areas.
- Allow the primer to dry for the recommended time on the label.
Step 5: Start Painting
- Begin with the ceiling, using a roller for even application.
- Paint the walls, starting with the edges and corners using a brush, then use a roller for larger areas.
Step 6: Let It Dry and Apply a Second Coat
- Allow the first coat to dry completely before applying the second coat.
Step 7: Reinstall Fixtures
- Once the paint is dry, remove painter’s tape and reinstall fixtures and decor.
How to Clean a Wall Before Painting
- Step 1: Dust the walls with a microfiber cloth or vacuum with a brush attachment.
- Step 2: Wash with a solution of warm water and mild detergent or vinegar.
- Step 3: Use a sponge to scrub areas with grease, soap scum, or stains.
- Step 4: Rinse with clean water and let the walls dry thoroughly.
Tips for Painting Bathrooms
Transforming your bathroom with a fresh coat of paint doesn’t have to be complicated. With the right approach and preparation, you can achieve a clean, professional finish. Here are some essential tips to make painting your bathroom as easy and effective as possible:
1. Ensure the Room is Dry
Moisture is the enemy of a good paint job. Before starting, make sure your bathroom is completely dry. Turn on the fan or open a window and give the walls enough time to dry out. Painting on damp surfaces can lead to peeling and flaking as moisture becomes trapped under the paint film.
2. Pick the Right Color
Bathrooms are typically smaller spaces that benefit from light, bright colors to create an airy feel. Whites, light greys, and soft blues are perfect for enhancing light and making the room feel more spacious.
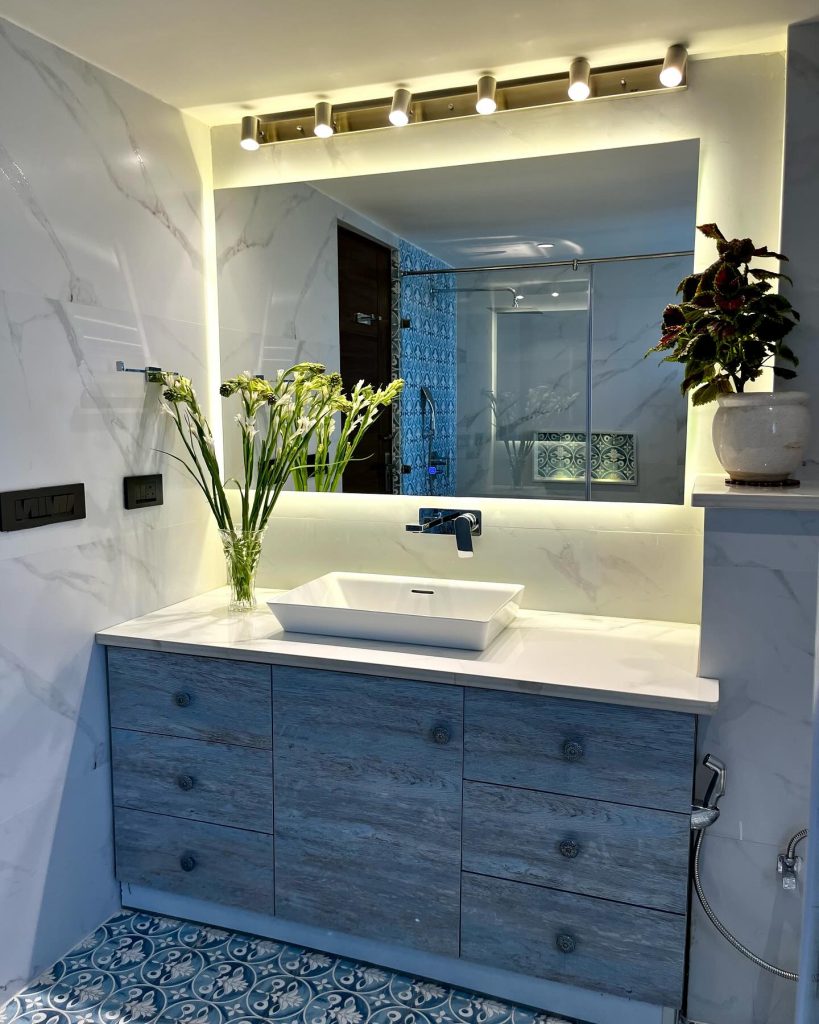
- Smaller Bathrooms: Stick to lighter shades to make the space feel larger.
- Larger Bathrooms: Explore bolder tones like anthracite grey or even black for a chic, ultra-modern vibe.
3. Masking is Crucial
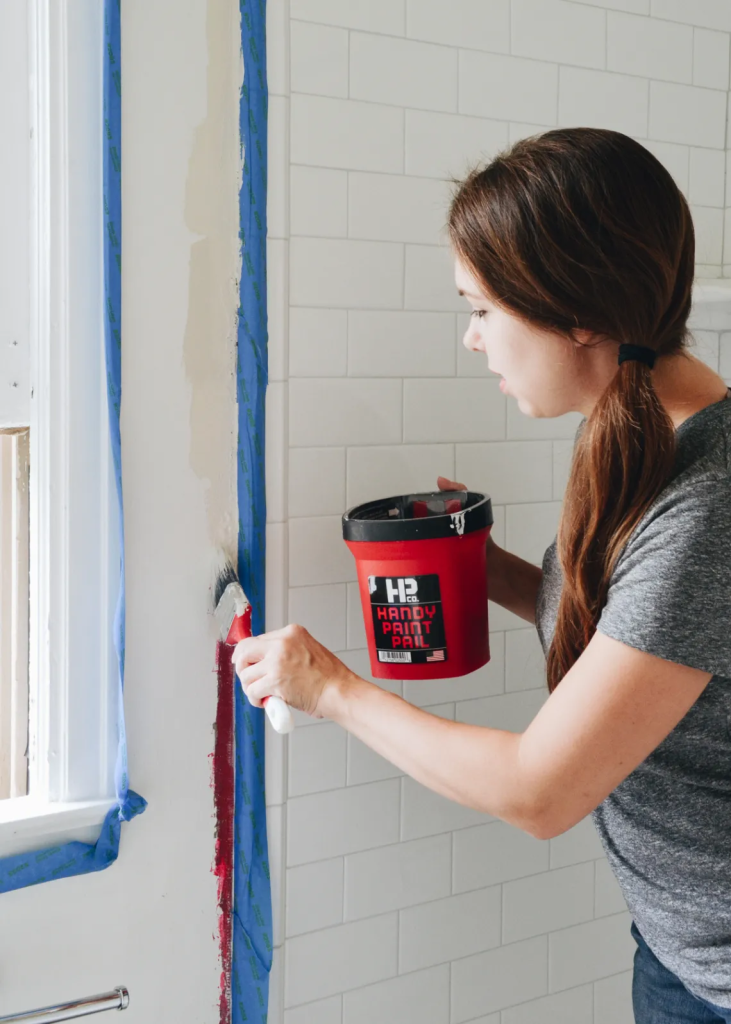
Bathrooms are full of fixtures and fittings that can’t easily be moved. Use painter’s tape to mask off areas you don’t want to paint, such as mirrors, faucets, and tile edges. Cover larger surfaces, like countertops or the bathtub, with drop cloths. Proper masking ensures a neat and professional finish while saving you time on cleanup.
4. Remove the Toilet Tank
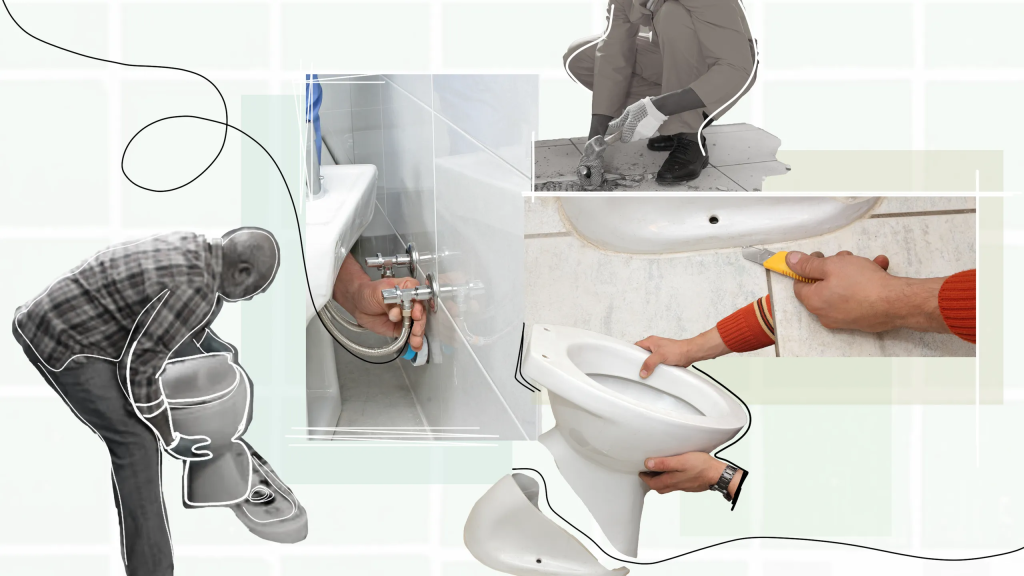
If possible, remove your toilet tank before painting. It’s a small extra step that makes a big difference in accessing the wall behind it and achieving a seamless finish. Similarly, remove or tape off other fixtures, like light fittings, for a cleaner result.
5. Invest in High-Quality Tools
Good-quality brushes, rollers, and other decorating tools can significantly improve the final result of your project. Cheap tools may leave streaks, uneven coverage, or even shed bristles into your paint. While higher-quality tools might cost a bit more upfront, they’re worth the investment for a smoother, more professional look.
Conclusion: Create a Bathroom That Works for You
Designing your bathroom is about more than just aesthetics—it’s about combining functionality, durability, and personal style. From choosing the best type of paint or wallpaper to ensuring proper preparation and execution, every decision plays a role in crafting a space that’s both practical and beautiful.
Here’s what to keep in mind:
- Choose the Right Materials: Opt for moisture-resistant paint or vinyl wallpaper to withstand humidity and prevent peeling or mildew.
- Preparation is Key: Clean and dry the walls thoroughly, and invest in high-quality tools to achieve a professional finish.
- Make It Your Own: Whether through bold wallpaper patterns, a serene color palette, or unique artwork, let your bathroom reflect your personality.
By carefully considering each element and following best practices, you can transform your bathroom into a stylish, functional retreat that serves you well for years to come. Whether you’re starting fresh or giving your space a refresh, the perfect bathroom is within reach!