(Using Flexner’s Troubleshooting Wisdom)
You thought staining wood was the fun part. A little wipe-on magic, some grain enhancement, and voilà — instant furniture upgrade. But now you’re staring at a tabletop that looks like a leopard, a deck blotched like bad tie-dye, or streaks that scream DIY gone wrong.
Relax. Wood stain mistakes are frustrating, but they’re almost always fixable. Bob Flexner’s finishing insights cut through myths and marketing, giving us a survival manual for uneven color, blotching, streaking, and drying disasters.
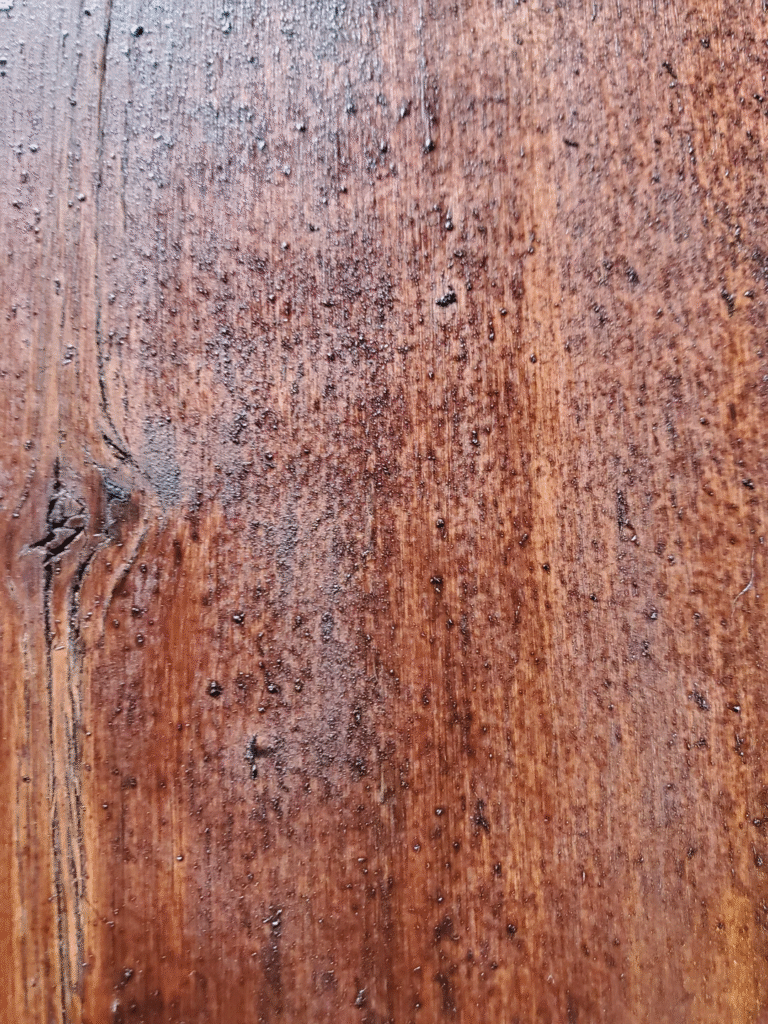
1. Uneven Color and Blotching
The Problem:
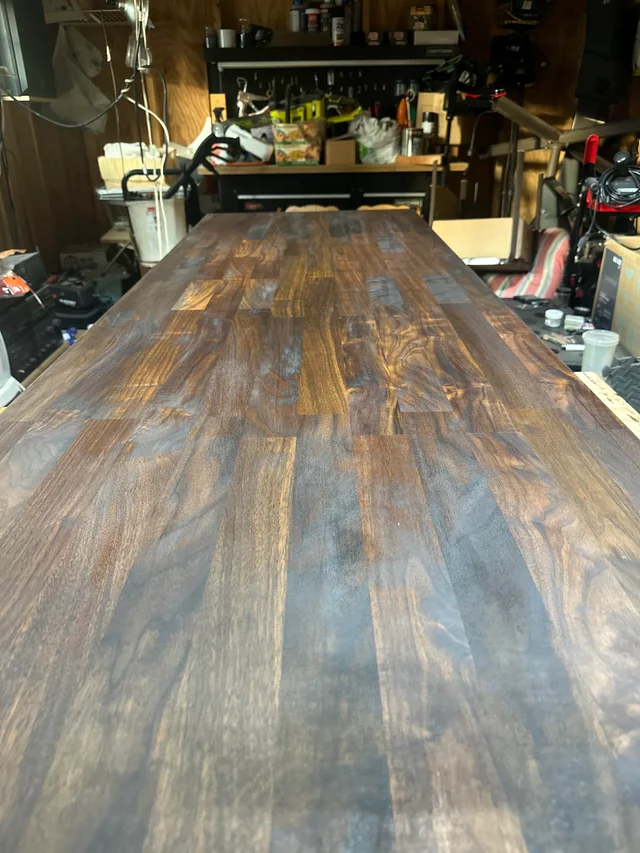
Some areas look dark and muddy while others are pale, especially on blotch-prone woods like cherry, birch, and maple.
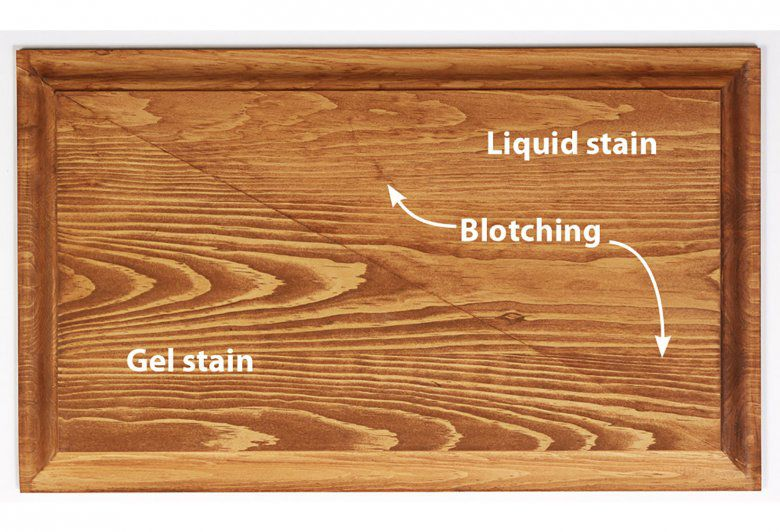
Why It Happens:
Different parts of the wood absorb pigment unevenly because of variations in grain density.
Flexner’s Fix:
- Strip and Restart (Best Fix): Use a chemical stripper, sand lightly, and start over.
- Pre-Stain Conditioner: Seal thirsty spots with a washcoat of dewaxed shellac or pre-stain conditioner next time.
- Switch to Gel Stains: These sit on the surface instead of soaking in, making absorption more uniform.
- Dye Before Stain: Use a wood dye to set a consistent base tone, then add stain for depth.
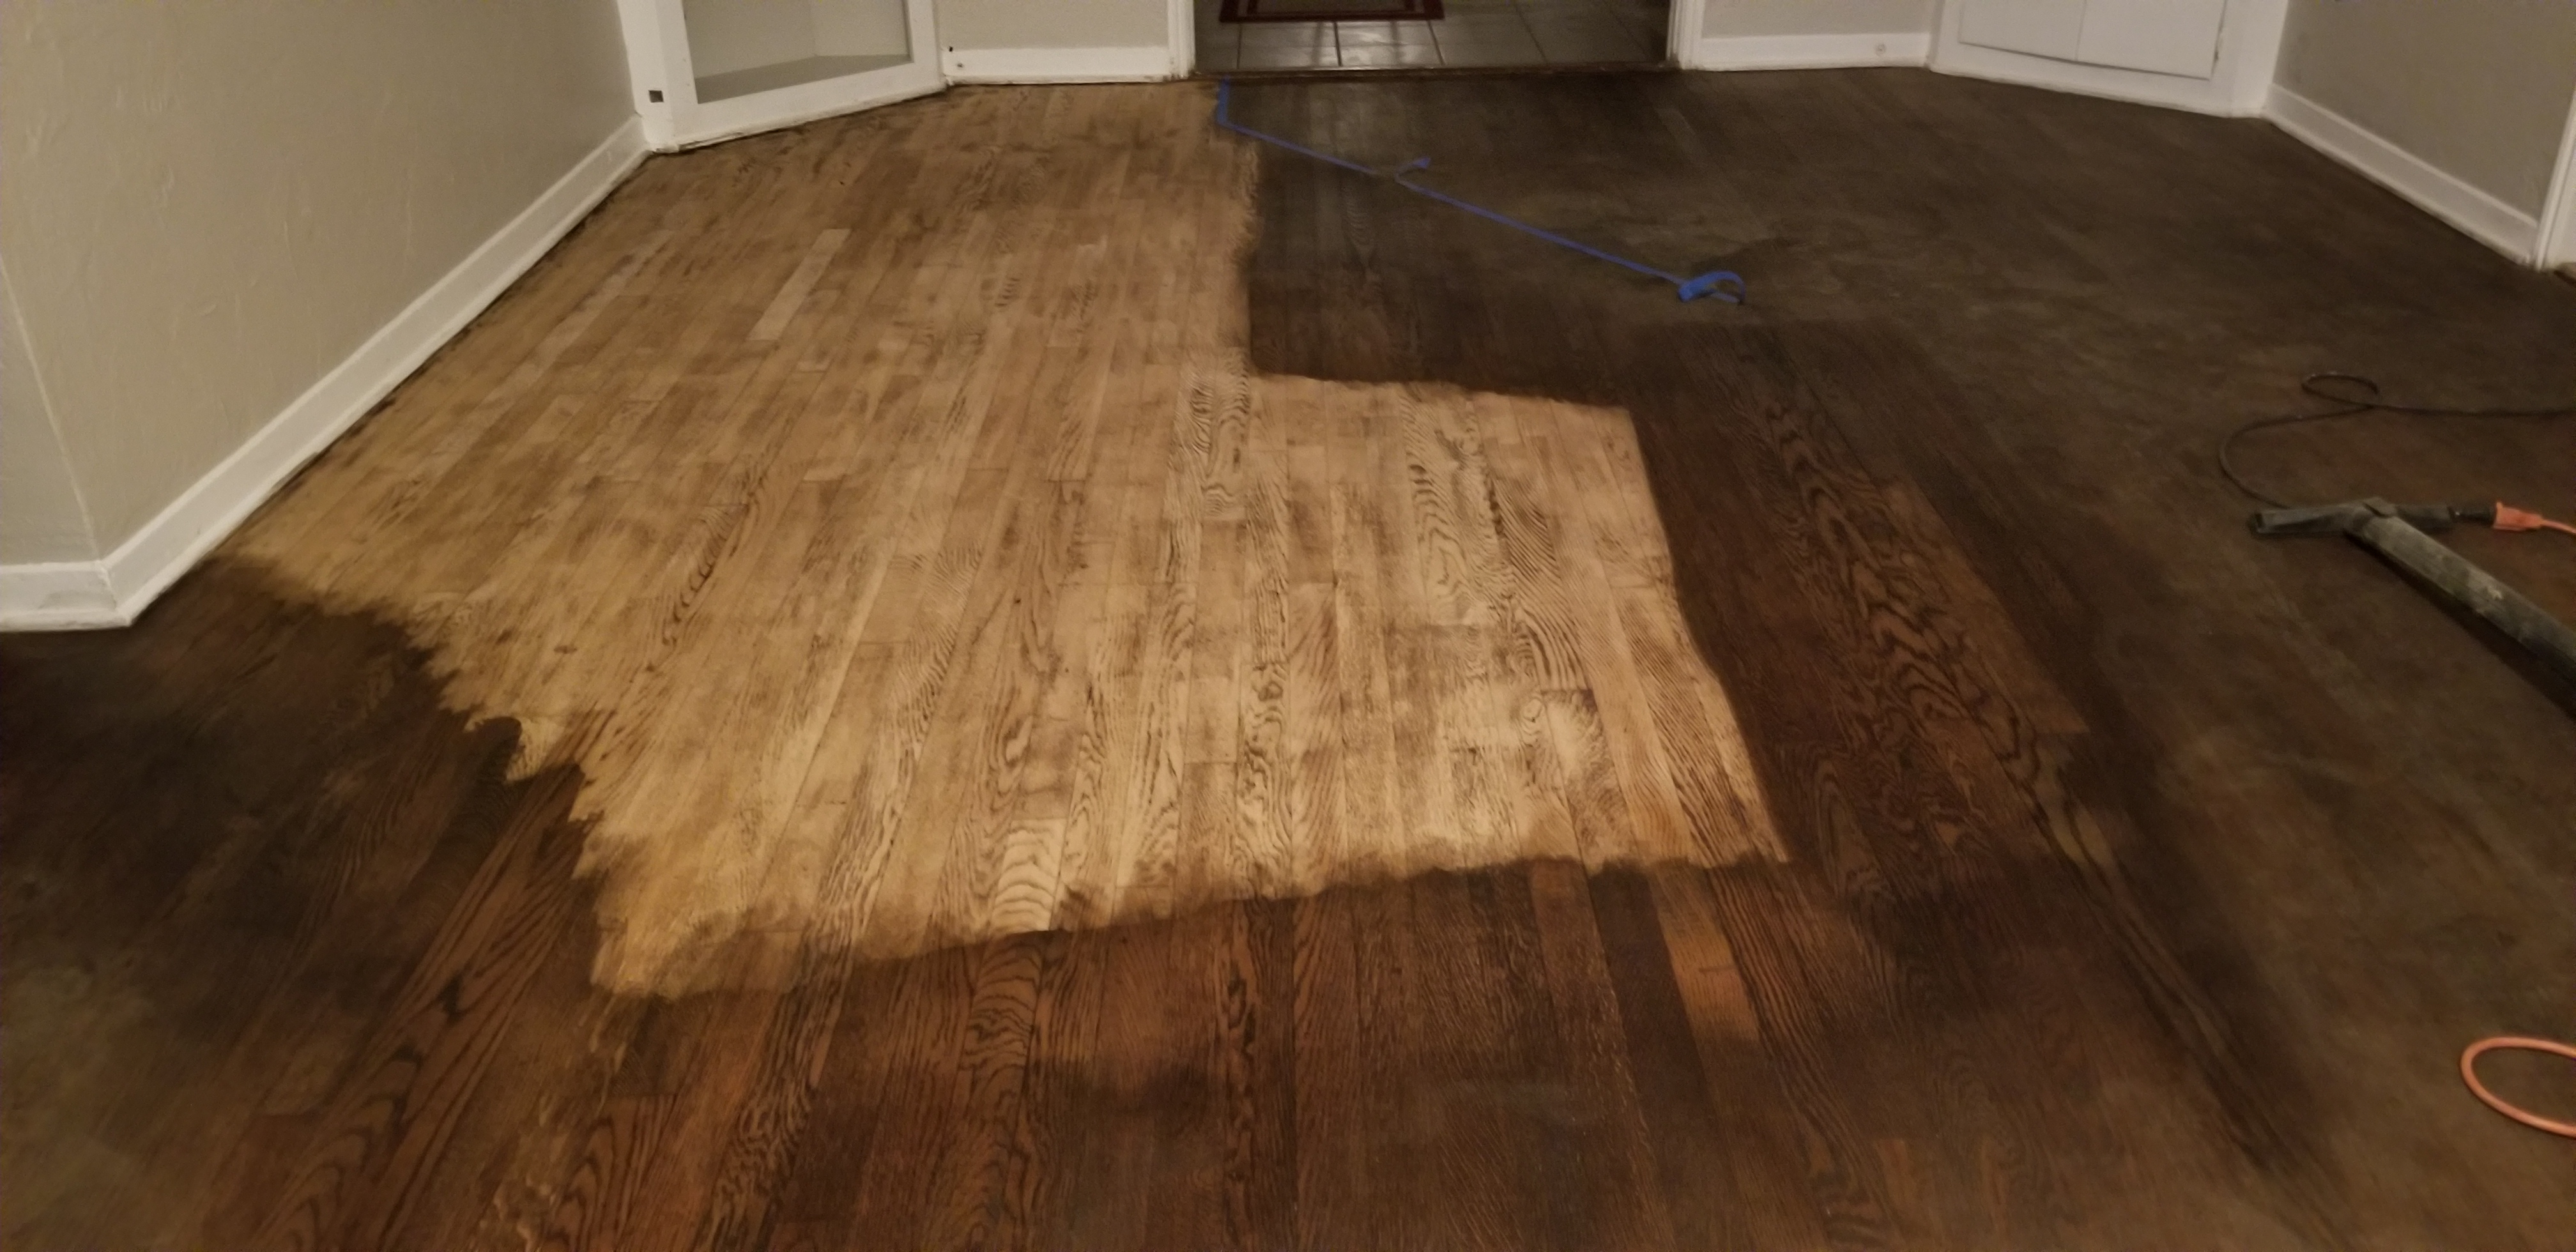
2. Streaking and Lap Marks
The Problem:
Dark stripes where sections overlap, especially with water-based stains.
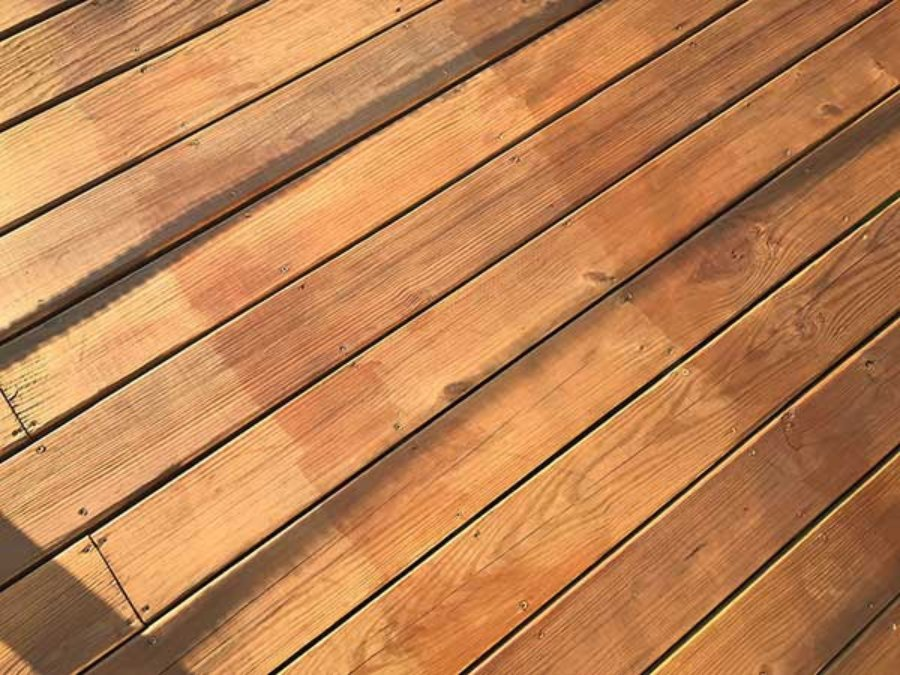
Why It Happens:
Stain edges start drying before you blend them, leaving visible overlaps.
Flexner’s Fix:
- Work in Small Sections: Maintain a “wet edge” by working fast.
- Feather Out Edges: Wipe stain outward to blend transitions.
- Tint Your Finish: Add a little dye to your topcoat to even out streaks without stripping everything.
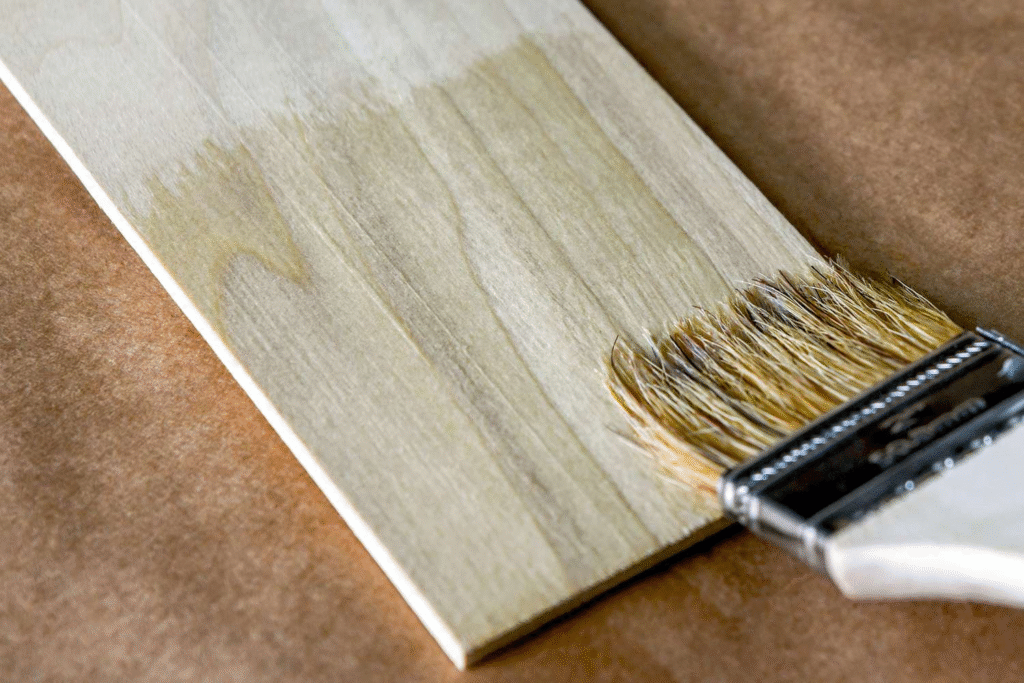
3. Stain Won’t Penetrate
The Problem:
Stain beads up or wipes right off without changing the wood’s color.
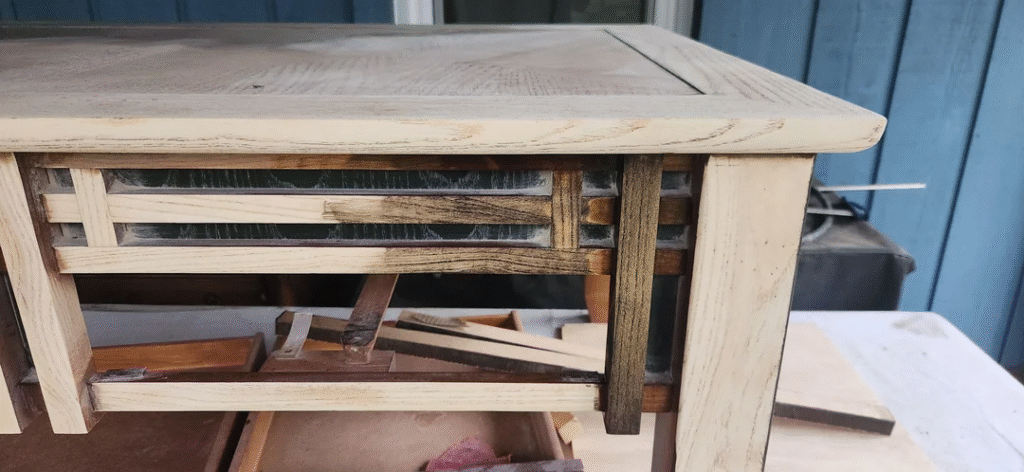
Why It Happens:
- Sanded too fine, closing the pores.
- Natural resins or previous finishes blocking absorption.
Flexner’s Fix:
- Scuff Sanding: Lightly sand with 150–180 grit to reopen pores.
- Clean With Solvent: Wipe surfaces with denatured alcohol or mineral spirits before staining.
- Use Gel Stains: Perfect for tight-grain woods like maple where penetration is naturally limited.
4. Stain Dries Too Fast
The Problem:
By the time you wipe excess, the surface is tacky and blotchy.
Why It Happens:
Water-based stains and high shop temperatures accelerate drying beyond your control.
Flexner’s Fix:
- Work Cooler and Slower: Lower room temperature and avoid direct sunlight.
- Add a Retarder: A few drops of glycol-based retarder extend open time.
- Mist Surface Beforehand: For water-based stains, lightly dampen the wood so the stain spreads longer.
5. Sticky or Gummy Stain
The Problem:
Hours later, the stain still feels tacky — and wiping it just smears pigment.
Why It Happens:
Too much stain left on the surface, preventing proper drying.
Flexner’s Fix:
- Wipe Thoroughly: Always remove all excess stain after application.
- Re-Wet and Wipe: Apply a light coat of solvent (matching the stain type) to re-dissolve the gummy layer, then wipe clean.
- Switch to Wiping Stains: Designed for easy removal, minimizing build-up.
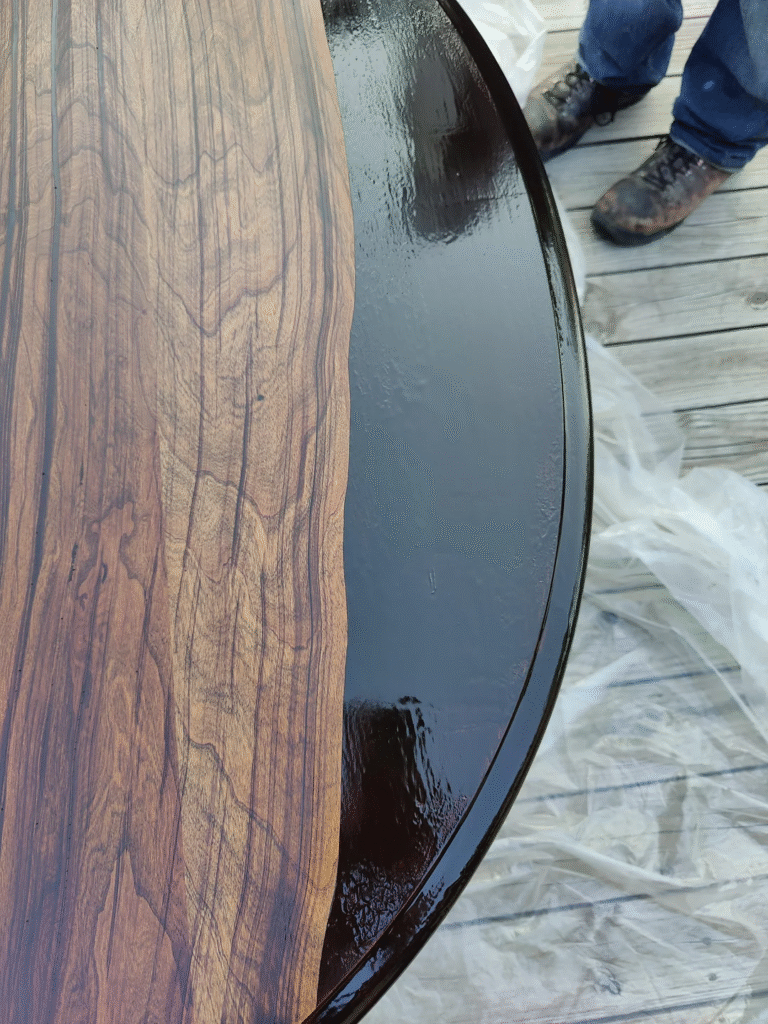
6. Overly Dark Stain
The Problem:
Your “warm walnut” turned into “accidental espresso.”
Why It Happens:
Leaving stain on too long or applying multiple coats without testing.
Flexner’s Fix:
- Re-Wet and Lift: Immediately reapply solvent and scrub back excess pigment.
- Bleaching (Extreme Cases): Use a two-part wood bleach, then restart with lighter stain.
- Seal First Next Time: Use a washcoat before staining to limit absorption.
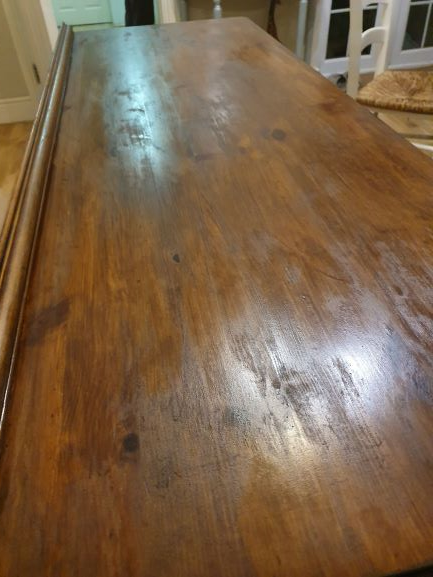
7. Splotchy Watermarks After Staining
The Problem:
Sweaty glasses or drips leave pale or cloudy spots before the topcoat.
Why It Happens:
Stain isn’t protected and remains vulnerable to moisture until sealed.
Flexner’s Fix:
- Reapply Stain Locally: Lightly scuff, reapply stain, and blend.
- Topcoat Promptly: Always seal stained wood within 24–48 hours to prevent reactivation and moisture damage.
8. Dull, Lifeless Color
The Problem:
The wood looks flat and dead instead of rich and dimensional.
Why It Happens:
Pigment-only stains can sit on top of the wood without enhancing figure or depth.
Flexner’s Fix:
- Layer Dyes and Stains: Use a dye to pop the grain, then a pigment stain for body.
- Glazing Technique: Apply a tinted topcoat between finish layers for subtle tonal control.
9. Patchy Finish After Topcoating
The Problem:
The stain looked fine, but the finish highlights uneven absorption you didn’t see before.
Why It Happens:
Skipping sealers or failing to level the stain before finishing.
Flexner’s Fix:
- Seal First: Use a sanding sealer or dewaxed shellac to lock pigment before clear coats.
- Scuff Before Topcoat: Light sanding evens out raised fibers and residual pigment.
10. Starting Over Without Tears
Sometimes, you’ve gone too far. The blotches, streaks, and color variations can’t be hidden. Flexner’s hard truth: sometimes you have to strip and restart.
Use a methylene chloride-free stripper, sand lightly, and follow a controlled staining schedule:
- Pre-seal blotch-prone woods.
- Test stains on scraps.
- Always wipe thoroughly.
- Seal promptly.
Final Takeaway
Staining mistakes aren’t failures — they’re chemistry lessons. Wood doesn’t care what you want it to look like; it reacts to how you prepare, apply, and protect it. Flexner’s golden rule applies here:
“The finish doesn’t fail. The finisher does.”Wood Finishing 101 The Step-By-…
Slow down. Test on scraps. Layer intelligently. And always respect the wood’s quirks — it’ll reward you with depth, richness, and finishes that last decades.
You May Also Like
Wood Finishing Basics for Beginners: A Step-by-Step Guide
Learn how to sand, seal, stain, and protect your wood properly — the right way, from start to finish. Perfect for beginners who want flawless results every time.
15 Easy Ways to Soften Wood for Carving
Struggling with blotchy stains or uneven absorption? Softening wood makes carving, shaping, and finishing easier — and your results more predictable.
Master the Art: 10 Easy Chip Carving Ideas for Beginners
Ready to turn your newly mastered staining and finishing skills into art? Explore simple yet stunning chip carving projects designed for hobbyists.