For most projects, applying two coats of Danish oil is typically sufficient. This will give you a good level of protection and a desirable sheen. However, if you’re aiming for increased durability and a more polished look, applying three coats is recommended. Keep in mind that the type of wood and your personal preference may also influence the number of coats you choose to apply. It’s always a good idea to test the finish on a small, inconspicuous area before proceeding with the full application.
Here’s more on wood finishing with Danish oil
Factors Affecting the Number of Coats:
- Desired Sheen: The number of coats can impact the final sheen of the Danish oil finish. Generally, the more coats applied, the higher the sheen achieved.
- Type of Wood: Different wood species absorb Danish oil differently. Some woods may require more coats to achieve the desired level of protection and enhancement. Softer and more porous woods might benefit from additional coats.
- Durability: If you’re aiming for increased durability and enhanced protection for your project, applying additional coats of Danish oil can help achieve that goal.
What is Danish oil?
Danish oil is a type of wood finish that combines oil and varnish to provide both protection and enhancement to wooden surfaces. It is typically made from a blend of natural oils, such as linseed or tung oil, and varnish or resin. Danish oil is known for its easy application and ability to penetrate the wood, enhancing its natural beauty while also offering some level of protection against moisture and wear.
Advantages of Danish oil
- The easiest and most foolproof finish to apply: simply wipe on and wipe off.
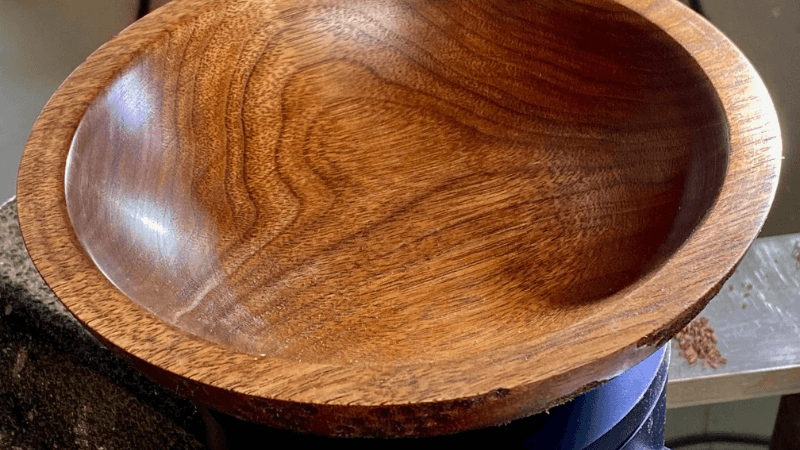
- Produces a soft satin sheen and a close-to-the-wood appearance.
- Enhances the depth and richness of dark and dark-stained woods.
Disadvantages of Danish Oil
- Offers weak resistance to abuse and water.
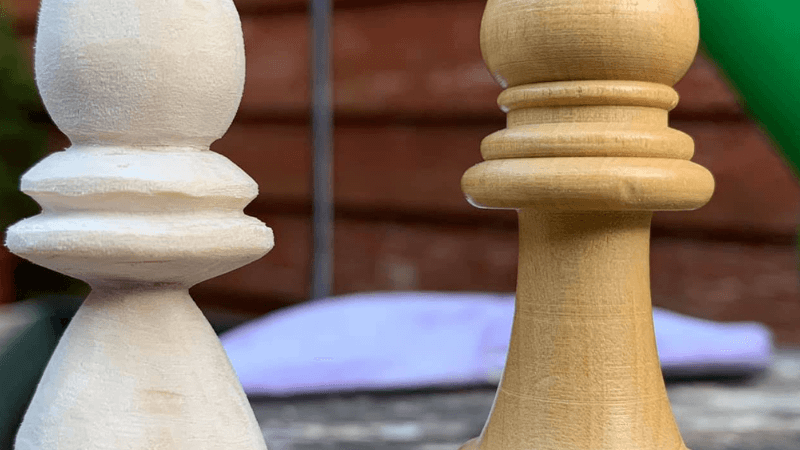
- Adds a noticeable yellow/orange coloring to light-colored woods.
- Rags soaked in Danish oil can spontaneously combust if piled on top of each other. Handle and dispose of used rags with care.
When to Use Danish Oil
Danish oil is best suited for applications where the finished object will not be exposed to excessive abuse or frequent contact with water. While Danish oil provides a protective barrier, it may not offer the same level of resistance to scratches and water penetration as some other finishes. Therefore, it is important to consider the specific use and environment of the object before choosing Danish oil as the finishing option.
Here are some examples of ideal applications for Danish oil:
- Shelves: Danish oil can add a beautiful finish to wooden shelves, enhancing their appearance while providing some protection against everyday wear.
- Beds: Danish oil can be used to treat the wooden surfaces of beds, giving them a warm and inviting look.
- Chests-of-drawers: Danish oil can bring out the natural grain of wooden chests-of-drawers, providing an elegant finish.
- Curio cabinets: Danish oil can be used to enhance the beauty of curio cabinets, showcasing the items inside while adding a touch of sophistication.
- Chairs: Wooden chairs can benefit from Danish oil, as they can help protect the wood and enhance its visual appeal.
- Certain entertainment centers: For entertainment centers that are not exposed to excessive moisture or abuse, Danish oil can provide a visually appealing finish.
Remember, when using Danish oil, it’s essential to assess the specific requirements and conditions of your project to determine if Danish oil is the appropriate choice. If the object will be exposed to high levels of moisture or heavy wear, alternative finishes with greater resistance may be more suitable.
How to apply Danish oil
First Coat
To reduce the number of coats required and allow the finish to soak in effectively, keep the first coat wet on the wood for 5 to 10 minutes.
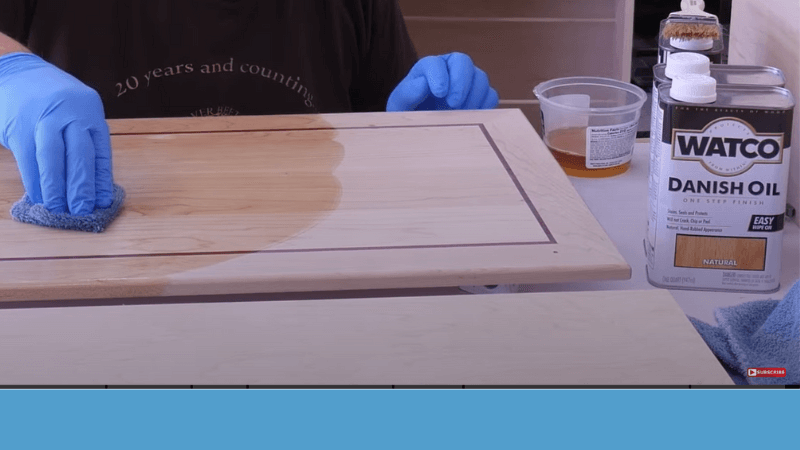
- Pour some of the Danish oil onto a horizontal panel or apply it with a cloth. Brushing the finish is an option, but it will be slower.
- Use a cloth to spread the finish evenly over the panel. Wear latex gloves to protect your hands.
- Check the surface in reflected light and rewet any dull areas. This step ensures the even sealing of less dense areas.
- Once all areas remain wet for several minutes, proceed to the next step.
- Thoroughly wipe off all the excess Danish oil with a dry cloth. Be sure to remove all dampness to avoid sticky residue.
More Coats
To achieve a desirable sheen, multiple coats are necessary. Let each coat dry, sand it smooth, and apply at least one additional coat.
- After drying overnight, the surface may feel slightly rough due to the first coat. This is normal.
- When the surface is dry to the touch, lightly sand it using #320- or #400-grit sandpaper. Sanding should be done in the direction of the wood grain.
- Dust off the surface, then apply more of the Danish oil.
- Spread the Danish oil evenly over the surface, either by brushing or wiping with a cloth. Unlike the first coat, there’s no need to wait for the blend to remain wet for several minutes.
- Wipe off all the excess Danish oil after each coat.
- Repeat the process, applying coats once each day until you’re satisfied with the sheen. In most cases, three coats are sufficient.
How to Make Your Own Danish Oil
To have more control over the application and performance of the finish, you can make your own blend using the following steps:
- Pour approximately equal parts of boiled linseed oil, oil-based polyurethane varnish, and mineral spirits into a wide-mouth jar, coffee can, or plastic container. Use oil-based polyurethane (cleans up with mineral spirits) rather than water-based polyurethane.
- Stir the mixture thoroughly until all the components combine. This step doesn’t require further stirring.
Compatibility of Danish oil with other finishes
You can use Danish oil under any finish or paint once it has fully dried (usually at least a week in a warm room). It is also compatible with stains, older oil finishes, or as a rejuvenating shine over dulled finishes. Remember to wipe off any excess. See our take on Lacquer over Danish oil
Common Application Problems
- Sticky finish results when excess finish isn’t wiped off thoroughly.
- “Bleeding” of the finish from the wood’s pores, especially on large-pored woods like oak. Wipe off any bleeding until it stops. If it dries hard, use #0000 steel wool to dull the gloss and apply another coat. Severe problems may require stripping the finish with a paint stripper and starting again.
How many coats of Danish oil: Recap
In conclusion, Danish oil is a versatile and easy-to-use wood finish. By applying the appropriate number of coats, you can achieve the desired level of protection, durability, and sheen. Whether you opt for two coats for a satisfactory finish or three coats for added polish and durability, Danish oil will offer a simple yet effective solution for bringing out the best in your woodwork. Remember to consider the type of wood, personal preference, and the intended use of the object when determining the number of coats to apply.