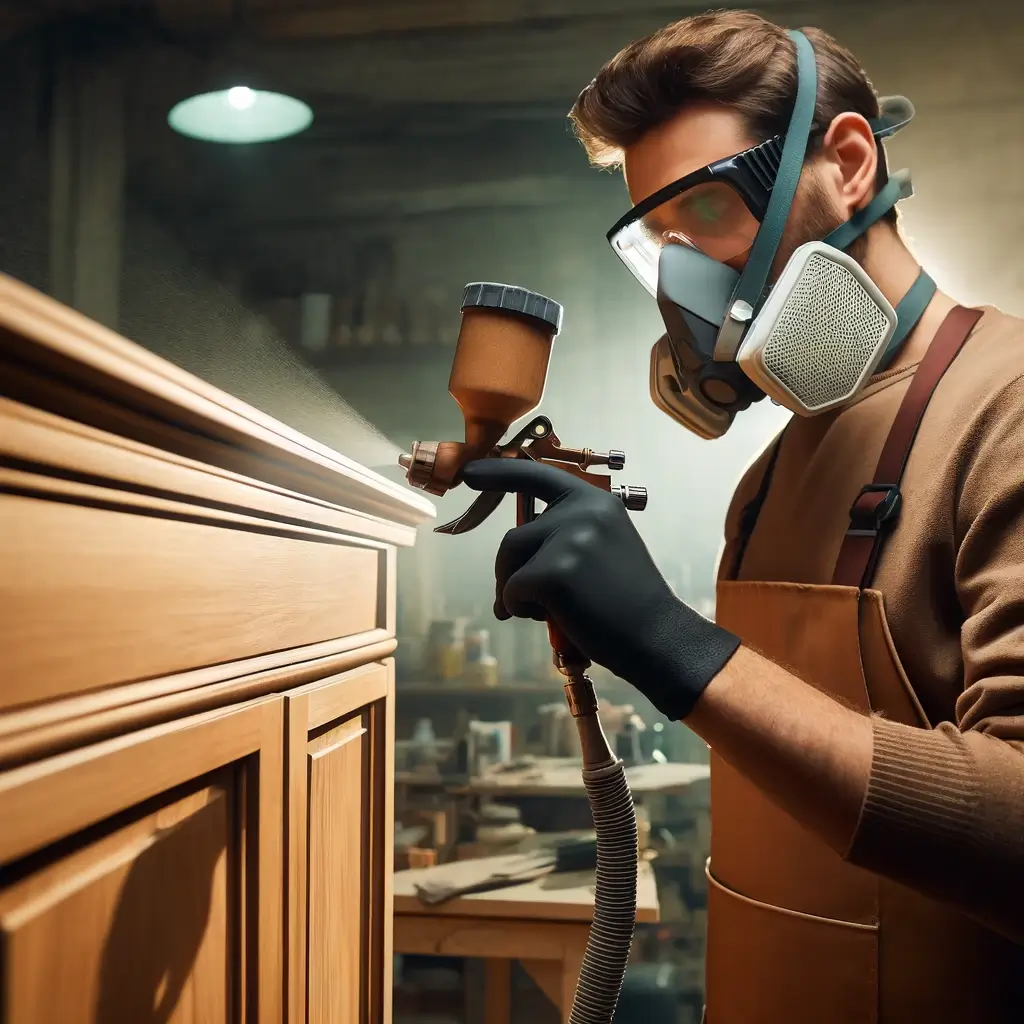
Conversion varnish is a favorite among professional woodworkers due to its superior durability and exceptional finish. This type of varnish, often used on cabinets and high-end furniture, is known for its ability to resist chemicals, moisture, and scratches. Here, we will explore the process of applying conversion varnish using a spray technique, pulling insights and best practices from authoritative sources in wood finishing.
What is Conversion Varnish?
Conversion varnish is a two-component product that consists of the varnish and a catalyst, which when mixed, trigger a chemical reaction leading to a tougher and more durable finish (Flexner, 2010). This varnish is noted for its quick curing times and excellent protective properties.
Necessary Tools and Materials
- Conversion Varnish: Ensure you purchase a high-quality product.
- Spray Gun and Air Compressor: Essential for applying the varnish evenly.
- Safety Equipment: Including respirator masks, safety goggles, and gloves.
- Sandpaper: Ranging from coarse to fine grit for surface preparation.
- Tack Cloth: For removing dust after sanding.
- Well-Ventilated Area: Necessary to ensure safety and proper drying.
Preparation Steps

Before applying conversion varnish, the wood must be meticulously prepared:
- Surface Sanding: Start with a coarse sandpaper and progress to finer grits to achieve a smooth surface. L’Erario (2008) emphasizes the importance of thorough sanding to remove imperfections and ensure the best finish.
- Cleaning: Remove all sanding dust with a tack cloth to prevent blemishes in the varnish layer (L’Erario, 2008).
Setting Up Your Spraying Equipment
Proper setup of your spray equipment is crucial for a smooth application process:
- Prepare the Spray Gun: Attach the gun to the air compressor and ensure all fittings are tight to avoid leaks.
- Safety Checks: Always perform a test spray on a piece of scrap wood to adjust the spray pattern and flow rate (Flexner, 2010).
Spraying Technique

The technique used to apply conversion varnish is critical for achieving a professional finish:
- Mixing the Varnish: Carefully mix the varnish and catalyst according to the manufacturer’s instructions. This step is crucial as improper ratios can affect the durability and appearance of the finish (Flexner, 2010).
- Application: Hold the spray gun approximately 6-8 inches from the surface. Spray in a consistent, even motion, overlapping each pass by about 30% to avoid missed spots and ensure an even layer (L’Erario, 2008).
- Multiple Coats: Apply at least two coats of varnish, allowing each coat to dry thoroughly and sanding lightly between coats to ensure good adhesion (Flexner, 2010).
Drying and Curing
Conversion varnish typically dries quickly, but curing times can vary based on temperature and humidity:

- Allow Adequate Drying Time: Refer to the varnish manufacturer’s guidelines for drying times. Ensure the area remains well-ventilated throughout the process.
- Post-Application Care: Avoid heavy use of the finished piece until the varnish has fully cured, which could take several days (L’Erario, 2008).
Cleanup and Maintenance
Proper cleanup and maintenance of your equipment will extend its life and ensure consistent results:
- Clean Your Equipment: Thoroughly clean the spray gun and other tools with an appropriate solvent immediately after use to prevent the varnish from hardening in the equipment (Flexner, 2010).
Spraying Conversion Varnish on Woodwork: summary
Spraying conversion varnish requires attention to detail and adherence to best practices in wood finishing. By following these steps and recommendations, woodworkers can achieve a durable, high-quality finish that enhances the beauty and longevity of their projects.
References
- Flexner, B. (2010). Wood Finishing 101: The Step-by-Step Guide.
- L’Erario, J. (2008). Wood Finishing Simplified: No Chemistry Just Beautiful Results.