If you’re planning to refinish a piece of furniture that was previously coated with water-based polyurethane but you’d like to switch to an oil-based finish, the good news is that it’s possible. However, there are some important steps you need to take to ensure a successful outcome.
Preparing the surface for the new coat
According to Flexner, it’s generally possible to use one finish on top of another, but it’s important to ensure that the previous finish has fully dried and cured to avoid adhesion issues. To prepare the surface for the new coat, it’s recommended to lightly sand the existing finish to create what’s known as an “etch,” which allows the new finish to adhere properly. Fine-grit sandpaper, such as 320 grit, is ideal for this purpose. However, it’s important to take care not to sand too deeply and expose bare wood.
Cleaning the surface before application
Next, you’ll need to clean the surface of any dust and debris using a tack cloth or a lint-free cloth dampened with mineral spirits. But for larger surfaces like floors vacuuming is the best option. Once the surface is clean, you can apply the oil-based finish according to the manufacturer’s instructions.
Understanding dry and cure times of oil-based poly
It’s important to note that oil-based finishes take longer to dry and cure than water-based finishes, so be sure to follow the recommended drying times before using or placing any items on the finished surface. Additionally, oil-based finishes can produce strong fumes, so be sure to work in a well-ventilated area and wear appropriate protective gear, such as a respirator mask.
Slow-drying oil-based finishes
When working with a slow-drying finish like oil-based polyurethane, there are a few factors to keep in mind to ensure a perfect finish.
Slow-drying oil-based finishes vs quick-drying finishes
Firstly, slow-drying finishes are generally considered easier to apply, making them a good choice for beginners. The longer drying time allows for easier fixes for common application issues like drips and runs. Water-based finishes, on the other hand, dry quickly and can be more challenging to work with, making them better suited for professionals who are accustomed to quick turnaround times. However, this advantage comes at a cost the slow-drying finish is hard to keep uncontaminated.
Key considerations when working with slow-drying finishes
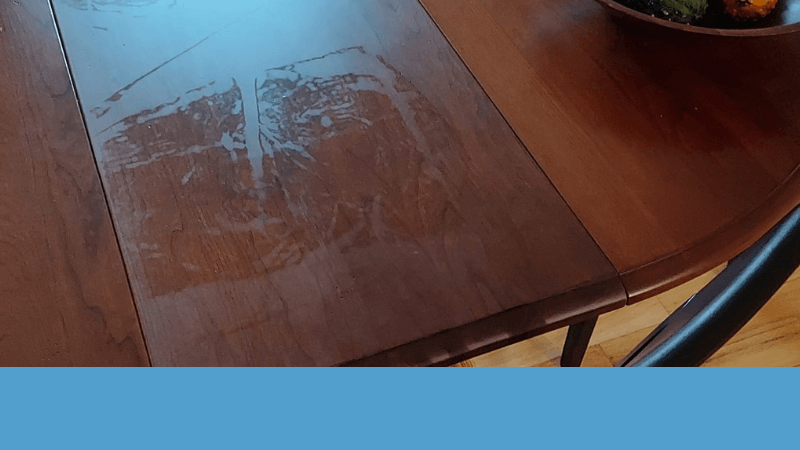
One major consideration when working with slow-drying finishes is dust. Over time, airborne dust particles will settle on the surface of the finish, making it difficult to fix without extensive sanding. If left unattended, the dust can create a cloudy finish when recoating. To avoid this problem, it’s important to work in a clean environment with good air circulation and to keep the surface free of dust and debris throughout the application process. Using a tack cloth or lint-free cloth dampened with mineral spirits can help to remove any debris before applying the finish.
How many coats on top of the old coat?
I generally recommended applying at least two coats of the new finish. In some cases, a third coat may be necessary, depending on factors such as the specific oil-based product being used, the type of project, and personal preferences. High-traffic areas may require additional coats to ensure long-lasting durability. It’s important to follow the manufacturer’s recommendations for the specific product being used and to allow each coat to fully dry and cure before applying additional coats.
Sanding between coats of finish
Sanding between coats is essential to create a smooth surface for the next layer to bond properly. Skipping this step can result in imperfections telegraphing through the subsequent coats, making it harder to correct later on. Therefore, it is recommended to sand between each coat to ensure a flawless finish.
Key takeaways: Oil-based poly over water-based poly
- It’s possible to use oil-based polyurethane over water-based polyurethane, but it’s important to ensure the previous finish has fully dried and cured to avoid adhesion issues.
- To prepare the surface for the new coat, it’s recommended to lightly sand the existing finish with fine-grit sandpaper and clean the surface of any dust and debris using a tack cloth or a lint-free cloth dampened with mineral spirits.
- Oil-based finishes take longer to dry and cure than water-based finishes, so be sure to follow the recommended drying times before using or placing any items on the finished surface. Work in a well-ventilated area and wear appropriate protective gear.
- Slow-drying oil-based finishes are generally easier to apply, making them a good choice for beginners, but dust can settle on the surface of the finish, making it difficult to fix without extensive sanding. Work in a clean environment with good air circulation and keep the surface free of dust and debris throughout the application process.
- Apply at least two coats of the new finish, with a third coat necessary in some cases, depending on factors such as the specific oil-based product being used, the type of project, and personal preferences.
- Sanding between coats is essential to create a smooth surface for the next layer to bond properly.