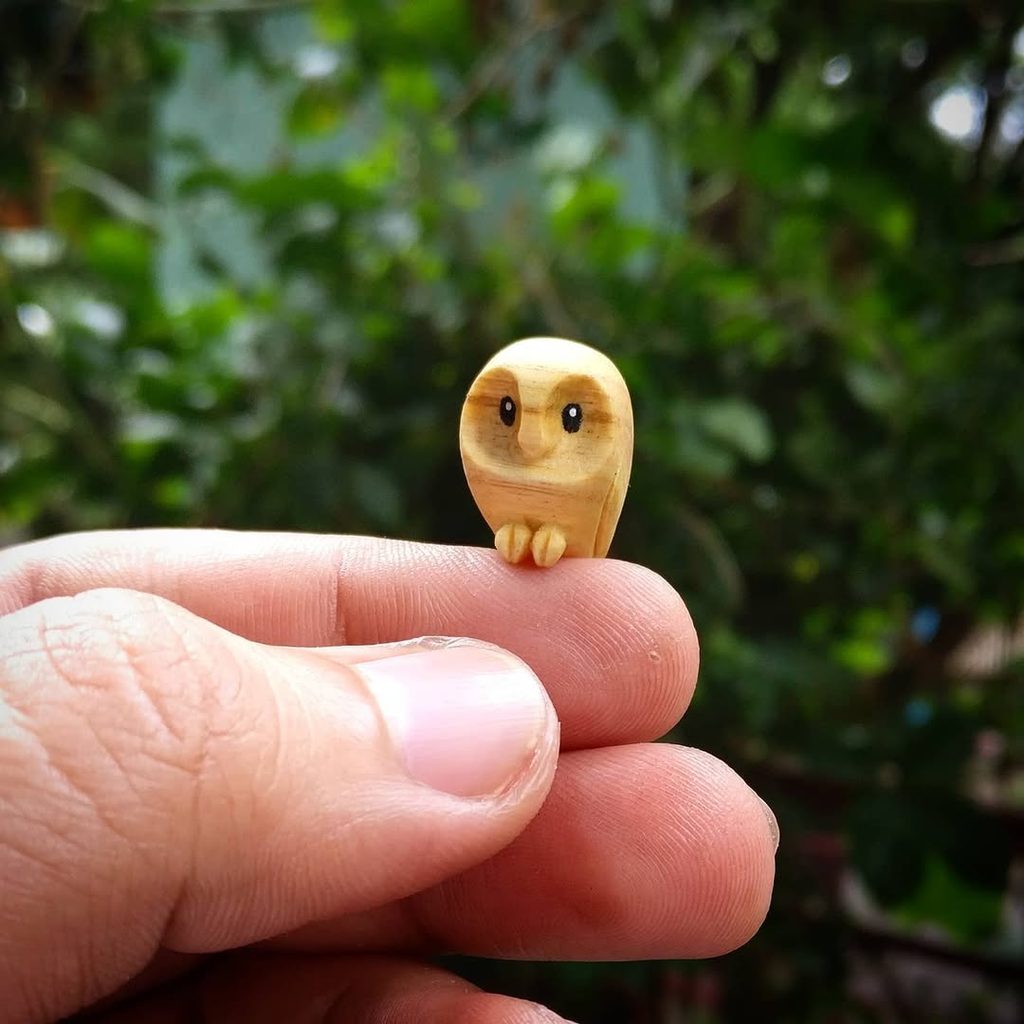
You bought a nice knife and a block of basswood. You found a gorgeous carved owl online, the kind with layered feathers and tiny, expressive eyes, and you decided to make one. Three evenings later, the wings have snapped off, the face looks lopsided, and the block is sitting on a shelf, quietly judging you.
If that sounds familiar, you’re in good company. Most abandoned woodcarving projects don’t fail because the carver lacks talent. They fail because the project was a poor match for the carver’s current skills. Choose well, and you’ll finish more pieces, learn faster, and enjoy the process. This guide will help you judge where you are, understand what makes a project easy or hard, and pick your next carving with confidence.
Why Project Choice Matters More Than You Think
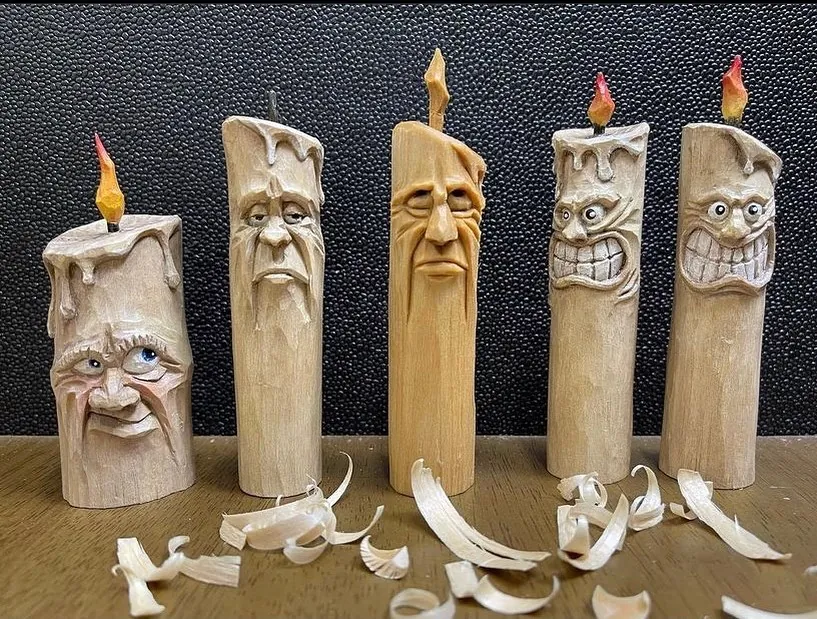
A well-matched project builds confidence and skill at the same time. Every finished piece teaches you something, and every finished piece makes you want to start another. A mismatched project does the opposite: it wastes wood, drains motivation, and can leave you convinced that carving “isn’t for you.”
The sweet spot is a project that is roughly 80% familiar and 20% new. You should be able to handle most of it with skills you already have, while one new challenge stretches you. That small stretch is where growth happens.
There’s also a safety angle. Harder projects often involve awkward cuts, fragile sections, and more force, all of which raise the chance of a slip. Choosing a project at the right level protects your hands as well as your motivation.
Assess Your Current Level Honestly
Skill level in woodcarving isn’t about how long you’ve owned tools. It’s about what you can reliably do. Here’s a rough guide.
Beginner. You’ve put in fewer than about ten hours of carving. You’re still learning how to hold the knife safely, how grain affects your cuts, and how to keep your blade sharp. Your pieces are simple, and you’re happy when a shape looks like what you intended.
Advancing. You’re comfortable with the basic cuts and can control how deep you go. You’ve finished a handful of small pieces and can fix minor mistakes without panicking. You’re starting to notice how different woods behave.
Intermediate. You can plan a carving before you begin, anticipate grain changes, and add detail with intention. You can recover from most mistakes and troubleshoot problems yourself.
If you’re unsure where you fall, try this quick self-check:
- Can you make a clean stop cut without crushing the surrounding wood?
- Can you read the grain direction before you cut, rather than after the wood tears?
- Can you keep your knife sharp enough to slice paper cleanly?
- Have you finished at least three small projects from start to end?
- Can you carve a smooth, even curve without leaving facets?
If you answered “no” to most of these, you’re at the beginning, and that’s a perfectly good place to be. Note that skill also varies by style. You might be an advancing whittler but a beginner at relief carving or chip carving, so judge your level for the specific technique your project requires.
What Makes a Project Easy or Hard
Once you know your level, it helps to understand what actually drives difficulty. Two projects that look similar can be wildly different to carve. These are the main factors to weigh.
Size. Very small pieces are fiddly and unforgiving, because there’s little wood to work with and small errors show. Very large ones demand more tools, more strength, and more stamina. Mid-sized pieces that fit comfortably in your hand are the easiest to control.
Level of detail. Smooth, simple forms are far easier than pieces with fine features. Faces, hands, feathers, and fur all require precision, and they’re where beginners most often struggle.
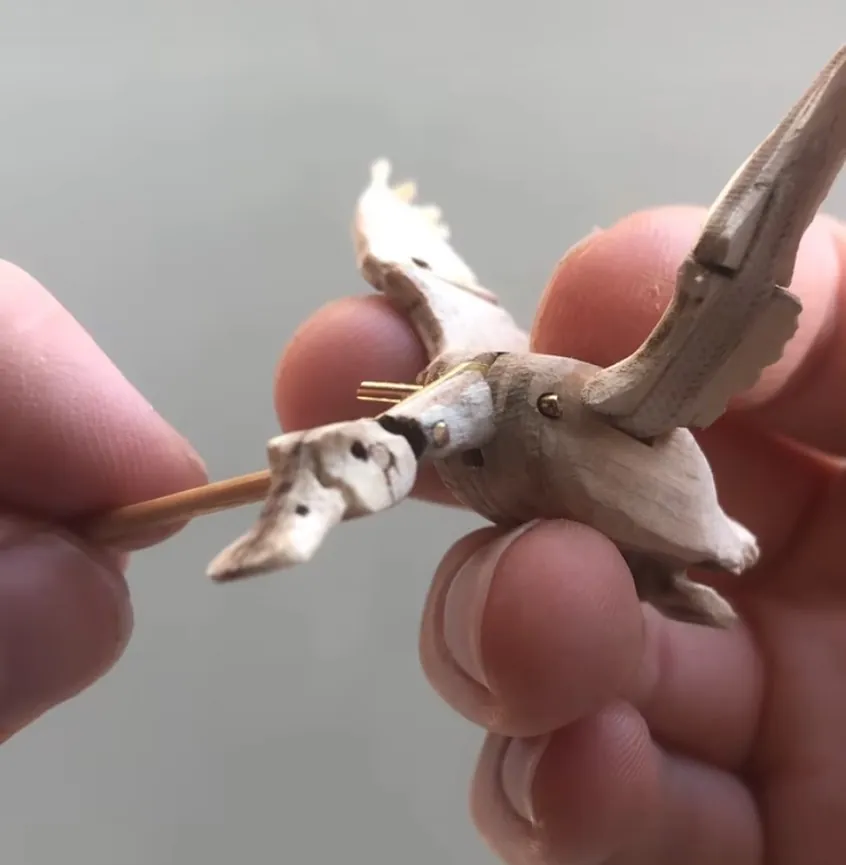
Grain and fragile parts. Thin, protruding sections like ears, beaks, tails, and legs are prone to snapping, especially when the grain runs across them. A project with many delicate parts is harder than a chunky, compact one.
Type of wood. Basswood is soft, even, and forgiving, which makes it a favorite for learning. Harder or more figured woods like oak or walnut resist your knife and punish mistakes. Wood choice alone can turn an easy project into a hard one.
Tools required. A project you can complete with a single knife is simpler than one needing gouges, a mallet, or power tools. More tools means more skills to learn and more things to go wrong.
Symmetry and precision. Anything that has to look even, such as a face, a matching pair, or a repeating pattern, exposes every inconsistency. Organic, irregular shapes like a gnarled tree or a rough-hewn animal are more forgiving.
Time commitment. A two-hour project gives you quick feedback and a fast win. A two-week project demands sustained focus, which can be a challenge in itself.
The Project Ladder
Think of your carving journey as a ladder. Each rung teaches something specific and prepares you for the next. Here’s one way to climb it.
Tier 1: First cuts. These projects focus on knife control and understanding grain.
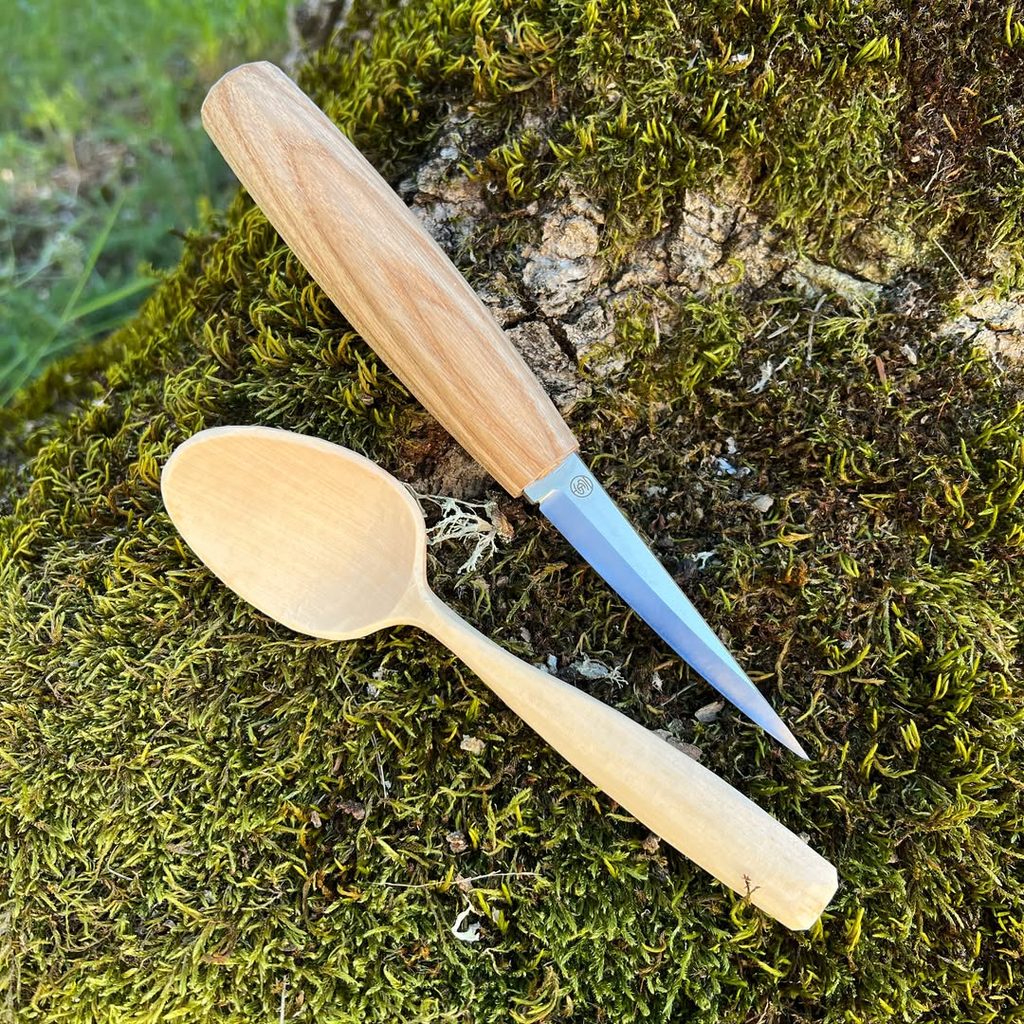
- A simple spoon or butter spreader teaches curves and working with the grain.
- A basic ball or egg shape builds smooth, controlled cuts from all directions.
- A bark house is loose and forgiving, and it’s a great way to practice basic cuts.
- A scrap board of stop cuts and slicing exercises builds fundamentals without pressure.
Tier 2: Building control. Now you add form and a little planning.

- A simple animal such as a bird, fish, or bear teaches how to shape a recognizable form from a block.
- A small ornament introduces detail at a manageable scale.
- A chip-carved coaster or small plaque develops precision with repeated, consistent cuts.
Tier 3: Adding detail. You’re comfortable with the basics and ready to refine.
Also check out these 10 UniqueSpoon Carving Ideas
- A relief-carved sign teaches depth, layers, and lettering.
- A stylized figure introduces proportion and expression without demanding realism.
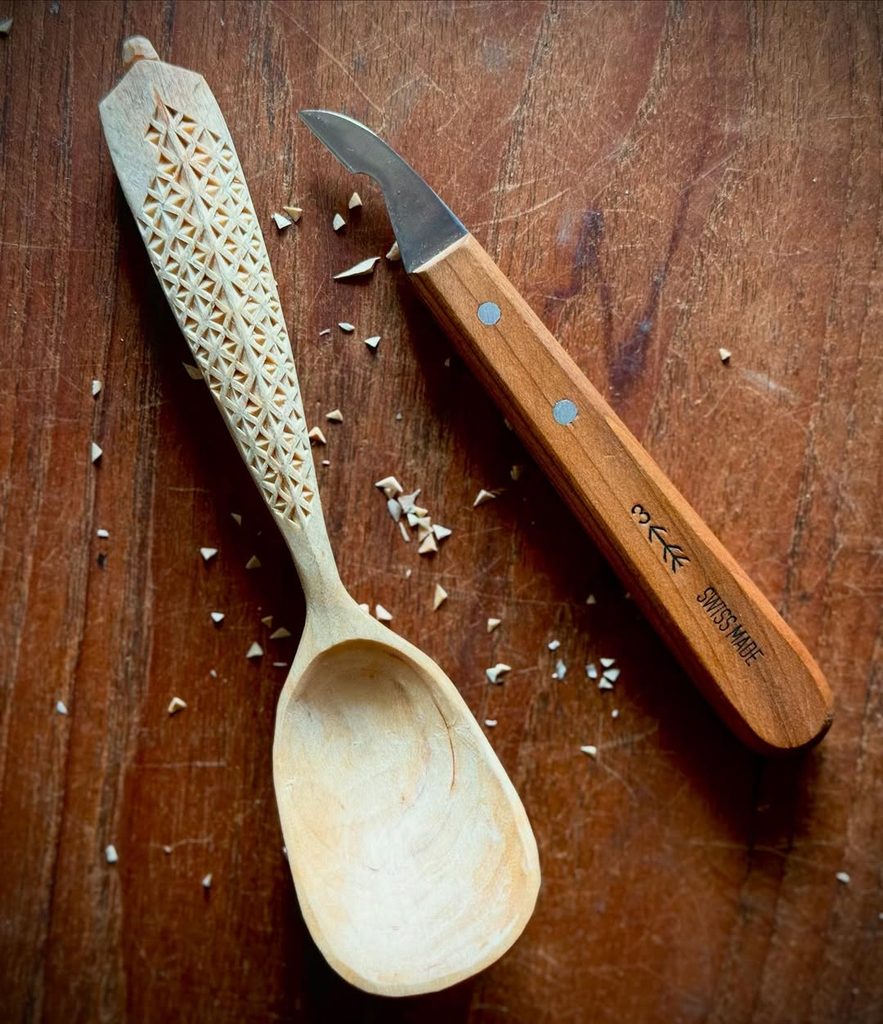
- A spoon with a decorative handle combines a useful form with ornamental detail.
Tier 4: Stretching your skills. These are for carvers with real experience.
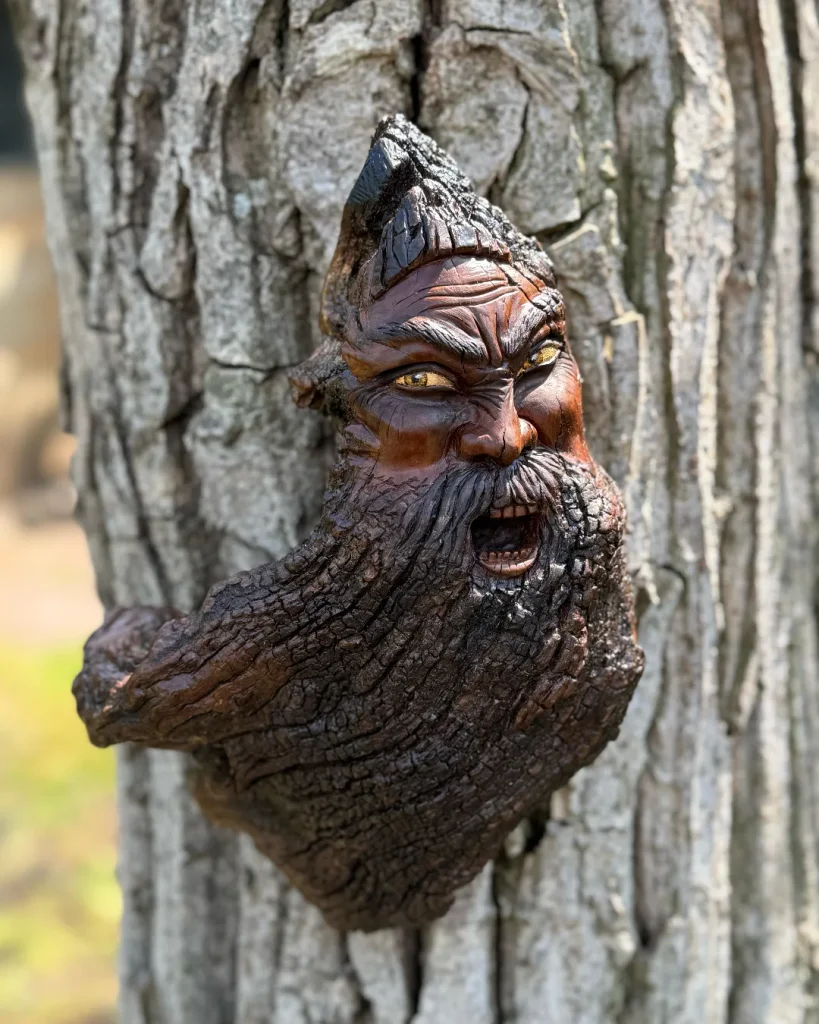
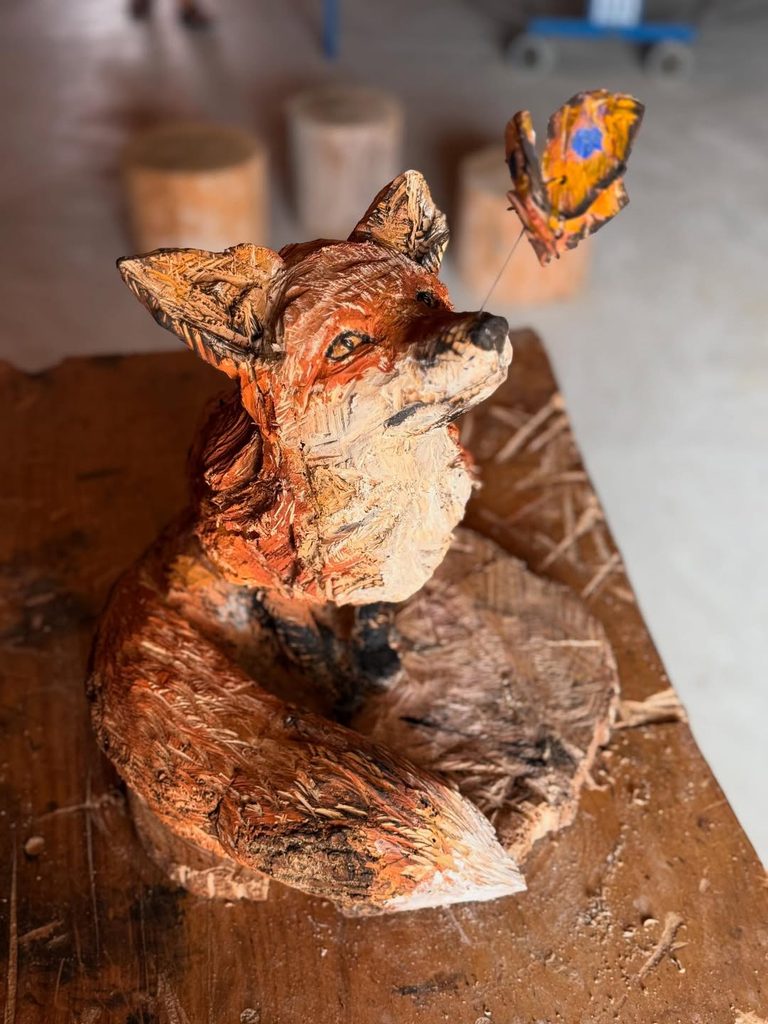
- A realistic animal requires anatomy, texture, and careful planning.
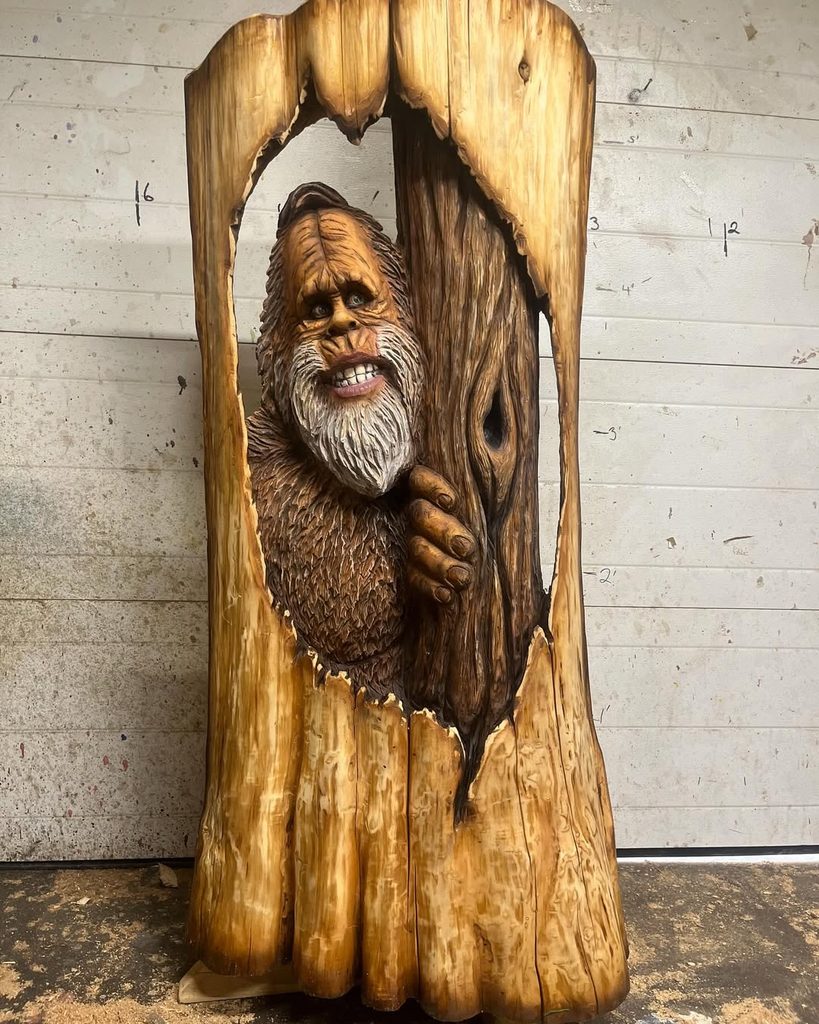
- A caricature figure demands exaggeration, character, and confident cuts.
- A multi-part carving involves joining, assembly, and long-term commitment.
Don’t treat these tiers as rigid gates. If a Tier 3 project excites you and you’ve mastered the fundamentals, go for it. The ladder is a guide, not a rulebook.
How to Pick Your Next Project
Choosing well doesn’t have to be complicated. Try this simple process.
- Identify one new skill you want to practice. Maybe it’s carving concave curves, adding texture, or working with thinner sections.
- Choose a project that requires that skill and little else that’s new. If you want to practice detail, pick a simple shape to add it to, not a complex one.
- Check the size, wood, and tools against what you have. Make sure you’re not setting yourself up for frustration before you even start.
- Estimate the time honestly. Add a buffer, then set a realistic finish date so you don’t lose momentum.
- Test on scrap first. Practice the hardest cut on a piece of scrap wood before touching your good block. It costs almost nothing and saves a lot of heartache.
Warning Signs You’ve Picked the Wrong Level
Sometimes you’ll only realize a project was mismatched once you’re into it. Watch for these signs.
You can check out these Effective Methods that Soften Wood for Carving
It’s too hard if:
- The wood keeps tearing out despite your best efforts.
- Delicate pieces keep breaking off.
- You catch yourself avoiding the difficult section.
- You dread your next carving session.
It’s too easy if:
- You finish quickly without learning anything new.
- You feel bored or on autopilot.
- You could carve it with your eyes closed.
If it’s too hard, don’t force it. Simplify the design, switch to a softer wood, or set the project aside and return to it later. If it’s too easy, that’s a green light to climb a rung and add one new challenge.
Recovering From a Mismatched Project
Everyone picks the wrong project sometimes, and it’s not a failure. A few things can help you recover.
Turn mistakes into design changes. A broken beak can become a shorter, stubbier beak. A chunk that’s too deep can become a deliberate feature. Many carvers find their best ideas come from working around a mistake.
Break the project into stages, and practice the hardest step separately on scrap wood. Tackling one problem at a time is far less daunting than facing the whole carving at once.
And remember that it’s completely fine to shelve a project. Set it aside, build your skills on easier pieces, and come back when you’re ready. That owl isn’t going anywhere.
Conclusion
Choosing the right woodcarving project comes down to three things: knowing your honest skill level, understanding what makes a project easy or hard, and stepping up gradually. Pick a project that teaches you one new thing, not five, and you’ll finish more of what you start.
Also take a look at these 20 Spoooky Woodcarving Projects for Halloween
Skill grows from finished projects, not from ambitious ones abandoned halfway. So start where you are, carve something you can complete, and enjoy the satisfaction of holding a finished piece in your hands. Then pick the next rung.
What are you carving right now, and where do you think you fall on the ladder? Share it in the comments. And if you’re just starting out, check out our guides to easy first carving projects and common beginner mistakes.
