In a digital world dominated by fleeting texts and social media notifications, the act of sending a birthday wish has become increasingly impersonal. Yet, there is a quiet, powerful resurgence in the art of the physical greeting card. For the modern creator, a handmade birthday card is more than just a piece of paper—it is a tangible expression of thoughtfulness, a small piece of art that serves as a permanent memento of a friendship. Whether you are a seasoned crafter or a beginner looking for a creative outlet, these DIY designs prove that you don’t need expensive materials to make someone feel truly seen and celebrated.
13 Creative Handmade Birthday Cards For Friends:
1. The Timeless Calligraphy Classic
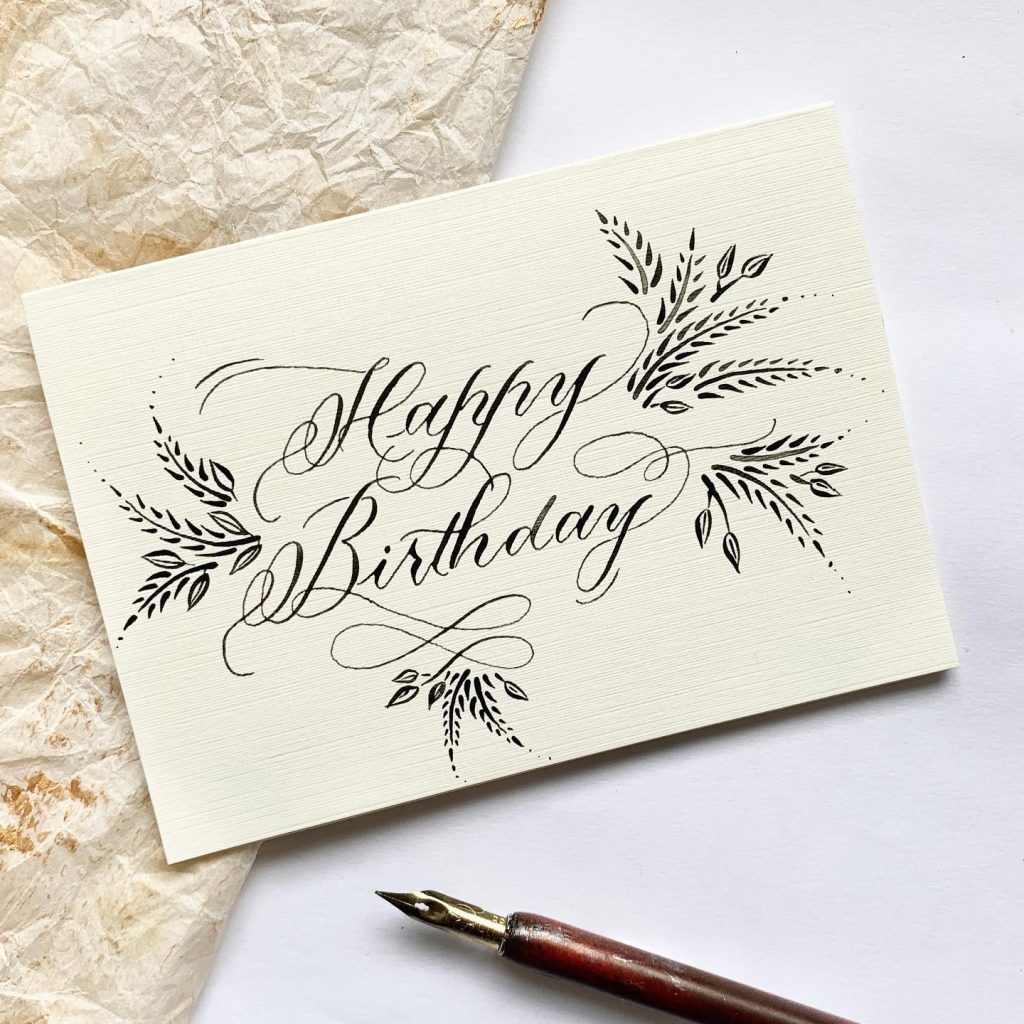
Don’t throw out your best stationery. Use a thick, textured cream-colored card as your canvas and focus on elegant, handwritten calligraphy for the “Happy Birthday” sentiment. Surround the text with delicate botanical sprigs to frame the design. As the ink sets and the fine details emerge, you’ll have a sophisticated, artisanal card that feels deeply personal and refined.
2. The Cheerful Die-Cut Rainbow
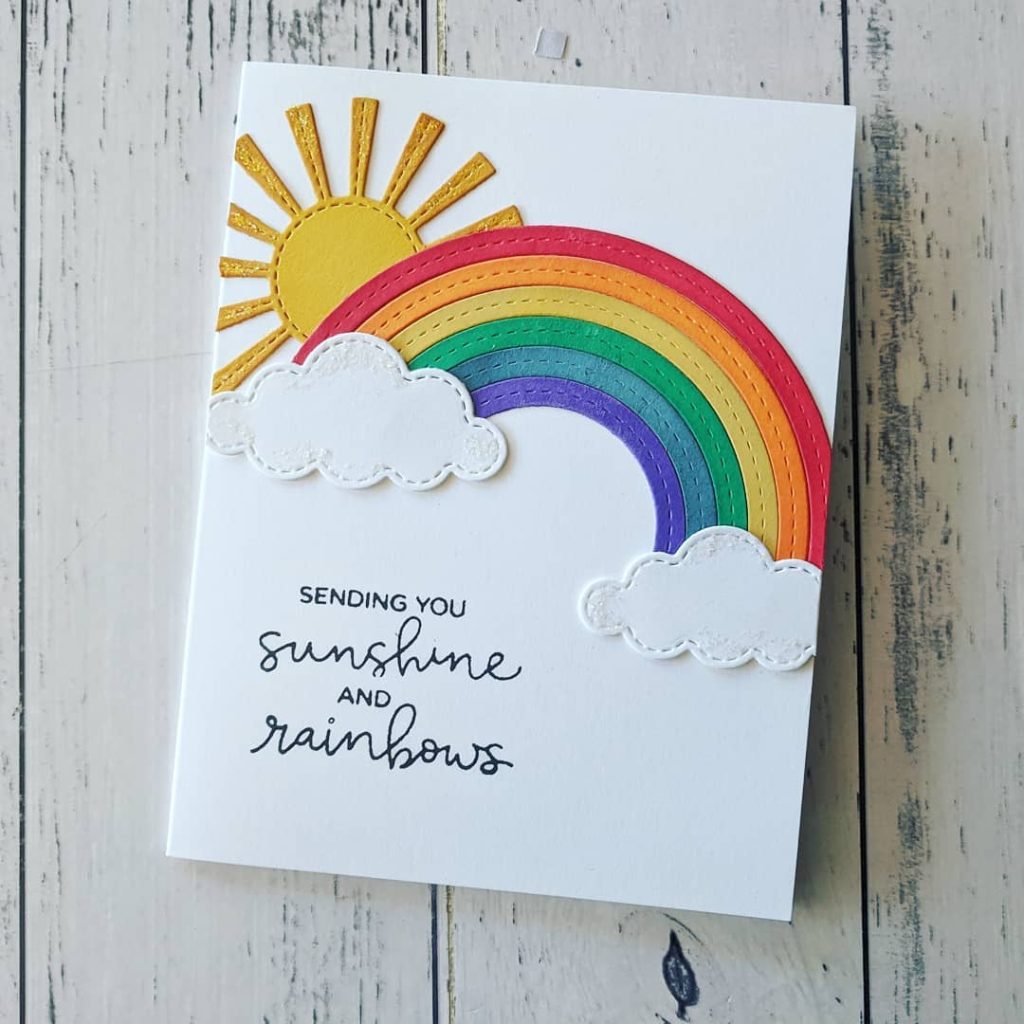
This is a visual showstopper. Layer colorful, die-cut paper arcs to build a vibrant rainbow, then anchor it with bright yellow sun rays and soft, white, stitched clouds. To manage the composition, place the sentiment “Sending you sunshine and rainbows” in a clean, modern font at the bottom. The result is a dimensional, tactile greeting that perfectly captures a mood of pure joy.
3. The Rustic Bohemian Parcel
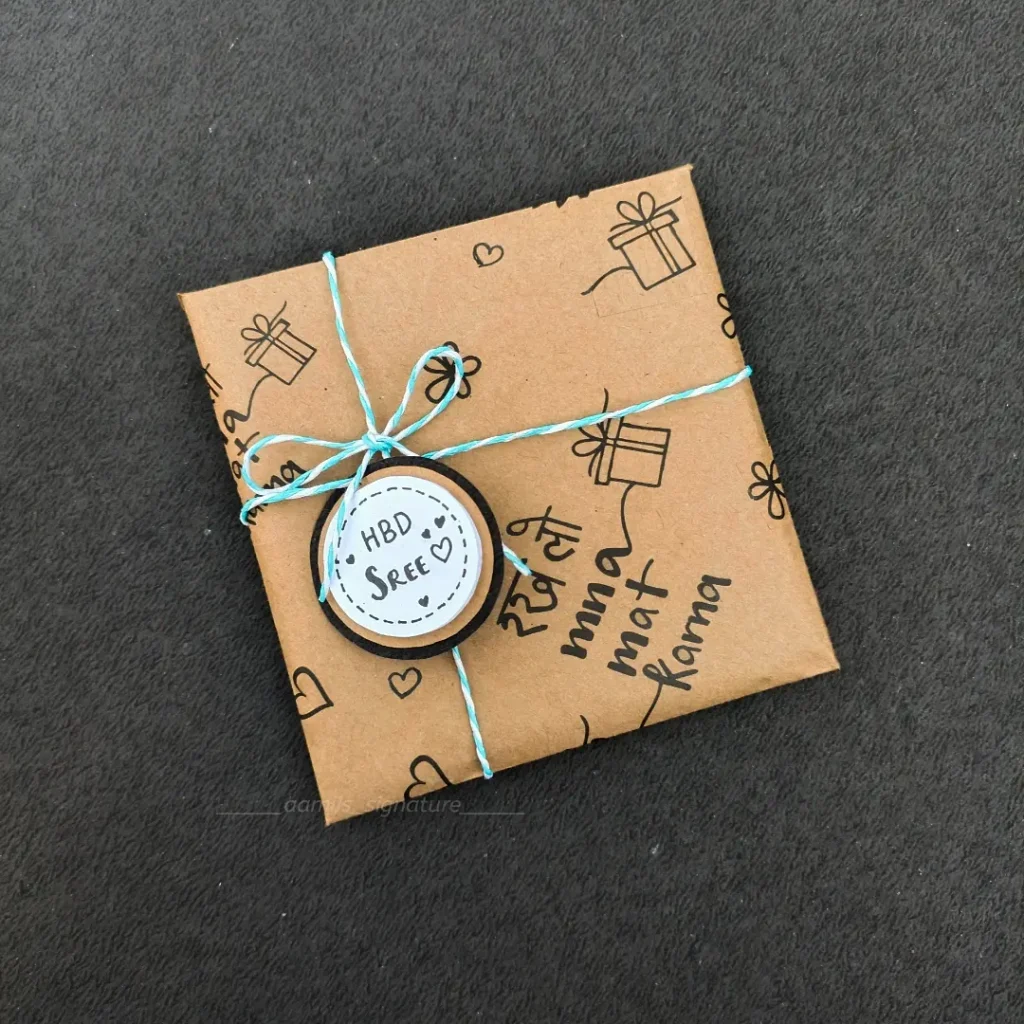
Take the standard birthday card to the next level by making it a feature. Instead of a classic envelope, use a square of recycled, brown kraft paper to wrap your message. Secure the parcel with a simple twine bow, adding a hand-lettered tag and small, stamped doodles of hearts and gifts to the front. As the recipient unwraps the twine, they will find a charming, sustainable, and truly unique birthday surprise.
4. The Mixed-Media Butterfly Dream
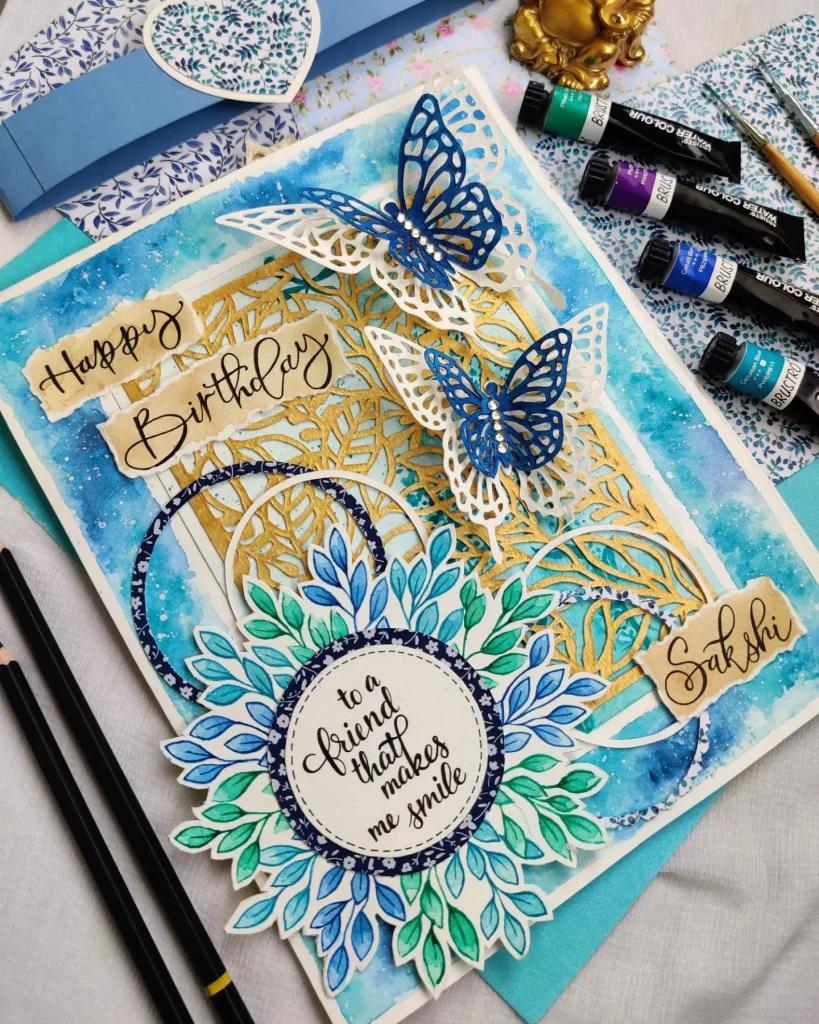
This design is a masterclass in texture and color. Start with a rich, watercolor-washed background, then layer intricate, laser-cut paper butterflies over the top to create a stunning, three-dimensional effect. As the light hits the filigree wings, they will cast beautiful shadows, transforming your card into a vibrant, artistic keepsake that feels like a piece of nature brought to life.
5. The Elegant Butterfly Sentiment
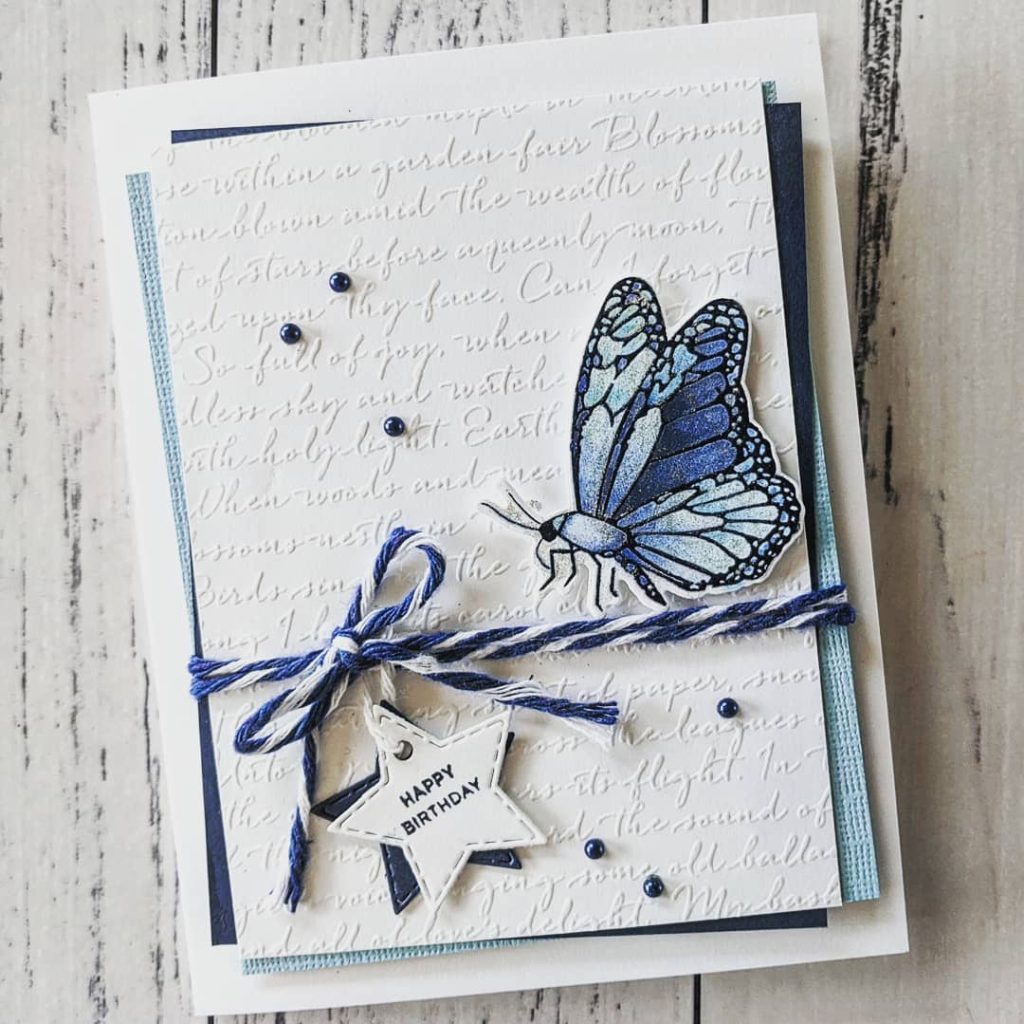
This design balances sophistication with intricate detail. Start with a neutral, embossed background featuring subtle script to add texture and depth. Layer a single, beautifully colored blue butterfly as the focal point, and complete the look by tying blue-and-white twine around the card, finished with a star-shaped “Happy Birthday” tag. The result is a refined, layered masterpiece that feels both thoughtful and serene.
6. The Vibrant Quilled Rainbow
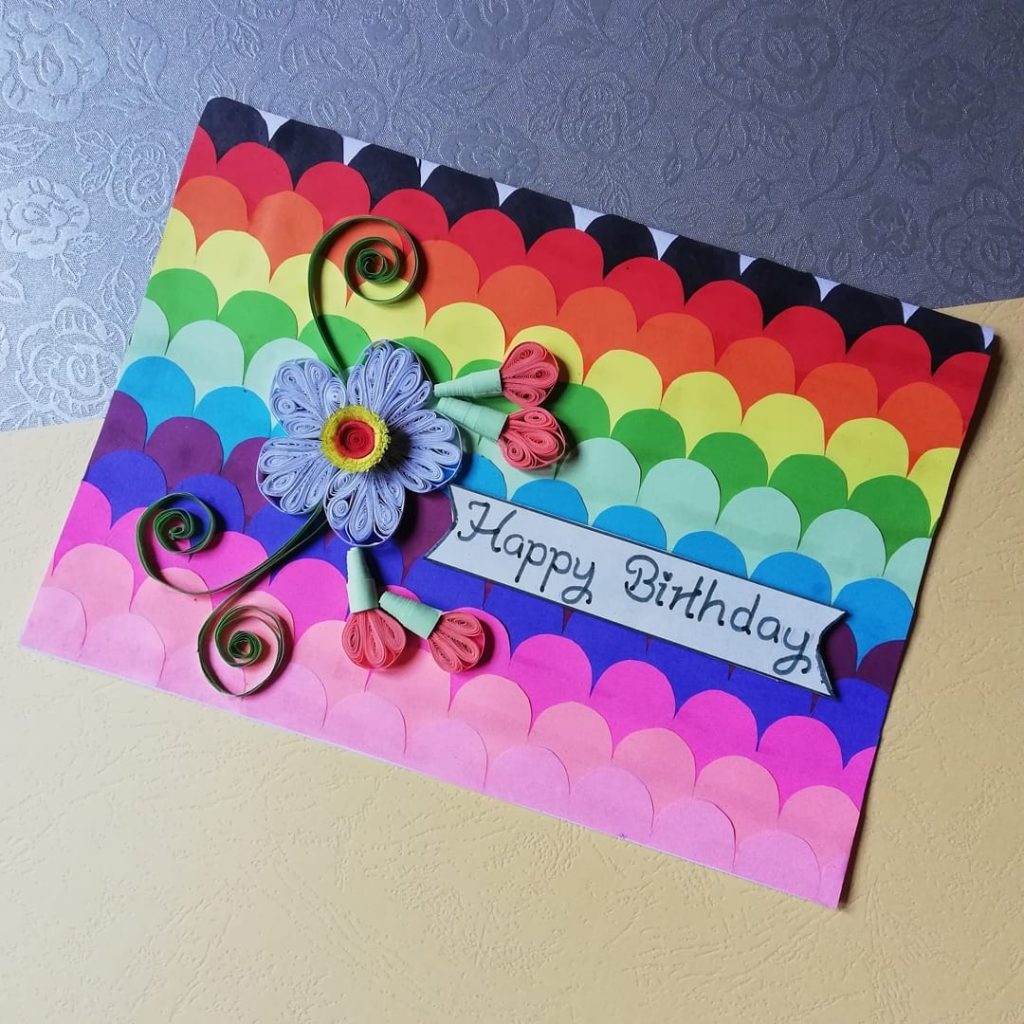
This is a visual showstopper. Create a bright, scalloped rainbow background using layered cardstock to form a lively, colorful base. Embellish the surface with delicate paper quilling to form a 3D floral arrangement, and anchor the design with a simple banner containing the “Happy Birthday” greeting. This playful, textured card is a perfect way to bring extra color and cheer to any friend’s special day.
7. The Floral Bloom Cascade
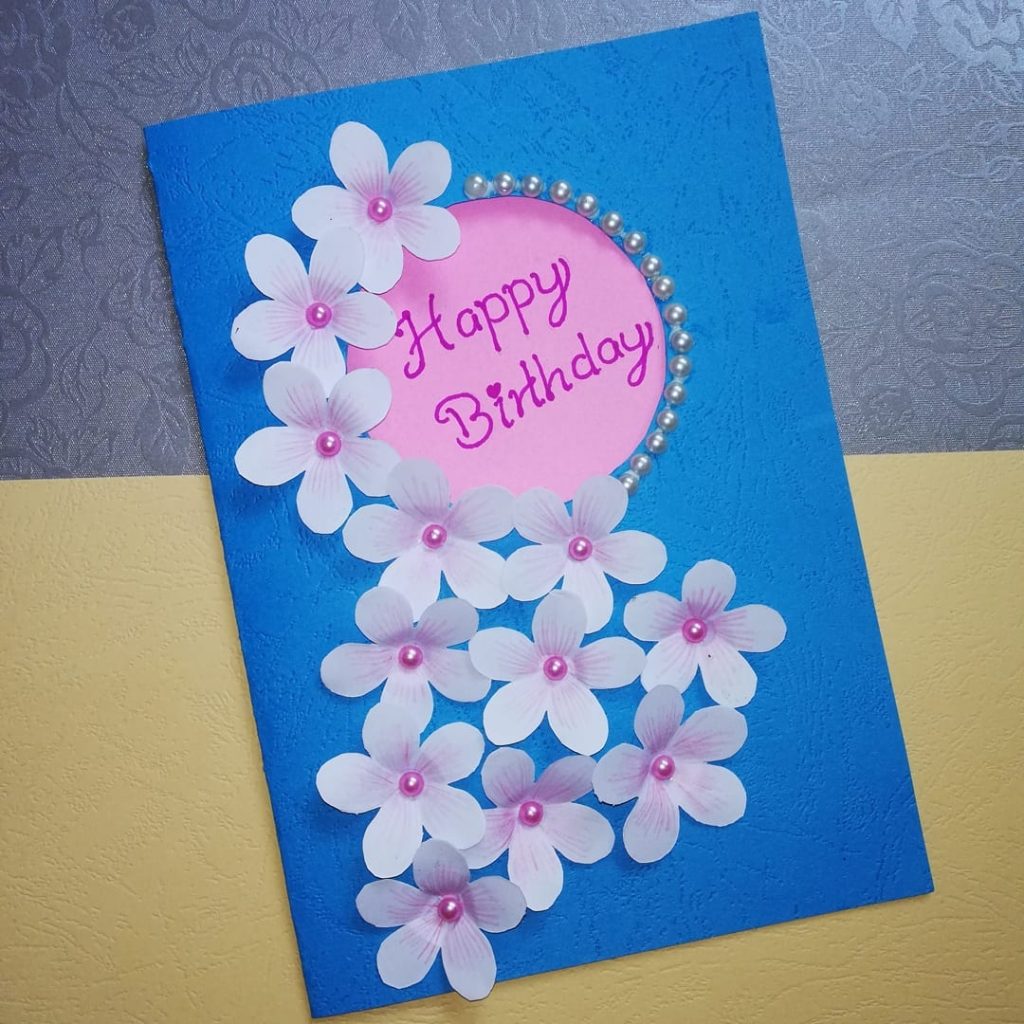
Take the standard birthday card to the next level by making it a feature. Use a bold, solid-colored cardstock as your foundation and arrange a cascade of white paper flowers—each accented with a tiny center gem—around a circular, pink frame. Place the “Happy Birthday” message inside the circle to create a stunning, focal-point effect. As the light reflects off the gems and layered petals, this card becomes a delicate, dimensional, and truly charming birthday surprise.
8. The Vintage Floral Keepsake
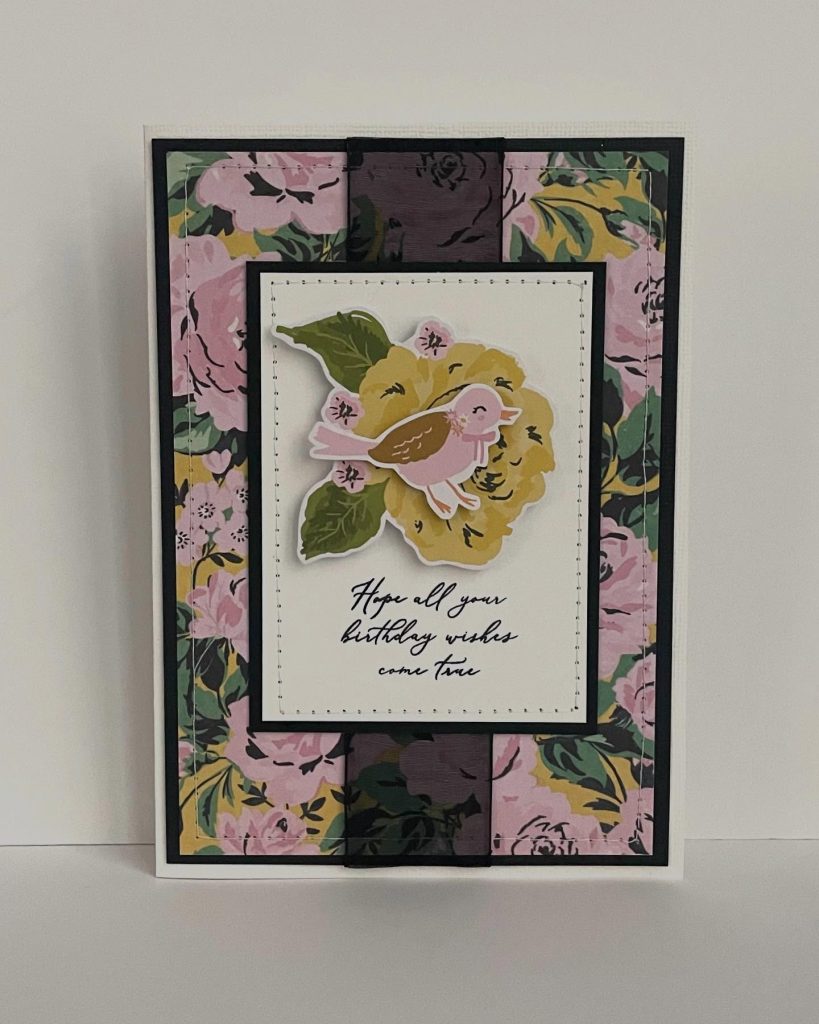
This is a visual showstopper. Layer a rich, vintage-inspired floral patterned paper over a solid frame, then mount a central, cream-colored card featuring a delicate bird illustration and sweet sentiment. To manage the composition, use a dark vertical band to anchor the center, creating a sophisticated and timeless aesthetic that feels like a handcrafted heirloom.
9. The Polka Dot & Petal Pop
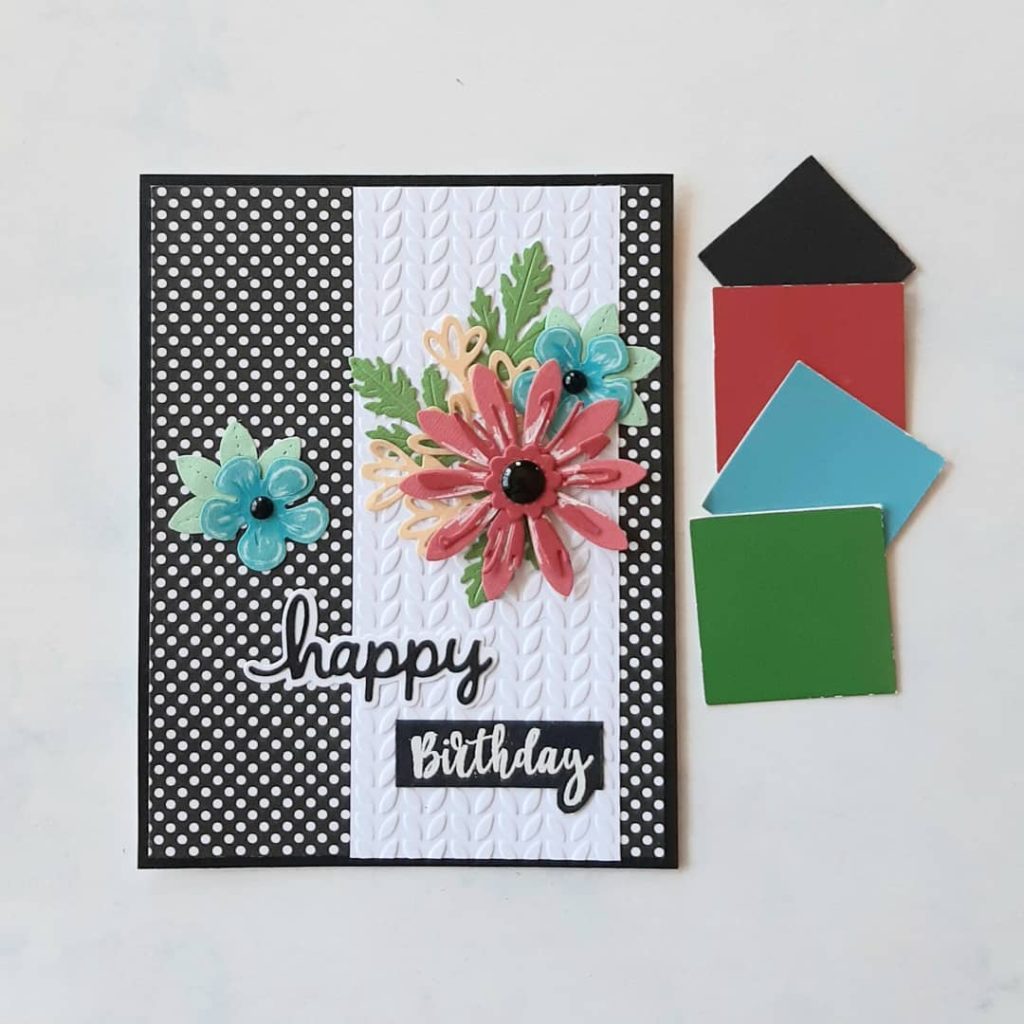
Take the standard birthday card to the next level by making it a feature. Combine a playful, high-contrast black-and-white polka dot background with a clean, embossed white center panel. Decorate with a vibrant cluster of layered paper flowers, and use bold, blocky typography for your “Happy Birthday” message. As the colors pop against the monochrome base, this card becomes a stylish, modern, and energetic birthday surprise.
10. The Beaded Floral Wreath
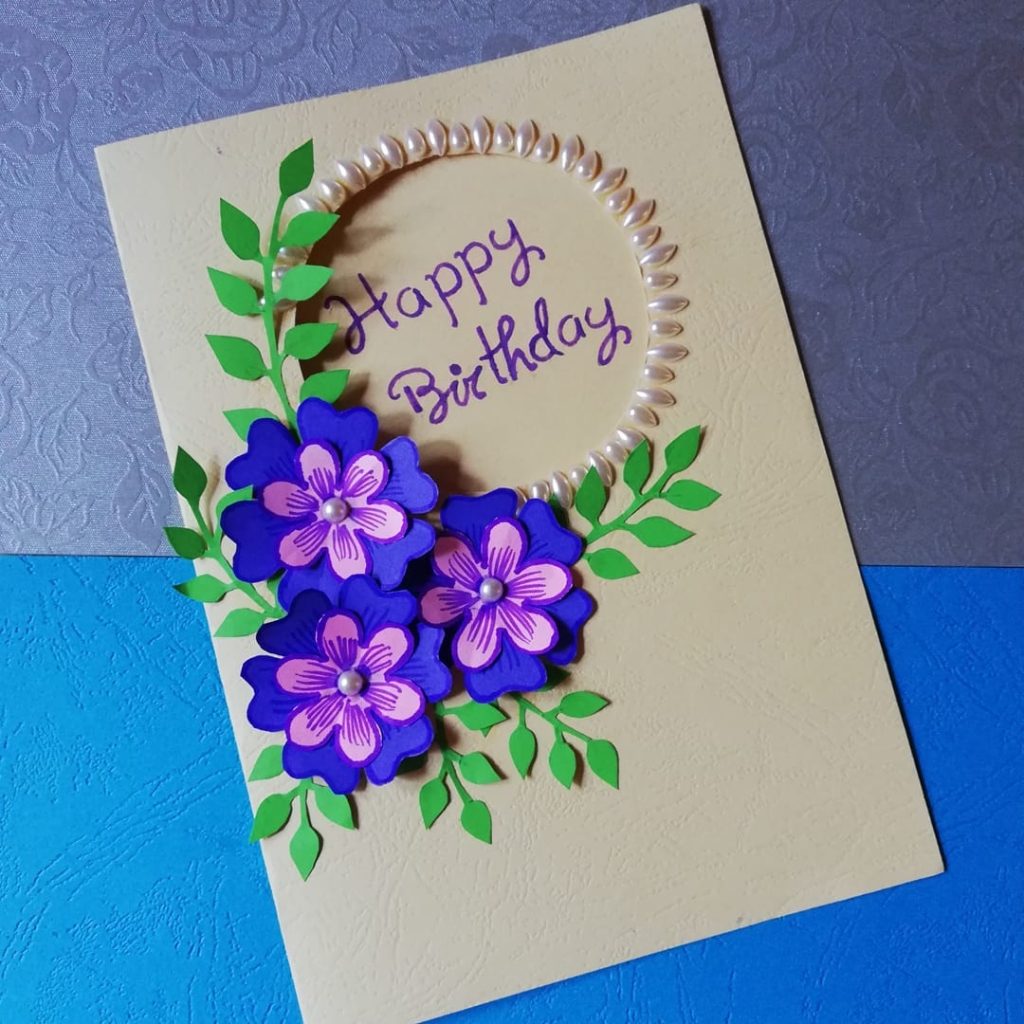
This design balances elegance with artisanal charm. Start with a neutral-toned card and create a circular wreath frame using delicate, luminous beads. Fill the edge of the wreath with vibrant, layered purple paper flowers and intricate green leaves, then hand-letter your “Happy Birthday” greeting in the center. The result is a refined, dimensional masterpiece that brings a touch of nature and luxury to any celebration.
11. The Minimalist Butterfly Elegance
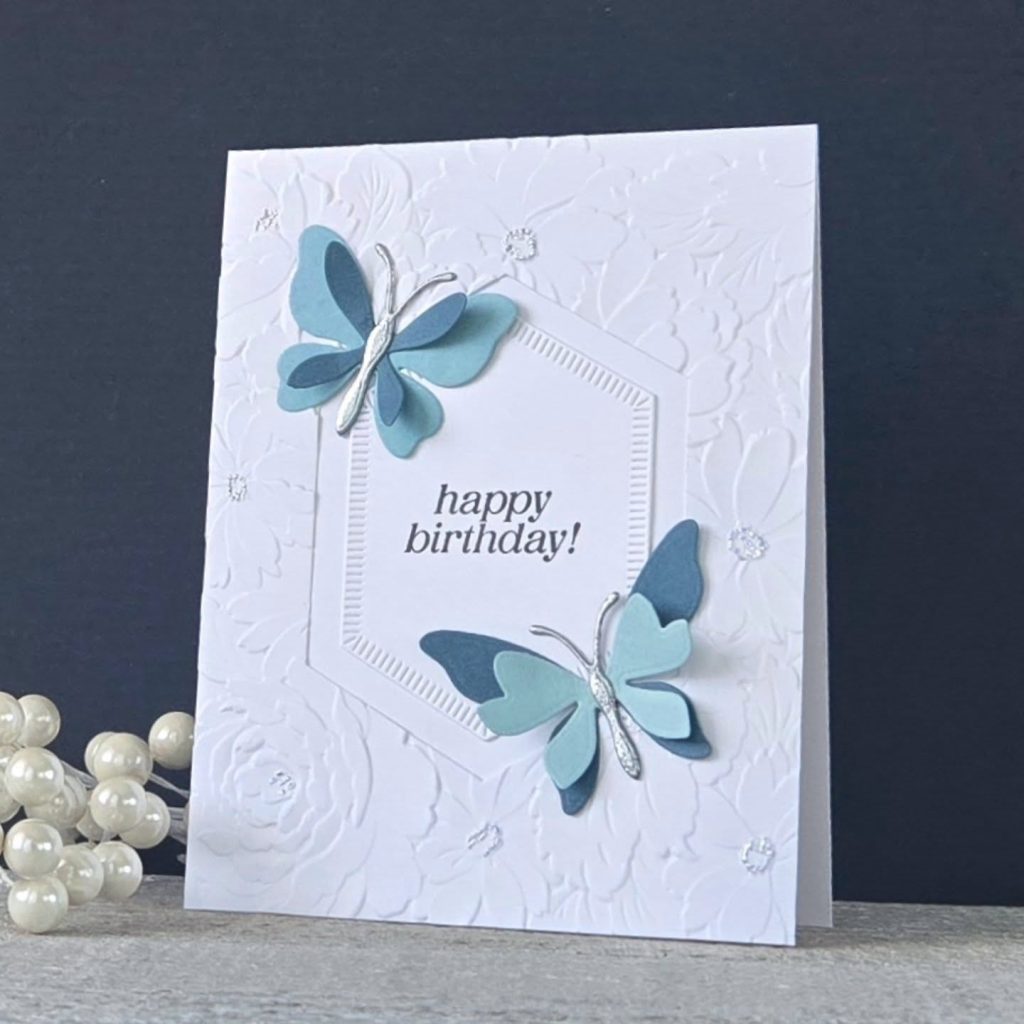
This design relies on texture and subtle dimension to create a refined aesthetic. Start with a crisp, white, embossed cardstock base to serve as a clean canvas. Layer two delicate, soft-blue paper butterflies in opposite corners of a central hexagonal frame, placing the “happy birthday!” sentiment neatly in the middle. The result is a clean, modern, and sophisticated greeting that feels perfectly balanced.
12. The Whimsical Garden Patch
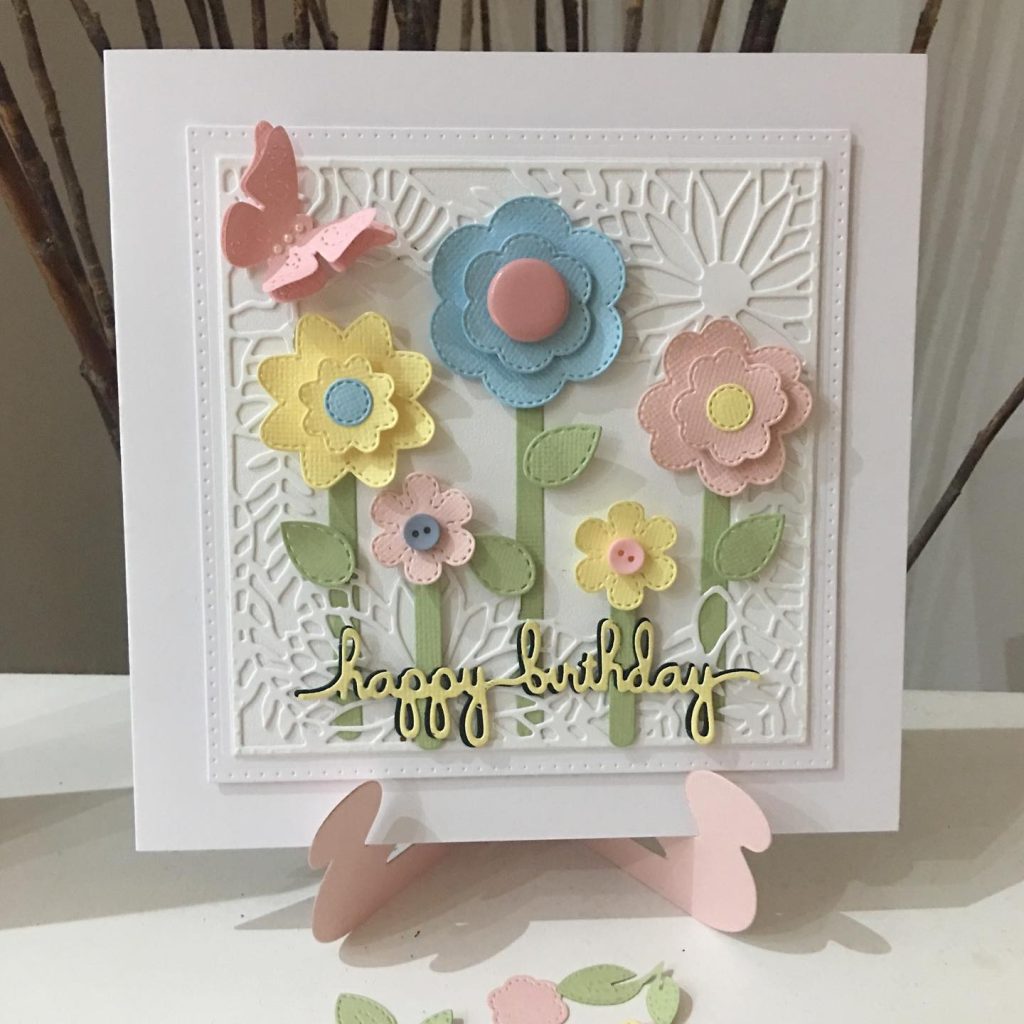
Take the standard birthday card to the next level by making it a feature. Build a cheerful, three-dimensional garden scene using layered, pastel-colored paper flowers and leaves, all mounted on an intricate, die-cut white lattice background. Anchor the design with a handwritten-style “happy birthday” sentiment at the bottom, creating a playful, textured, and delightful birthday surprise that feels like a garden in full bloom.
13. The Vibrant Floral Contrast
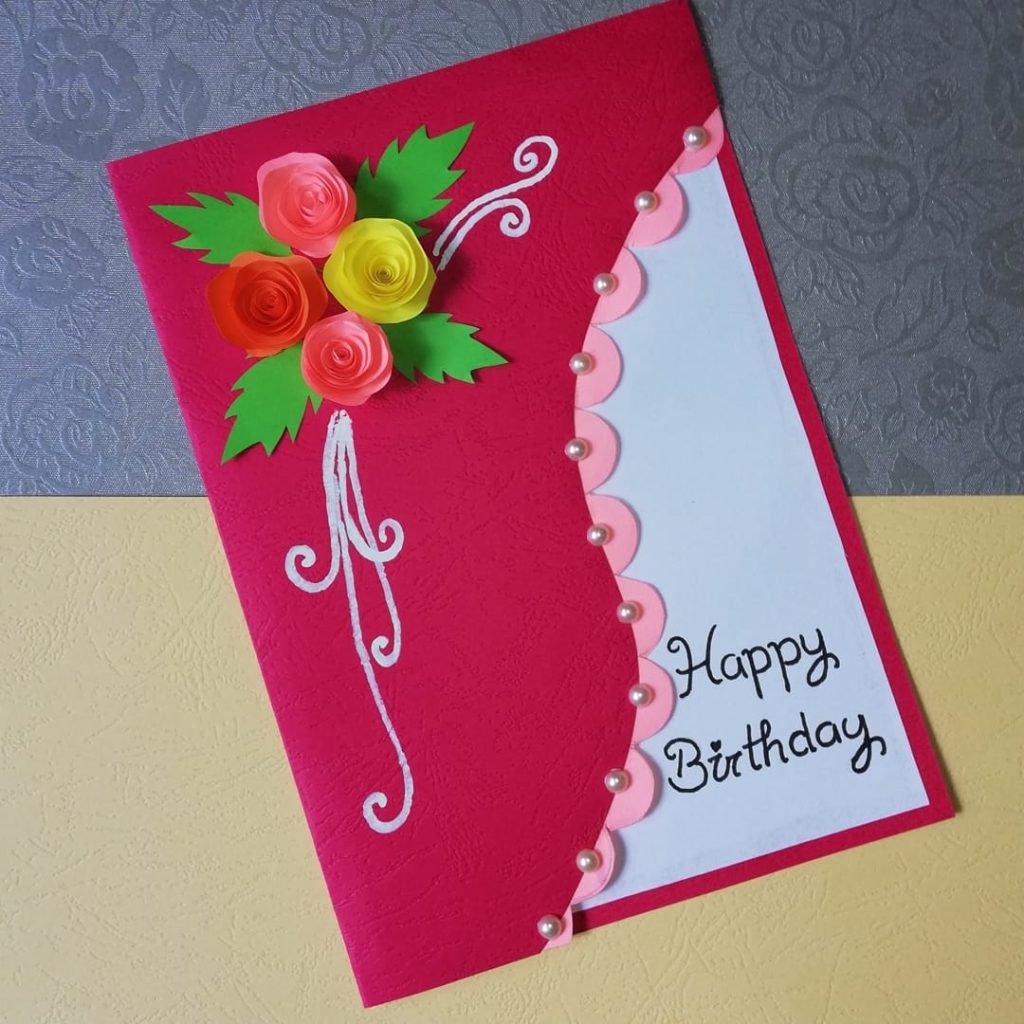
This design uses striking color blocking to make a bold statement. Pair a vivid red card base with a delicate, scalloped-edged white insert, accented by a string of tiny, pearl-like beads along the border. Embellish the top corner with a cluster of bright, rolled-paper roses and green leaves, and finish with a flowing, hand-lettered “Happy Birthday” greeting. This high-contrast design is a vibrant, elegant, and eye-catching way to celebrate a special day.
The Aesthetic of Intention
Handmade cards are not about perfection; they are about intention. By selecting textures, colors, and designs that mirror your friend’s personality, you transform a simple greeting into a personalized keepsake. This collection highlights diverse styles—from minimalist, sophisticated calligraphy to vibrant, multi-layered floral designs—ensuring you find the perfect vibe for every person in your life.
Essential Tips for Your Creative Process
Before you start, keep these three pillars of card-making in mind to ensure your projects are both beautiful and durable:
- Prioritize Quality Cardstock: The foundation of any great card is the paper itself. Opt for heavy-weight, textured cardstock to ensure it stands up on a shelf or mantle without wilting.
- Embrace Dimensional Layers: Adding depth with foam tape, die-cut elements, or layered paper flowers instantly elevates a flat card into a professional-looking art piece.
- Personalize the Sentiment: While a “Happy Birthday” stamp is convenient, adding a handwritten, sincere note inside or on a small tag makes the card a truly personal gift.
Conclusion
Creating a birthday card is a meditative process that allows you to slow down and focus entirely on the person you are celebrating. It is a humble, artistic gesture that stands in stark contrast to the convenience of modern communication. By dedicating your time to crafting something unique, you aren’t just making a card; you are creating a lasting memory. So, pick up some paper, gather your supplies, and let your creativity turn your next birthday greeting into a work of art that your friends will cherish for years to come.
