Some clear finishes require a separate sealer, while others are self-sealing. But technically speaking all film-building finishes are sealers. The distinction lies in their sanding abilities, with some finishes lacking in this aspect. This is where a separate sealer, often with superior sanding abilities, is applied as a base coat. Take lacquer, for example, which exhibits poor sanding abilities, necessitating the use of a separate sealer for optimal results. Here’s how to apply sanding sealer.
What is a sanding sealer?
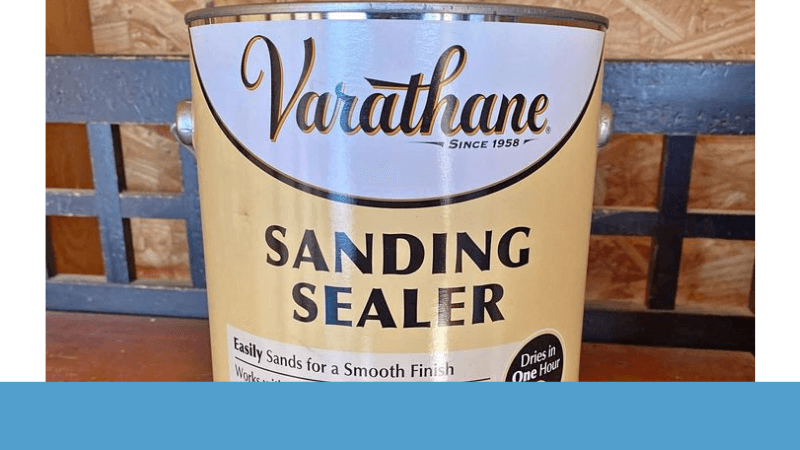
A sanding sealer is a type of sealer specifically designed to enhance the sanding process and improve the overall finish of a project. It is applied as a preliminary coat before the final finish, such as varnish or lacquer, to create a smooth and even surface. The sanding sealer helps to fill in pores, seal the wood, and provide a consistent base for subsequent coats of finish. Its formulation allows for easier sanding, resulting in a finer and more polished end result.
How to apply a sanding sealer
- Prepare the wood surface: Ensure that the wood is clean and free from any dust or debris. Sand the wood using at least 120-grit sandpaper to create a slightly roughened surface for better adhesion of the sealer. Sanding also helps remove any imperfections or previous finishes. After sanding, clean the surface thoroughly using a vacuum or tack cloth to remove any sanding residue.
- Choose your application method: You can apply the sanding sealer using either a brush or a sprayer, depending on your preference and the size of the project.
- Apply the sealer evenly: Dip the brush into the sealer or fill the sprayer with the sealer, ensuring it is well-mixed. Start applying the sealer in long, smooth strokes, working with the grain of the wood. Make sure to coat the wood surface evenly, avoiding any heavy or uneven application that could result in drips or pooling.
- Allow the sealer to dry: Follow the manufacturer’s instructions regarding the drying time of the sealer. Typically, sanding sealers dry relatively quickly. Give it enough time to completely dry before proceeding to the next steps.
- Sand the surface: Once the sealer has dried, lightly sand the surface using fine-grit sandpaper, such as 220-grit. This step helps smooth out any raised grain or imperfections caused by the sealer application, ensuring a smooth and even surface for the subsequent coats of finish.
- Proceed with the final finish: After achieving the desired level of smoothness with the sanding sealer, you can proceed with applying your final finish, such as varnish or lacquer. The sanding sealer acts as a protective barrier and promotes better adhesion of the final finish, resulting in a professional-looking and durable outcome.
Can I use sanding sealer as a finish
Sanding sealer is primarily intended as a preparatory coat to enhance the sanding process and create a smooth surface for the final finish. While it can provide some level of protection, it is not typically recommended to use sanding sealer as a standalone finish.
Sanding sealers are designed to be top-coated with another type of finish, such as varnish, lacquer, or polyurethane, to provide the desired level of protection, durability, and aesthetic appearance. These final finishes offer better resistance to moisture, wear, and other environmental factors.
If you are looking for a finish that provides both protection and a desired appearance, it is generally advisable to apply a suitable topcoat over the sanding sealer. This will ensure that your project receives the necessary level of durability and aesthetic appeal for long-term use and enjoyment.
How to apply sanding sealer: Summary
In summary, sanding sealer is a crucial step in achieving a smooth and polished finish for woodworking projects. It serves as a preparatory coat, filling in pores and providing a consistent base for the final finish. By following a few simple steps, such as preparing the wood surface, applying the sealer evenly, allowing it to dry, and sanding lightly, you can create an ideal foundation for the final finish. However, it’s important to note that sanding sealer is not meant to be used as a standalone finish. To ensure proper protection and aesthetic appeal, it is recommended to apply a suitable topcoat over the sanding sealer. By doing so, you can achieve a professional-looking and long-lasting result for your woodworking projects.