The natural beauty of wood is undeniable, but sometimes you need to enhance its appearance to truly make it stand out. This is where wood stains can play a transformative role. With a wide range of colors and finishes available, stains can give any wood surface a new lease on life, adding depth, vibrancy, and protection against the elements. However, before embarking on any staining project, it’s important to have a solid understanding of the different types of stains and how they work.
Stains are a type of pigmented liquid or dye that is absorbed by wood, resulting in a darker or lighter color. Unlike paints, stains do not create a topcoat on the surface of the wood. Instead, stains penetrate the wood to create a natural, yet enhanced appearance. This means that the wood grain remains visible, allowing the natural beauty of the wood to shine through.
Types of stains
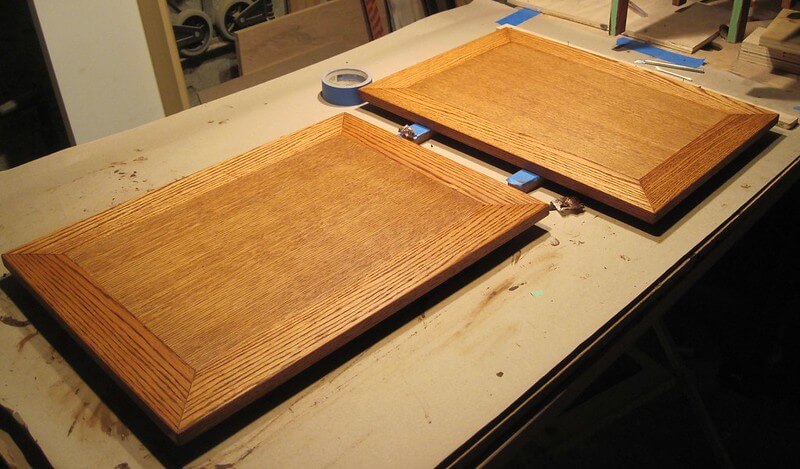
There are two main types of stains: penetrating and surface. Penetrating stains penetrate deep into a wood’s pores, fading with exposure to light and other elements. Surface stains are applied on top of the material and do not change its color or texture.
If you want your new finish to last as long as possible, look for a penetrating stain. Since you won’t be able to remove these stains, make sure you choose an appropriate type before starting any painting project. A variety of colors is available in both types.
Some brands also produce a semi-transparent stain that allows some natural wood grain to show through, giving you more options when designing a room. When choosing your colors, remember that white tends to brighten spaces while darker hues make them appear smaller.
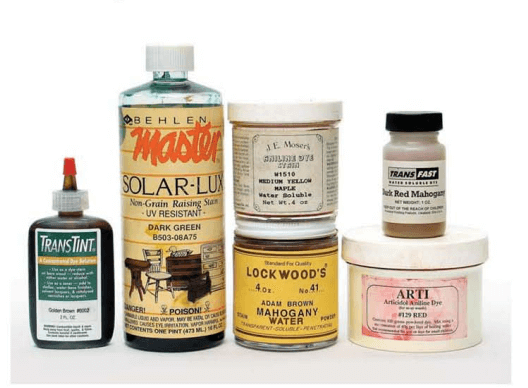
Stains are available in oil-based and water-based formulas. Oil-based stains provide greater protection against moisture but take longer to dry than water-based products. They are also harder to clean up and require ventilation during application.
Water-based stains dry faster than oil-based ones but tend to yellow with age. These products can be cleaned up easily using soap and water without requiring ventilation or special cleanup procedures. In addition, most water-based stains have lower VOC (volatile organic compound) levels than their oil-based counterparts. This makes them safer for homeowners who suffer from allergies or chemical sensitivities.
Before applying either type of stain, test it on a hidden area to ensure it works well with your chosen medium. For example, water-based stains work best with latex paints; oil-based products work better with alkyd paints. You may apply primer first if you plan to use latex paint over an existing oil-based stain. Once you have tested your product and selected a suitable formula, follow all manufacturer instructions before applying it to your wood surfaces.
Other Classifications of stains
Chemical Stains:
Chemical stains, using substances like lye, ammonia, copper sulfate, and potassium dichromate, react with the chemicals naturally present in wood to produce color. However, these stains are dangerous to use, can cause burns, and have health risks. Synthetic dyes have largely replaced chemical stains due to their safer and more convenient application.
Pigment-Based Stains:
Pigment stains consist of finely ground earth or colored synthetic particles mixed with binders and thinners. These stains create an opaque, paint-like coating on the wood surface, effectively hiding the natural wood grain. They are commonly used for techniques like glazing and graining, where the focus is not on showcasing the wood’s beauty. Pigment stains work by lodging in the wood’s pores, resulting in darker and more opaque colors in woods with larger pores such as oak and ash.
Varnish Stains:
Varnish stains use varnish or polyurethane varnish as a binder, along with pigments or dyes. These stains dry into a hard film, eliminating the need for an additional protective topcoat. Varnish stains dry quickly, so care must be taken during application to avoid visible brush marks.
Lacquer Stains:
Lacquer stains employ fast-drying alkyd varnish or lacquer binders in combination with pigments or dyes. They are typically sprayed onto the wood surface and quickly wiped off. Due to their rapid drying nature, lacquer stains require experienced handling and should be applied in well-ventilated areas.
Dye Stains:
Dye stains differ from pigment stains as they dissolve in solvents and do not require binders. They are derived from various sources like plants, insects, animals, and petroleum. Dye stains come in different types based on their solvent compatibility: water-soluble, alcohol-soluble, oil-soluble, and non-grain-raising (NGR) dyes. Water-based dye stains are excellent for achieving uniform colors and are suitable for brush or cloth application. Alcohol and NGR dyes excel in enhancing the wood grain and are used for repairs and touch-ups. Oil-soluble dyes, compatible with oil-based and varnish-based stains, offer transparency and don’t raise the grain.
Oil-Based Stains:
Oil-based stains are popular among consumers and use oil as the binder or solvent. They can be pigment-based, dye-based, or a combination of both. These stains often include linseed oil as a binder, making them easier to apply and forgiving to beginners. The presence of both pigments and dyes in oil-based stains necessitates the use of pre-stain conditioners to ensure even color absorption and prevent blotching.
Gel Stains:
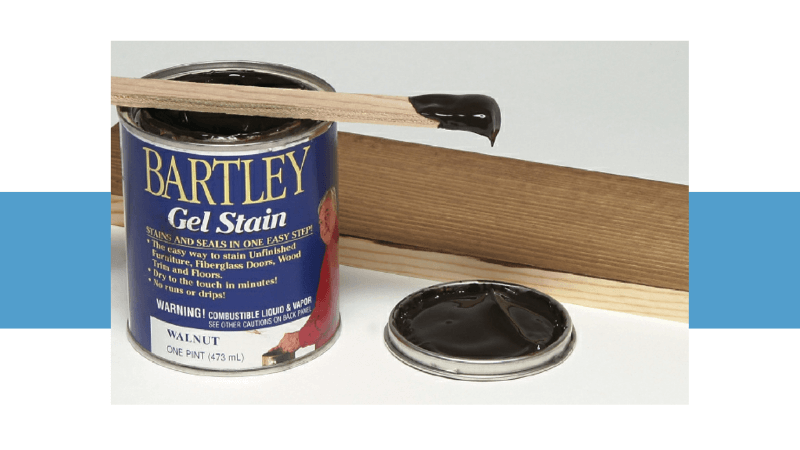
Gel stains are thickened stains that sit on the surface of the wood rather than penetrating it. They are mostly pigment-based and are especially useful for blotchy woods like pine, cherry, maple, and birch. Gel stains minimize blotching and eliminate the need for a wood conditioner or pre-stain treatment. They can be applied over other wood finishes and are often formulated with a varnish binder.
Non-Grain Raising (NGR) Stains:
NGR stains feature dyes dissolved in glycol-ether solvents and are often thinned with acetone. They are exclusively available in liquid form and do not contain binders. NGR stains dry rapidly and provide a flat, even finish without raising the wood grain. However, they can be expensive and toxic, especially in non-concentrated form, necessitating careful use in well-ventilated environments.
How staining works
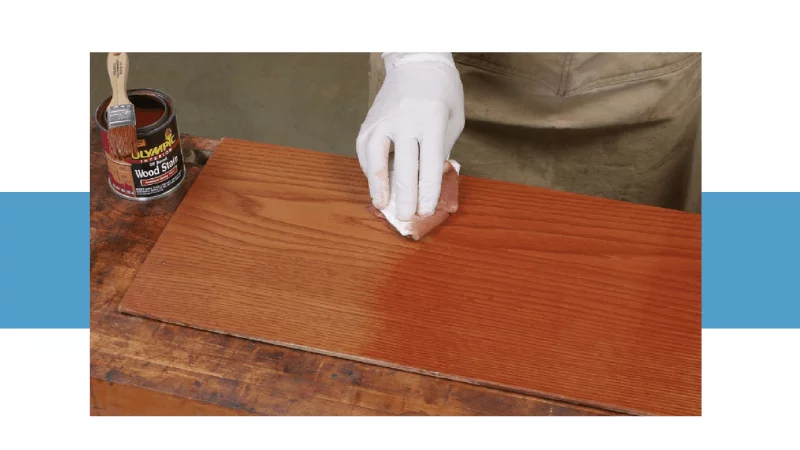
Stain is generally easier to apply than paint because you don’t have to sand, primp, or prime. You just wipe it on and let it dry. However, applying stain correctly requires some forethought—especially if you plan on painting over your newly-stained piece of furniture.
When you apply stain;
- Use a rag or foam brush and coat every surface evenly. If you miss any spots, they will show through when applying your topcoat.
- Allow the stain to dry for at least 24 hours before adding another layer.
- If you decide to add more layers of stain (for added color depth), allow each layer to completely dry before moving on to the next step.
Also, remember that once you start staining, there’s no going back. Once you’ve applied one layer of stain, there isn’t much point in starting over with a new finish because it won’t look very different from what you already have.
So think long and hard about how many coats you want to apply. And remember: The darker the stain, the harder it will be to cover up later! Consult an expert if you need advice on which type of stain is best for your project. Stains come in dozens of colors and finish, so knowing which kind works best can save you time down the road.
Stain compatibility with other finishes
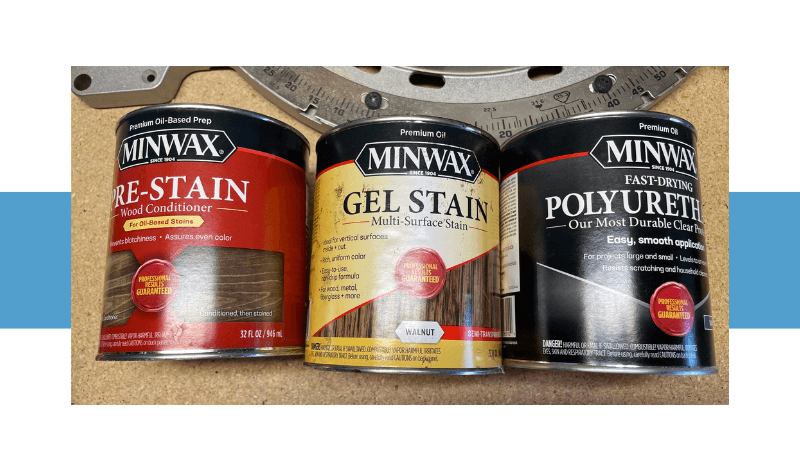
Stains are commonly used in conjunction with other finishes, requiring the application of a topcoat. Additionally, certain wood types may necessitate the use of a sealer or conditioner coat prior to staining. Understanding the compatibility between stains and finishes is crucial for achieving successful staining results. This is especially important when applying finishes through brushing or rubbing techniques.
Sealers:
Sealers are utilized to prepare the wood surface for staining by filling pores and creating a smooth, uniform substrate. In most cases, stains can be applied over a sealer, but it is crucial to use compatible products. Water-based stains can be applied over fully cured water-based sealers, while oil-based stains are suitable for use over oil-based or solvent-based sealers.
See: Can you stain over sanding sealer
Topcoats:
The key to assessing stain and finish compatibility lies in understanding the solvent or thinner used in each product. If both the stain and finish utilize water, alcohol, or lacquer thinner as solvents, compatibility issues are likely to arise.
However, if either the stain or finish employs mineral spirits as a thinner, compatibility problems are unlikely, except when coating over an oil-soluble dye with oil or varnish. This is because a dye dissolved in a solvent is redissolved by a finish containing the same solvent.
Water-based finishes redissolve water and non-grain-raising (NGR) dyes, while shellac redissolves alcohol dye, and oil varnish and lacquer redissolve oil dye. Water-based stains’ binder can be redissolved by glycol ether or lacquer thinner. Water-based finishes contain glycol ether, and lacquer contains lacquer thinner.
Generally, if you spray either of these finishes over a water-based stain, you won’t encounter any problems. However, if you wipe or brush water-based or lacquer finish over water-based stains, the binder may dissolve, and the cloth or brush could lift some of the pigment.
Common staining problems and how to fix them
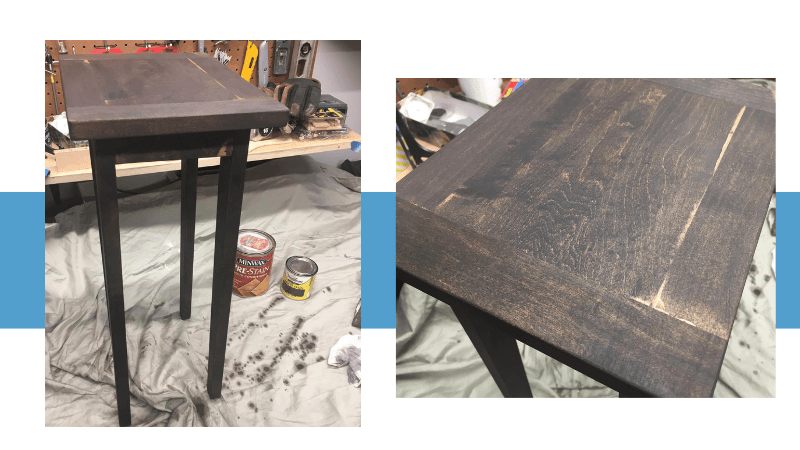
The stain didn’t give you the color implied by the name on the can.
- Problem: The name of the color on the can is a manufacturer’s interpretation; actual colors will vary.
- Cause: Different wood and application methods can affect the color outcome.
- Solution: Test the color on scrap wood before applying it to your project. Remove as much of the color as you can with the appropriate solvent or lacquer thinner, then restain with a color that will give you the desired result.
The stain highlighted washboard-like mill marks and tear-outs that you had not noticed before.
- Problem: The stain penetrates unevenly into mill marks.
- Cause: Mill marks were not planed, scraped, or sanded out before applying the stain.
- Solution: Resand and restain, focusing on removing or minimizing the mill marks. It’s not necessary to remove all of the colors before restaining.
The color came out differently from that of the store sample.
- Problem: The store sample may not match the wood you’re staining in terms of species, color, texture, density, or grain pattern.
- Cause: Different pieces of wood can have variations in color and appearance.
- Solution: Adjust the color of the stain to achieve the desired result. Test the stain on a scrap piece of wood first. You can adjust the color by adding compatible pigment or dye colorants and thinning with the appropriate thinner.
The color came out unevenly on doors, drawers, and other parts of the same furniture or set of cabinets.
- Problem: Different pieces of wood can have different colors, textures, densities, or grain patterns.
- Cause: The variations in wood characteristics result in uneven staining.
- Solution: If the problem is different-colored wood, refer to the previous solutions. If the problem is due to texture, density, or grain pattern differences, painting the wood or applying a faux grain may be necessary.
Stains can also appear differently on solid wood and veneer.
- Problem: Solid wood and veneer may take stains differently, leading to uneven coloring.
- Cause: Variations in wood composition affect stain absorption.
- Solution: Adjust the color on the lighter parts to match the darker parts. Applying a washcoat under the stain can help achieve more even coloring.
The end grain became too dark.
- Problem: The rough end grain absorbs more stain, resulting in a darker appearance.
- Cause: Insufficient sanding or preparation of the end grain before staining.
- Solution: Sand the end grain better before applying the stain, use a washcoat to stiffen the wood fibers and improve sanding effectiveness, or spray the stain and leave it.
The stain bled into the finish, showing up as small spots of color over some of the pores.
- Problem: The finish solvent dissolves the binder in the stain or puts the dye back into the solution.
- Cause: Incompatibility between the stain and the finish.
- Solution: Strip off the finish and restain. Use a different, non-interfering finish or apply a barrier coat of shellac before applying the final finish.
The stain didn’t dry.
- Problem: Oily woods or thick applications of oil-based stain can inhibit drying.
- Cause: The wood’s natural oils or excessive stain thickness interfere with drying.
- Solution: Wash off some of the stain with naphtha, acetone, or lacquer thinner, then restain after the solvent evaporates. The solvent should remove the oil from the surface, allowing the stain to dry.
The wood feels rough or fuzzy after you applied the stain.
- Problem: The stain contains water, causing the grain to raise slightly.
- Cause: Water-based stains or certain dyes can raise the grain.
- Solution: Lightly sand off the raised grain with used
Key takeaways: Wood Stains
- Wood stains can enhance the appearance of wood surfaces by adding depth, vibrancy, and protection against the elements.
- There are two main types of stains: penetrating and surface stains, each with its own characteristics.
- Stains are available in oil-based and water-based formulas, offering different drying times and cleanup requirements.
- Understanding stain compatibility with other finishes is crucial for achieving successful staining results.
- Knowing how to apply stains correctly, test colors, and address common staining problems can help you achieve desired results.