Curly hair is often celebrated for its volume, bounce, and personality—but when the temperature rises or a special occasion calls for elegance, many curlies default to the same high ponytail or messy bun. The truth is, curly hair is uniquely suited to updos. Its natural grip holds pins securely, its texture conceals backcombing and imperfections, and its three-dimensional shape creates intricate designs without hours of sculpting.
Whether you have tight coils, loose spirals, or anything in between, the right updo can protect your ends, showcase your face, and turn your curls into a work of art.
Below are 11 structured ideas, ranging from five-minute casual styles to red-carper-worthy looks. Each idea includes the best curl type for it, difficulty level, and a quick styling tip.
1. The Pineapple Puff (Low Difficulty, High Impact)
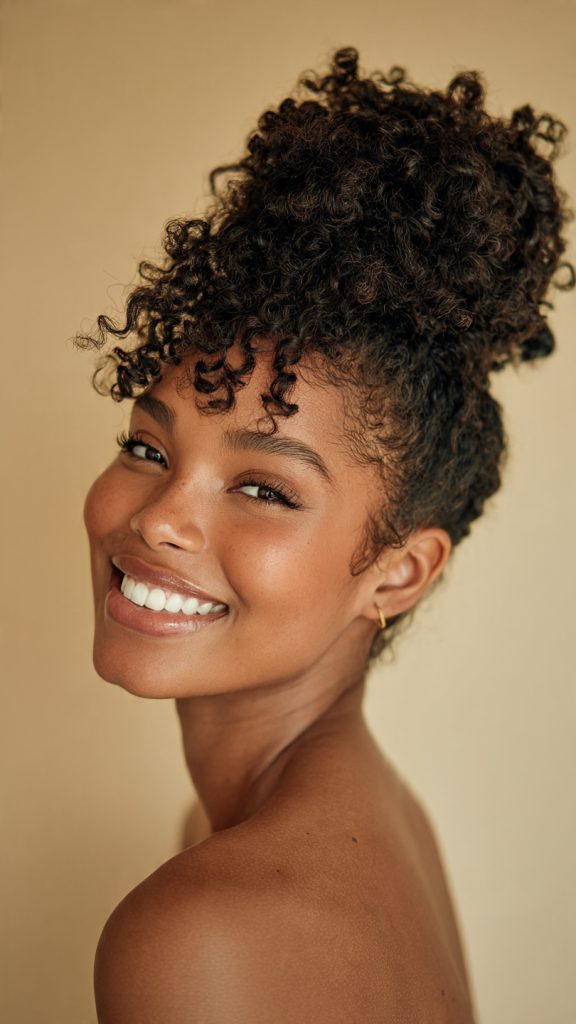
Best for: Type 3A–4C
This isn’t just a sleep-protection method—it’s a legitimate updo. Gather all your curls loosely at the very crown of your head and secure with a satin scrunchie. Let the ends fan out like a fountain. The height elongates the face, and the loose under-curls soften the look.
Tip: Leave two small tendrils by your ears for a romantic finish.
2. The Curly French Twist (Chic & Sleek)
Best for: Type 2C–3B
Sweep all curls to one side, then twist them vertically upward along the back of your head. Pin against the twist’s outer edge with U-shaped pins (not bobby pins). The natural coil texture hides the pins completely, giving the illusion of a seamless, polished roll.
Tip: Apply a light-hold gel before twisting to tame frizz without losing volume.
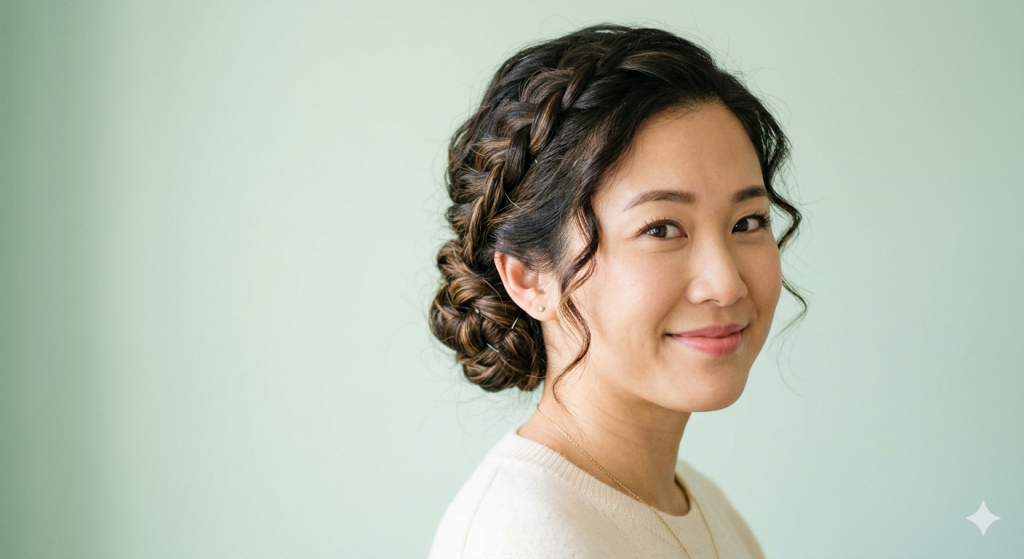
3. The Rope-Braid Crown (Boho Goddess)
Best for: Type 3A–3C
Divide your hair into two sections. Twist each section tightly (like a two-strand rope) and then wrap both ropes around your head, pinning as you go. Overlap the ends at the nape or tuck them under. The result is a braided halo that stays put for hours.
Tip: For extra hold, use a texturizing spray on each section before twisting.
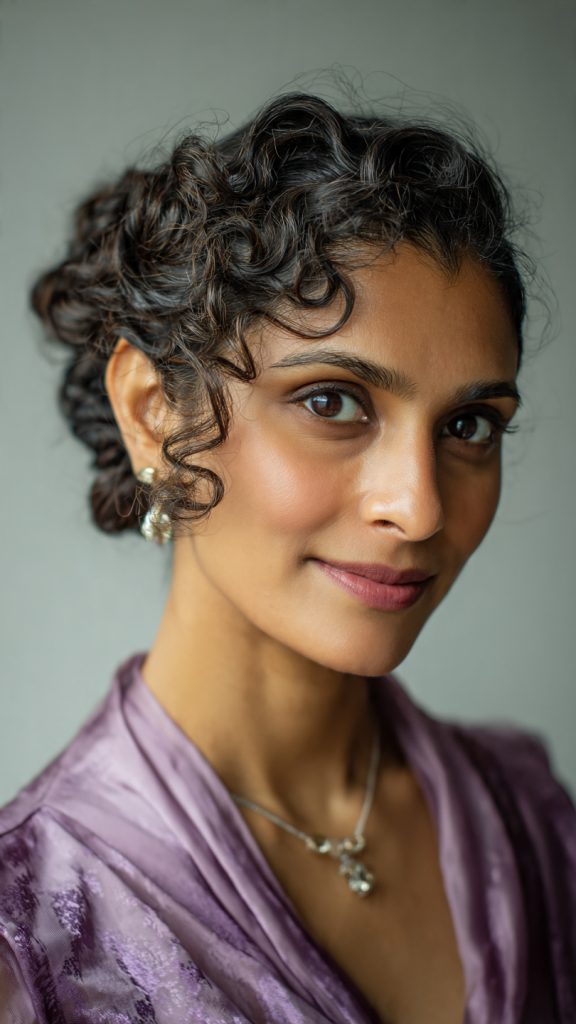
4. The Low Coiled Chignon (Minimalist & Elegant)
Best for: Type 3B–4A
Gather curls into a low ponytail at the nape. Split the ponytail into two or three sections, coil each into a flat spiral, and pin them side by side. This creates a clustered, rose-like shape. It’s surprisingly secure and looks intricate despite taking only four minutes.
Tip: Don’t over-coil—leave the ends slightly loose to soften the shape.
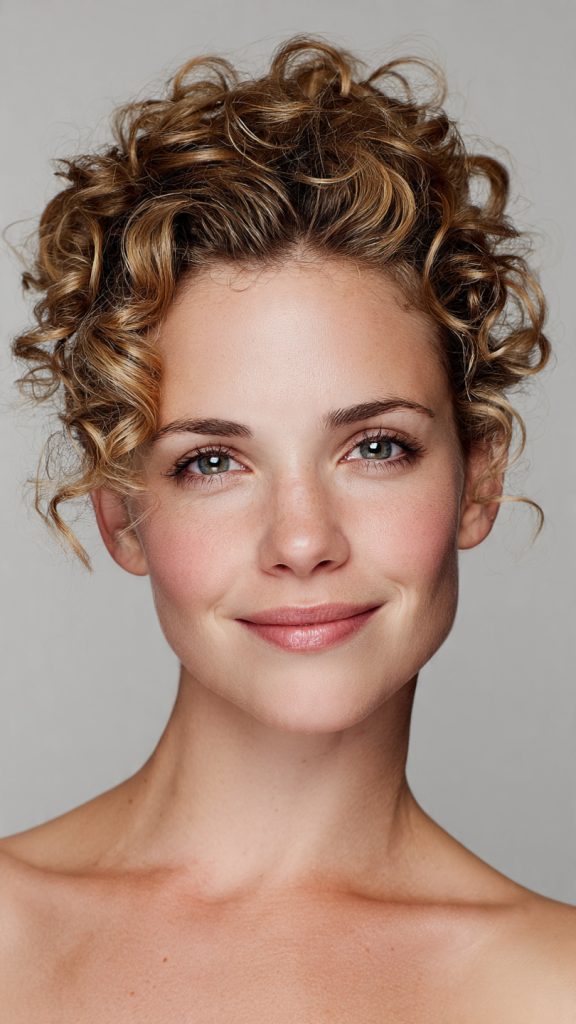
5. The Half-Up Curly Knot (Effortless Cool)
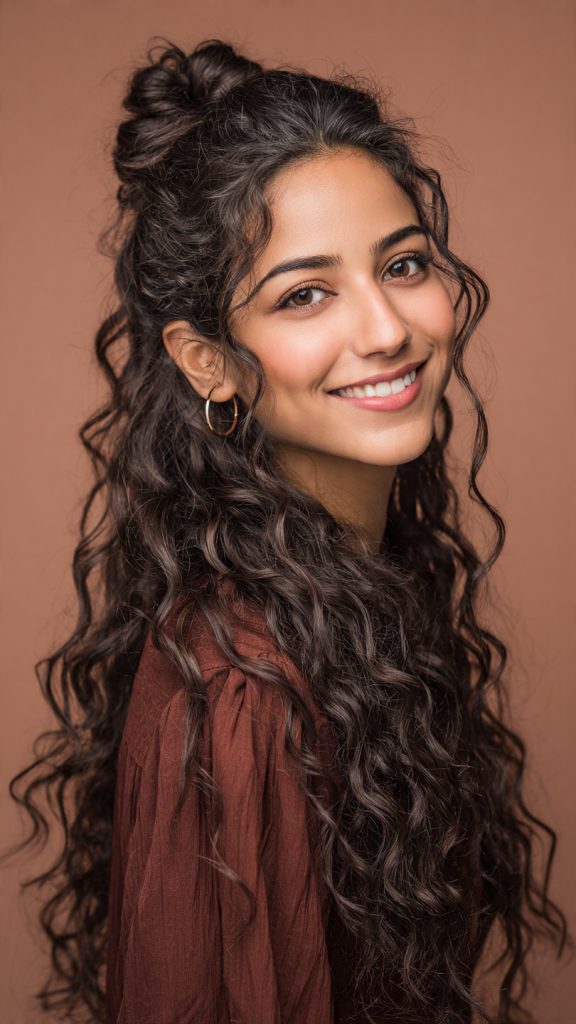
Best for: Type 2C–3C
Take the top half of your curls (from ear to ear) and tie them into a single loose knot—like the first step of tying a shoelace. Pull the ends through and pin the knot flat against your crown. Leave the bottom half flowing. It reads as both undone and deliberate.
Tip: Gently tug the knot’s edges to widen it; a too-tight knot looks severe.
6. The Voluminous Bubble Pony (Fun & Playful)
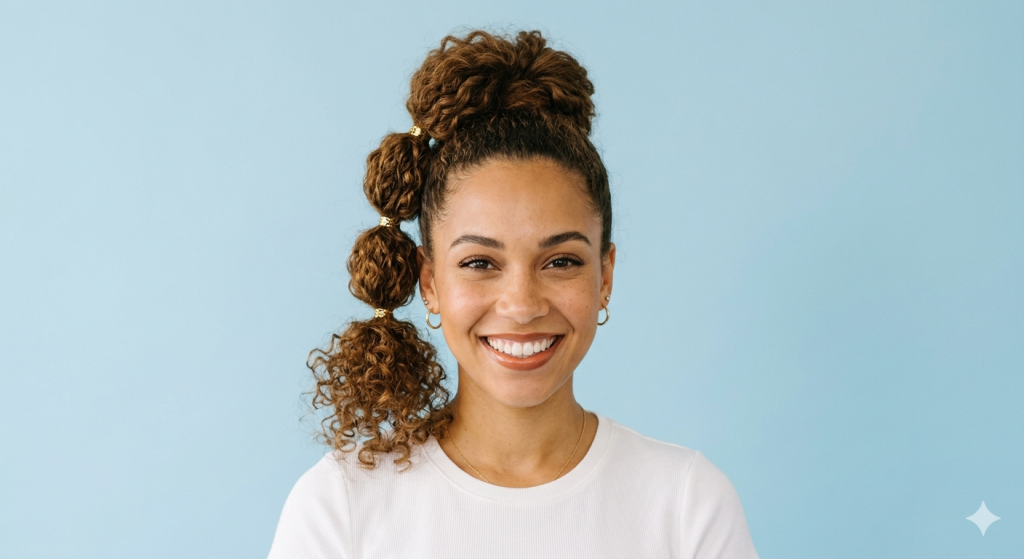
Best for: Type 3A–4B
Make a high ponytail. Then, add elastic hair ties every 2–3 inches down the length of the ponytail. Gently pancake (pull apart) each segment between the ties to create round, bubble-like sections. Curly hair already has natural fullness, so this style looks instantly celebratory.
Tip: Use clear elastics so they disappear against dark or light curls.
7. The Side-Swept Clustered Curls (Red Carpet Ready)
Best for: Type 3B–4C
Brush all curls to one shoulder, then randomly pin small clusters of curls flat against your head in that side-swept direction. Let other clusters remain slightly puffed. The contrast between pinned and free curls creates a dramatic, asymmetrical silhouette.
Tip: Work with dry, day-old curls—freshly washed hair is too slippery.
8. The Faux Hawk Curl Roll (Edgy & Bold)

Best for: Type 3A–4A
Section the middle of your head from forehead to nape. Twist that middle section into a tight roll and pin it standing upright along your center line. Then, brush the side sections back and pin them toward the base of the roll. The curls on the sides will hide the pins.
Tip: Use a strong-hold mousse on damp hair and diffuse dry for maximum lift.
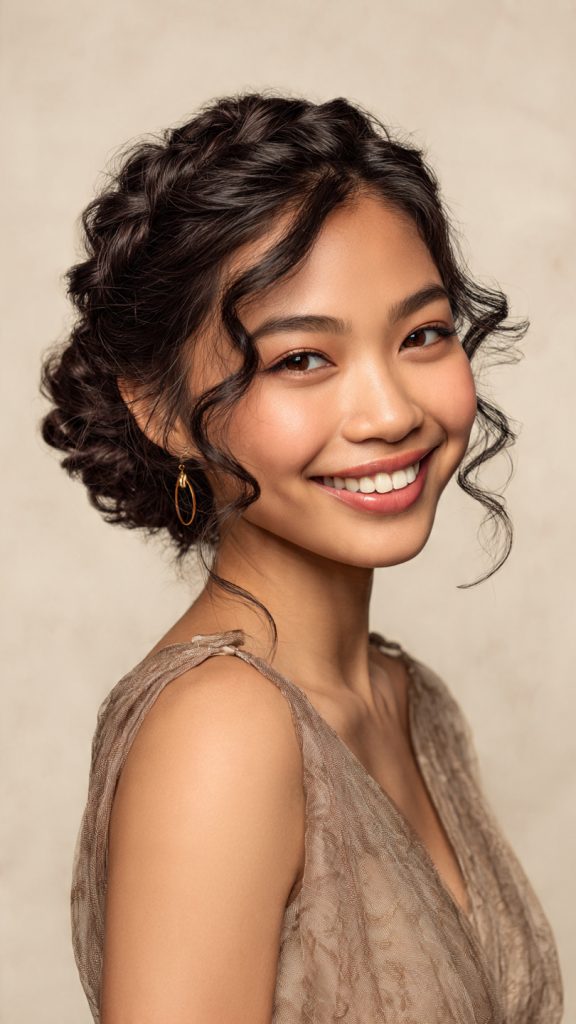
9. The Low-Slung Braided Bun (Romantic & Tidy)
Best for: Type 2C–3C
Braid all your curls into one loose three-strand braid starting at the nape. Then, wrap the braid around its own base to form a bun. Pin through the braid’s segments. Because curls already have texture, even a sloppy braid looks intentionally rustic.
Tip: Pull a few small curls out of the braid before wrapping for an airy effect.
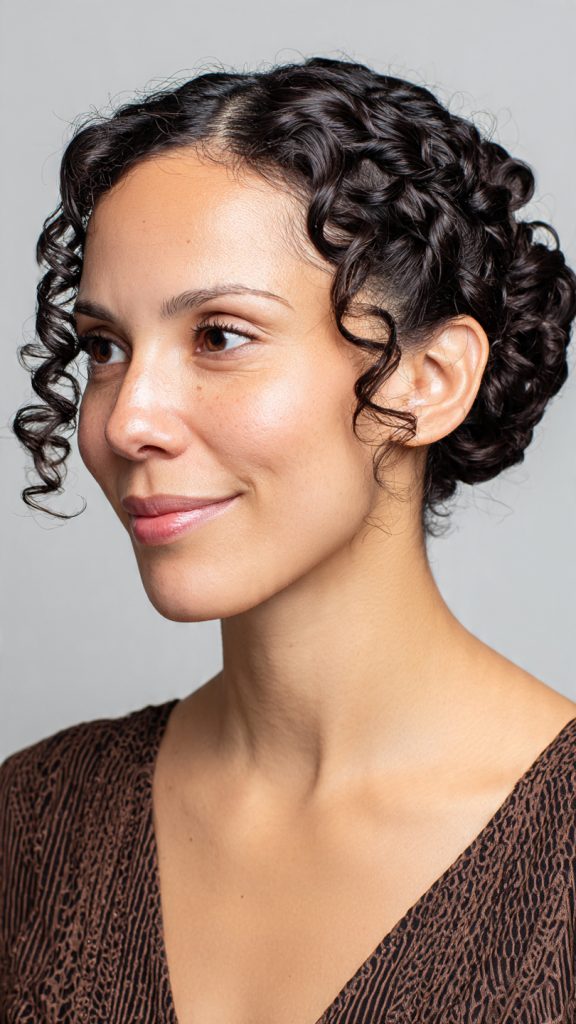
10. The Pin-Curl Updo (Heatless Vintage)
Best for: Type 3B–4C
On damp curls, form two rows of flat pin curls (coils pinned flat against the scalp) going upward from your nape to your crown. Let them dry completely (overnight or under a dryer). Once dry, remove the pins—but leave the curls stacked and pinned in place. The result is a finger-wave-like sculpture made entirely of your natural pattern.
Tip: Set with a light hairspray before removing the initial pins.
11. The One-Minute Curly Claw Clip Updo (The Real MVP)

Best for: All curl types
Twist all curls loosely upward, fold the tail end down, and clamp a large claw clip horizontally over the folded mass. That’s it. The clip’s teeth grip curly textures far better than straight hair, so it won’t slide down. You can go from pajamas to presentable in under 60 seconds.
Tip: Use a clip with silicone grips inside the jaws for all-day security.
Why Curly Hair Excels at Updos (More Than Straight Hair)
Before we dive into the styles themselves, it helps to understand why curly hair is secretly the best canvas for updos.
| Feature | How It Helps Your Updo |
|---|---|
| Natural grip | Curls lock onto bobby pins and hairpins without slipping |
| Built-in volume | You don’t need backcombing or bump-its for height |
| Texture hides imperfections | A slightly messy pin job looks intentional, not sloppy |
| Shape memory | Curls hold twists, braids, and coils longer than straight hair |
| Forgives mistakes | Pull a pin out and reposition without visible damage |
In short: straight-haired people spend 20 minutes creating texture so their updos don’t fall apart. You already have that texture. Use it.
What You’ll Need (Tools & Products)
You don’t need a salon inventory. These six items cover 90% of curly updos.
Essential Tools:
- U-shaped hairpins (better than bobby pins for curly hair—they grip more surface area)
- Satin scrunchies (no ripping, no dents)
- Wide-tooth comb (for sectioning only—never dry-brushing)
- Large claw clips (one medium, one large)
- Small elastic bands (clear or black, fabric-covered preferred)
- Edge control or lightweight gel (for smoothing, not crunching)
Optional but helpful:
- Texturizing spray (adds grip for day-old curls)
- Satin scarf (for preserving the style overnight)
- Flexible hold hairspray (alcohol-free only)
Pre-Styling Prep: The Golden Rules
A curly updo done on the wrong hair state will fail within an hour. Follow these rules.
Rule 1: Start with day-two or day-three curls
Freshly washed curls are too slippery and soft. Pins will slide out. Your sweet spot is 24–48 hours after wash day.
Rule 2: Do not brush dry curls
Never. Use your fingers or a wide-tooth comb on damp hair only. Brushing dry curls destroys the curl pattern and creates frizz that no gel can tame.
Rule 3: Apply product from mid-length to ends only
Keep gel, mousse, or cream away from your roots if you want volume. Product on the scalp weighs everything down.
Rule 4: Stretch first if you have tight coils (Type 4)
For Type 4B–4C hair, lightly stretch your curls with a twist-out or braid-out the night before. This adds length and makes pinning far easier.
Rule 5: Test your pins
Before committing to a full updo, place one U-shaped pin into your curls. If it falls out, your hair needs more texture (try a salt spray) or your pins are too smooth (roughen them slightly with a nail file).
How to Make Any Curly Updo Last All Day
Even the most beautiful updo is useless if it collapses by lunchtime. Use this checklist.
| Time | Action |
|---|---|
| Morning (pre-style) | Spritz with water + leave-in conditioner (1:4 ratio) to refresh curl memory |
| During styling | Cross pins in an “X” pattern—this locks them in place |
| Immediately after | Lightly mist with flexible-hold hairspray from 12 inches away |
| First hour of wear | Don’t touch it. Let the style settle. |
| Midday | If something droops, add one extra pin—do not redo the whole style |
| Evening | Remove pins slowly, finger-detangle, then pineapple for sleep |
The #1 secret: Use three times as many pins as you think you need. Curly hair is heavy. One pin per 2 square inches of hair is the minimum.
Common Mistakes to Avoid (Even Experienced Curlies Make These)
- Mistake #1: Using bobby pins instead of U-shaped pins.
Fix: Bobby pins flatten curls. U-shaped pins hug them. - Mistake #2: Twisting hair too tightly.
Fix: A firm twist is good. A painful twist will give you a headache and break strands. - Mistake #3: Ignoring your nape hairs.
Fix: Those tiny curls at the back of your neck are not “messy”—pin them up or leave them as intentional baby hairs. Don’t ignore them. - Mistake #4: Using heavy creams or butters before an updo.
Fix: Save heavy products for wash-and-go styles. For updos, use lightweight gels or mousses. - Mistake #5: Expecting an updo to last on soaking wet hair.
Fix: Damp is fine. Wet is a disaster (hair shrinks as it dries and pulls everything loose).
Nighttime Preservation: From Updo to Next Day
You spent time on your updo. Why not get two days out of it?
If you want to sleep in the updo:
Wrap your head in a satin or silk scarf, tying it at the forehead. Sleep on a satin pillowcase. In the morning, gently fluff with your fingers—do not remove pins until you’re ready to restyle.
If you want to take it down but preserve curls for tomorrow:
Remove all pins slowly. Flip your head upside down and gather curls into a high, loose pineapple with a satin scrunchie. Put on a satin bonnet. In the morning, shake out the pineapple and refresh with a water-spray bottle.
Do not brush out curls after removing an updo. You will create a frizz cloud. Finger-detangle only.
Conclusion
Curly hair does not need to be straightened, flattened, or fought into submission to look elegant. The 11 updos in this article prove that your natural texture is not a limitation—it is the entire advantage.
From the 60-second claw clip style for rushed mornings to the vintage pin-curl sculpture for weddings and galas, there is an updo here for every curl type, every skill level, and every occasion. The key is to stop treating your curls as something to “tame” and start treating them as the structural gift they are.
Remember the golden rules: start with day-old curls, use U-shaped pins, cross them in X’s, and never brush dry hair. Beyond that, experiment. A slightly crooked pin here, a loose tendril there—these are not flaws. They are the signatures of curly hair worn well.
So the next time you have an event, a hot day, or just a desire to see your face in a new way, skip the flat iron. Reach for a scrunchie, gather your curls, and trust that they already know what to do.
Your curls are not messy. They are architecture. Now go build something beautiful.