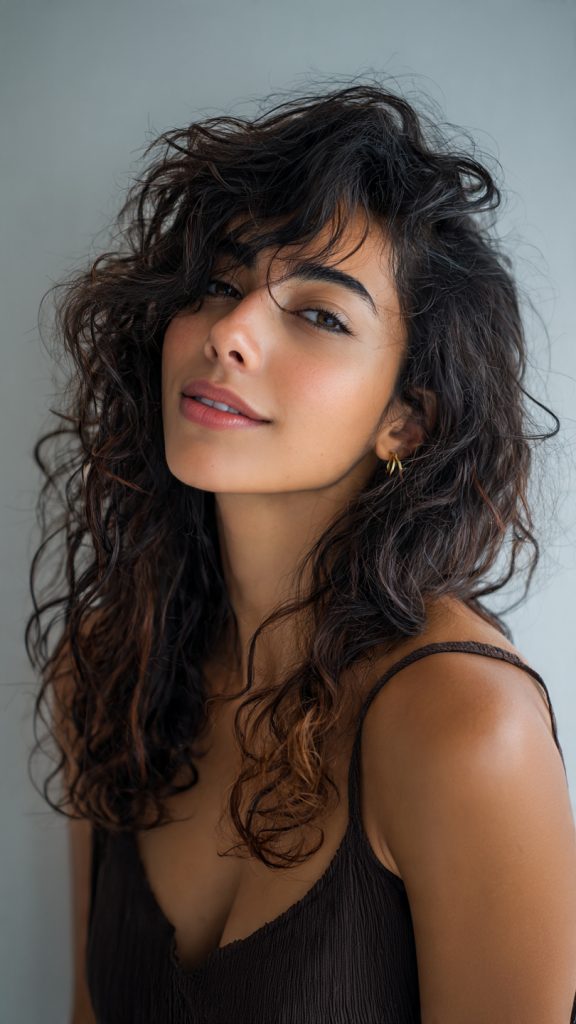
If you have thin hair and natural curls, you’ve likely faced a frustrating paradox: curls can make hair look fuller, but thin curly hair often falls flat, looks stringy, or reveals too much scalp. The good news? With the right cut, styling techniques, and products, you can transform fine, thin curls into a bouncy, voluminous mane.
The key is avoiding heavy layers, harsh products, or overly long lengths that weigh hair down. Instead, focus on strategic shaping, root lift, and lightweight hold.
Below are 10 well-structured ideas to help you embrace your curly texture while creating the illusion of density and thickness:
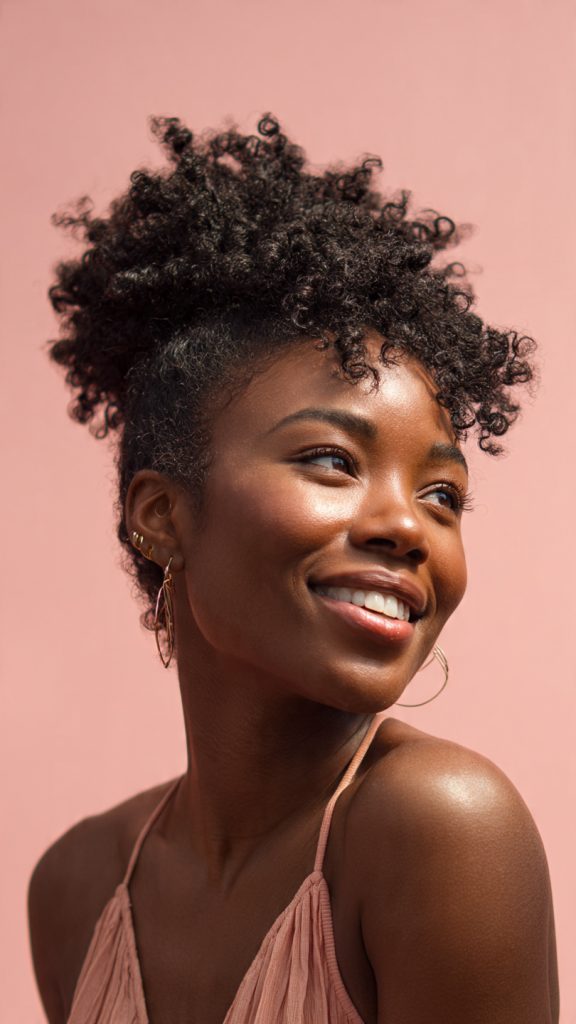
1. The Curly Pixie Cut
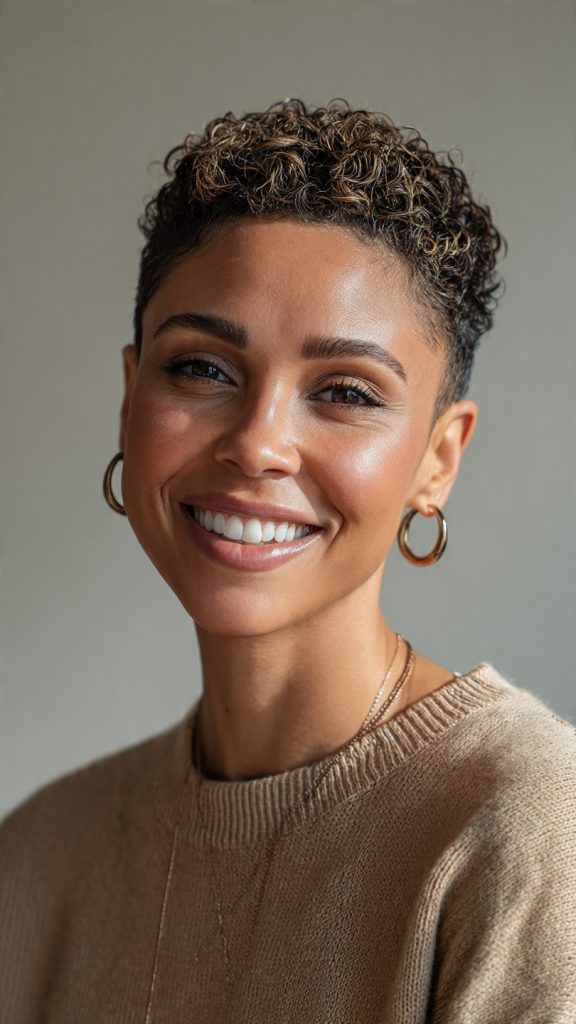
Why it works: Removing length eliminates weight, allowing curls to spring up and create natural lift at the roots.
- Best for: Very fine hair that struggles to hold any wave longer than a few inches.
- Styling tip: Use a volumizing mousse on damp hair and scrunch upside down. Air-dry or diffuse on low heat.
- Maintenance: Trim every 4–6 weeks to keep the shape tight and bouncy.
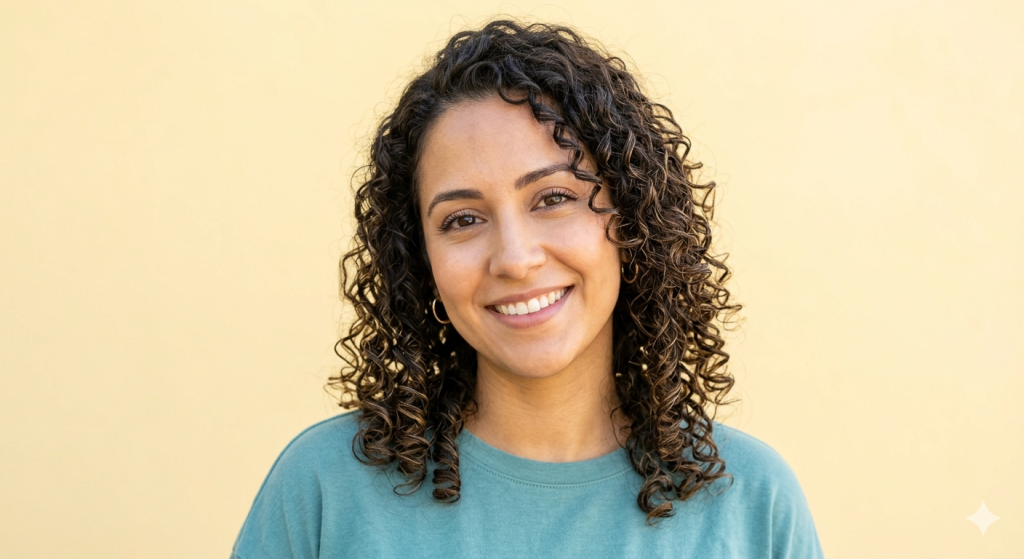
2. Layered Lob (Long Bob)
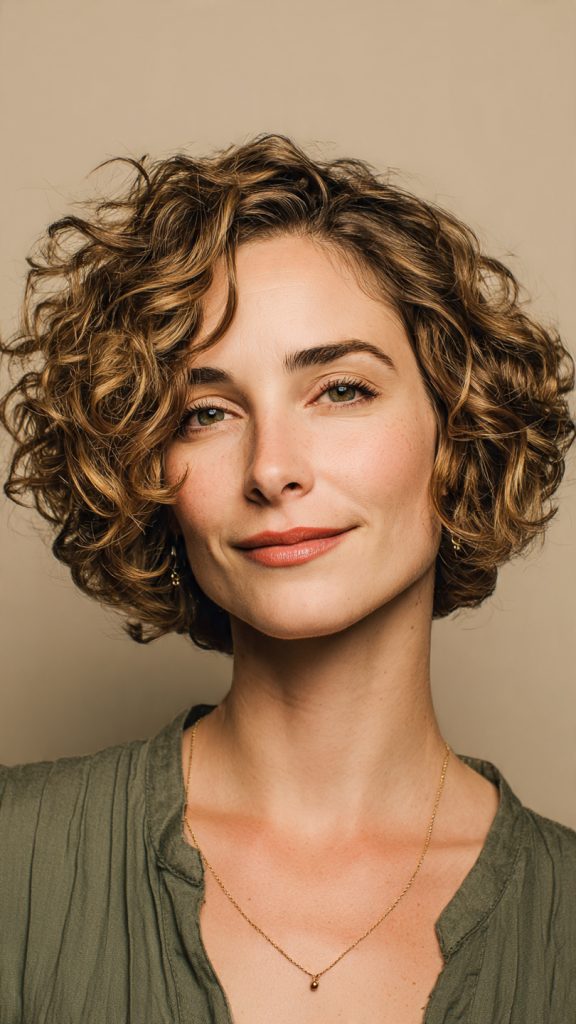
Why it works: A lob that ends at the collarbone provides enough length for curl definition but removes heavy ends that pull hair down. Short, internal layers create movement without thinning out the perimeter.
- Best for: Wavy to curly thin hair that needs body without sacrificing length.
- Styling tip: Apply a lightweight curl cream and use finger-coiling on the top sections to encourage curl clumping.
- Avoid: Razor cutting or over-texturizing, which can make thin hair look wispy.
3. Asymmetric Curly Cut
Why it works: An asymmetrical shape—shorter on one side, longer on the other—creates visual interest and the illusion of more hair. The imbalance tricks the eye into seeing density.
- Best for: Those who want an edgy, modern look that adds perceived volume.
- Styling tip: Part your hair deeply on the side with more length to maximize root lift.
- Pro: Works beautifully with side-swept bangs that camouflage a thin hairline.
4. Voluminous Curly Shag
Why it works: The shag cut features short layers throughout the crown and wispy ends, which removes bulk from the lengths while adding major lift at the roots. This creates a “stacked” volume effect.
- Best for: Thin but dense curls (many fine strands) that need shape.
- Styling tip: Diffuse upside down, then shake out the roots with your fingers. Use a dry texture spray at the crown.
- Bonus: Grows out gracefully, so you don’t need frequent trims.
5. Side-Swept Curls with Deep Side Part
Why it works: A deep side part instantly lifts hair off the flat top of your head, creating a dome of volume. Sweeping curls to one side also conceals sparse areas.
- Best for: Any length, from pixie to shoulder-length.
- Styling tip: Clip the roots at the part line while hair dries to lock in height. Flip your part to the opposite side every few days to prevent stress breakage.
- Product pick: A root-lifting foam applied directly to the scalp before drying.
6. Curly Pineapple Updo (High Ponytail/Puff)
Why it works: Gathering curls at the crown creates a concentrated cloud of volume. The “pineapple” (a loose, high ponytail on top of the head) hides thin spots and makes hair look twice as thick.
- Best for: Second- or third-day curls when volume has dropped.
- Styling tip: Use a satin scrunchie to avoid dents. Gently pull out a few face-framing curls. Fluff the ponytail by separating clumps with a pick.
- Evening version: Wrap a small section of hair around the scrunchie to hide it for a polished puff.
7. Curly Half-Up, Half-Down with Volume at the Crown

Why it works: By pinning back the top half of your curls, you artificially lift the roots and remove weight from the lower half. The remaining loose curls look fuller because they’re not competing with the top layer.
- Best for: Medium to long thin curly hair.
- Styling tip: Tease (backcomb) the crown section very gently before pinning, or use a small bump-it insert. Secure with bobby pins crossed in an “X” pattern.
- Pro move: Leave out two tendrils in front to soften the face.
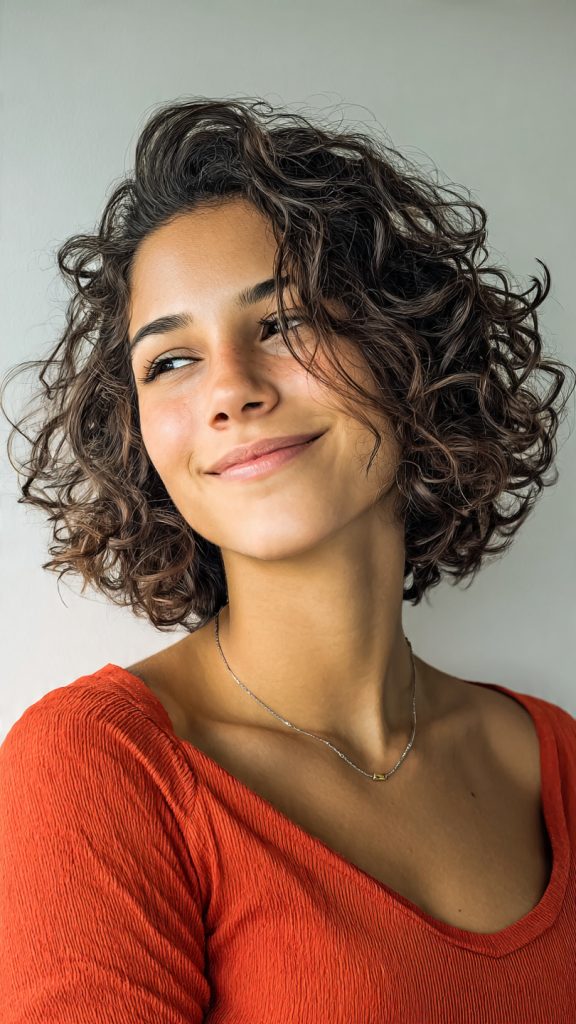
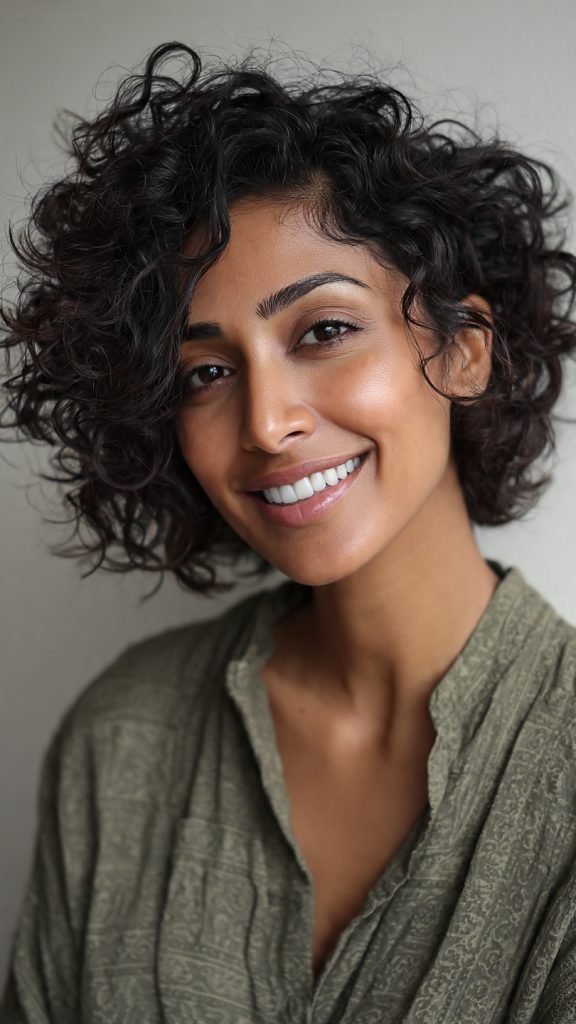
8. Curly Bob with Blunt Ends

Why it works: Blunt cutting the ends—no thinning shears—creates a solid line that makes each curl look dense and heavy. This is the opposite of layered thinning, which ruins thin hair.
- Best for: Tight curls or coils that naturally shrink up.
- Styling tip: Keep length between chin and shoulders. Apply gel on soaking wet hair and scrunch until curls form fat, juicy clumps.
- Warning: Avoid razors or point-cutting; ask your stylist for “blunt, weighty ends.”
9. Finger-Coiled Wash-and-Go
Why it works: Thin hair often struggles to form uniform curl clumps, leading to a sparse look. Finger-coiling forces strands into neat, thick spirals that read as volume.
- Best for: Type 3A–4A thin hair.
- How to: After washing, apply a leave-in conditioner and styling gel. Take ½-inch sections and wrap each around your finger to form a tight coil. Air-dry or diffuse, then gently separate each coil into two for extra fullness.
- Time: Takes 15–20 minutes but lasts 3–4 days.
10. Curly Space Buns (Double Buns)
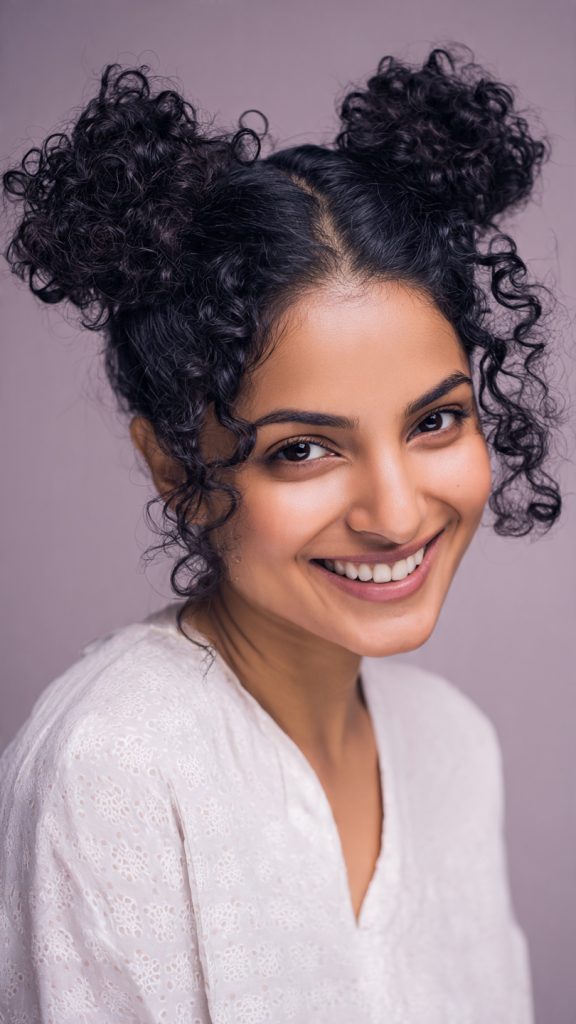
Why it works: Partitioning thin curls into two high buns doubles the visual mass. The style pulls hair upward, eliminating flatness and creating playful, eye-catching volume.
- Best for: Casual days, festivals, or when you need a quick, frizz-friendly style.
- Styling tip: Create two pigtails at the crown. Twist each loosely into a bun and secure with small claw clips or bobby pins. Leave the ends sticking out for a messy, voluminous look.
- Boost: Backcomb each ponytail slightly before forming the bun.
What to Avoid with Thin Curly Hair (Common Mistakes That Make It Look Thinner)
Even with the perfect cut, certain habits can sabotage volume. Avoid these pitfalls to keep your curls looking their fullest.
| Mistake | Why It Hurts | Better Alternative |
|---|---|---|
| Over-layering | Too many layers remove density and create a wispy, see-through effect | Stick to blunt ends or minimal internal layers |
| Heavy butters & oils | They weigh hair down, causing curls to stretch and flatten | Use lightweight mousses, foams, or gels labeled “volumizing” |
| Skipping trims | Split ends travel up the shaft, making ends look thinner | Trim every 6–8 weeks, even if just a dusting |
| Brushing dry curls | Separates clumps and creates frizz, revealing scalp | Only detangle wet hair with conditioner and a wide-tooth comb |
| Washing daily | Strips natural sebum that gives thin hair grip and body | Wash 1–2 times per week; use dry shampoo at roots in between |
| Using a regular towel | Rough fabric causes breakage and frizz | Microfiber towel or soft cotton t-shirt to scrunch and dry |
Best Products for Thin Curly Hair (Lightweight & Volumizing)
Choosing the right products is non-negotiable. Look for keywords like volumizing, lightweight, foam, spray, or curl enhancing. Avoid anything with “heavy butter,” “oil,” or “cream” as the first ingredient.
Top Recommended Product Types:
- Volumizing Mousse or Foam
- Adds lift without weight. Apply to soaking wet roots and lengths.
- Look for: “Root lift,” “amplifying foam.”
- Lightweight Curl Gel or Custard
- Provides hold and definition without crunch or heaviness.
- Look for: “Flash dry,” “flexible hold,” “thin hair friendly.”
- Root-Lifting Spray or Powder
- Applied directly to the scalp before drying. Creates instant height.
- Look for: “Texture spray,” “volumizing powder.”
- Salt or Texture Spray
- Gritty texture helps fine curls grip and hold shape longer.
- Use sparingly: Too much causes dryness.
- Satin or Silk Accessories
- Scrunchies, pillowcases, and bonnets reduce friction and breakage.
Pro tip: Apply all products to dripping wet hair, then scrunch with a microfiber towel. This locks in moisture without flattening.
How to Style Thin Curly Hair for Maximum Volume (Step-by-Step Routine)
Follow this daily or wash-day routine to consistently achieve thick-looking curls.
Step 1: Shampoo & Condition
Use a sulfate-free, volumizing shampoo on your scalp only. Condition mid-lengths to ends, rinse with cool water to seal the cuticle.
Step 2: Apply Products in Shower
With hair sopping wet, rake in a golf-ball-sized amount of mousse or foam from roots to tips. Follow with a dime-sized amount of lightweight gel, scrunching upward.
Step 3: Plop (Microfiber Towel Method)
Lay a microfiber towel flat, flip your head over, lower curls onto the towel, then wrap and tie for 10–15 minutes. This absorbs excess water while encouraging curl formation.
Step 4: Diffuse or Air-Dry
- Diffusing: Flip head upside down. Use low heat and low speed. Hover at roots for 2 minutes, then cup sections of curls in the diffuser bowl. Stop when 80% dry.
- Air-drying: Avoid touching curls while they dry. Flip side to side every 10 minutes to prevent roots from setting flat.
Step 5: Fluff & Separate
Once 100% dry, flip head over and shake roots with your fingertips. Gently separate large curl clumps into two or three smaller ones to create fullness. Do not brush.
Step 6: Lock It In
Mist lightly with a flexible hold hairspray or texture spray, focusing on roots and crown.
How to Sleep on Thin Curly Hair (Preserve Volume Overnight)
Morning flatness is the enemy of thin curls. Use one of these methods to wake up with bounce.
Method 1: Pineapple Method
Gather all curls into a loose, high ponytail on top of your head using a satin scrunchie. In the morning, shake out and fluff.
Method 2: Satin Bonnet or Buff
Gently pile curls inside a satin bonnet or tubular headwrap (buff). This prevents friction and crushing.
Method 3: Medusa Clipping
For short curls, use small claw clips to section and lift curls away from the scalp before sleeping. Remove clips in the morning.
Method 4: Refresh with Steam
Hang your head over a steamy shower (without wetting hair) for 30 seconds. The humidity resets curl shape without re-washing.
Do not: Sleep on a cotton pillowcase without protection. It robs moisture and creates friction that breaks thin strands.
Conclusion
Thin curly hair is not a limitation—it’s an opportunity to master the art of volume. Throughout this article, you’ve learned that the right cut (pixie, lob, shag, or blunt bob), strategic styling (deep side parts, pineapples, space buns), and lightweight products can transform sparse-looking curls into a full, bouncy crown of confidence.
The most important takeaway? Stop trying to hide thinness and start working with it. Shorter cuts remove weight. Root volume creates height. Finger-coiling builds density. And every single one of the 10 styles above proves that thin hair can look thick, healthy, and beautiful.
Remember: healthy curls are beautiful curls. Prioritize gentle handling, satin accessories, and regular trims. Experiment with one new style each week. And never let a well-meaning stylist talk you into heavy layers or thick creams—you know what works for your hair now.
Your thin curls have personality, movement, and texture that straight or thick hair can only dream of. Wear them proudly, fluff them often, and watch how volume follows everywhere you go.