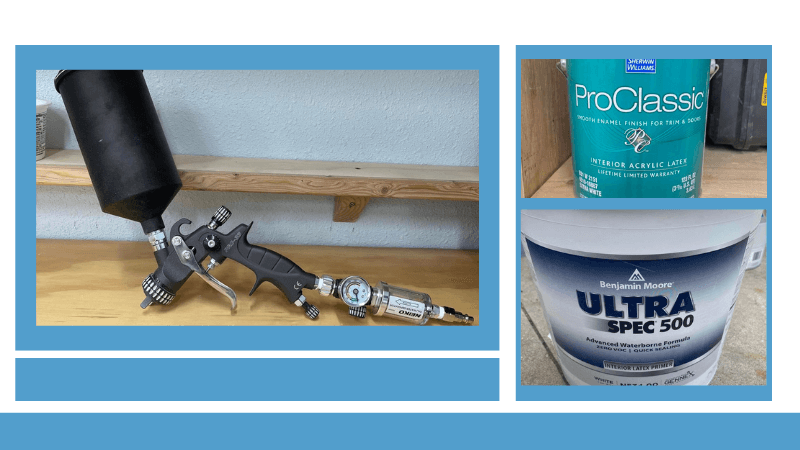
Spraying latex paints is all about accuracy. For instance, most manufacturers of latex paint recommend not thinning the paint beyond 10 percent, which is equivalent to adding 3 ounces of water per quart. However, based on my personal experience, I have successfully thinned the paint up to 15 percent (5 ounces) without any issues. It’s important to note that adding more water increases the risk of runs when spraying vertical surfaces. Besides the measuring accuracy demanded should you even use tap water? Here’s the answer plus more on thinning latex paint for spraying.

Can you thin latex paint with water?
Yes, you can thin latex paint with water. However, it’s important to know a few things before you add water to your latex paint. While tap water can be used without noticeable issues, it is better to choose distilled water to avoid any potential problems. If you have well water, it is highly recommended to use distilled water instead.
Is it necessary to thin paint or primer when spraying?
Yes, it is necessary to thin paint or primer if you intend to use an HVLP gun to spray them. if you use latex paint or primer without thinning it won’t work. However, you can spray these materials without thinning them by using an airless spray rig. These spray pumps can handle large 5-gallon pails of latex paint or primer with no thinning required.
Thinning latex paint for spraying

1. Assemble your mixing kit
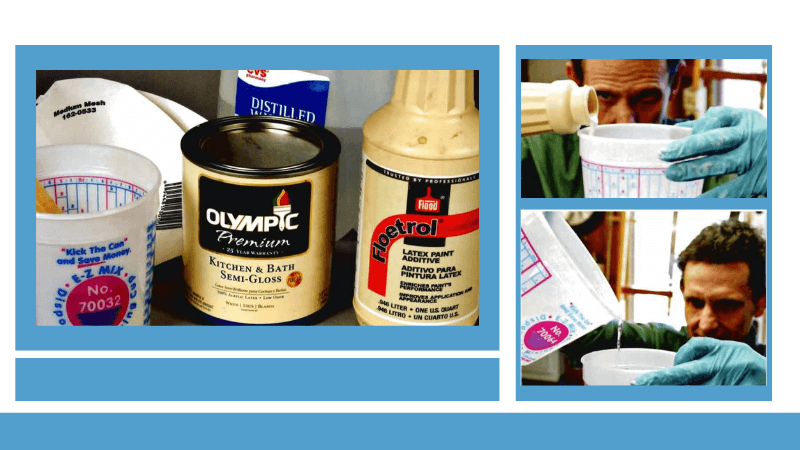
- You will need:
- Floetrol (an additive designed to help paint flow out better.),
- 1quart mixing cup,
- filters, and
- distilled water.
2. Mixing
- Add 3 oz. of distilled water to a 1-quart mixing pail.
- Add 3 oz. of Floetrol and stir for about 10 seconds
3. Fill the pail
- Fill the pail to the 32 oz. mark with your latex paint and stir for a whole minute
4. Strain the mixture
- Using the filter strain the mixture into your spray gun cup. i recommend that you avoid using internal strainers as they are usually too fine to permit the latex paint through.
Spraying the latex paint
Make sure you follow the procedure for thinning latex above. It is also important before going all out to practice to make sure your pattern is correct. the hardest parts that you will face are the verticals. This is where runs and drips are most likely to happen depending on how heavy the coat is. I also recommend that you prime with a shellac primer instead of a latex primer to avoid extra sanding. (see Thinning Primer)
Step 1: Sanding the Primed Surface
To achieve a smooth and flawless finish, begin by using 320-grit sandpaper to sand the already cured primer coat. This will effectively eliminate any rough patches or wood fibers that may be standing upright. Remember to choose sandpaper that is suitable for water-borne finishes.
Step 2: Cleaning the Surface
After sanding, it’s important to clean the surface thoroughly. Take a tack cloth specifically designed for water-borne finishes and use it to remove any fine dust left behind from the sanding process. This step ensures that the surface is free from debris, allowing for better adhesion and a professional-looking result.
Step 3: Adjusting the Spray Gun for Controlled Application
For greater control and precision during spraying, decrease the pressure to approximately 25 to 33 percent below the normal setting. By doing so, you can narrow the width of the fan pattern, which proves especially useful when applying paint or finish to hard-to-reach areas and the interiors of your project. It is advisable, to begin with these challenging spots before moving on to the main surface.
Step 4: Returning to Normal Pressure and Adjusting the Aircap
Once you have finished spraying the hard-to-reach areas, readjust the pressure back to its normal setting. Additionally, consider rotating the air cap by 90 degrees. This adjustment allows you to effectively cover the long sides of your project, ensuring an even and thorough coating.
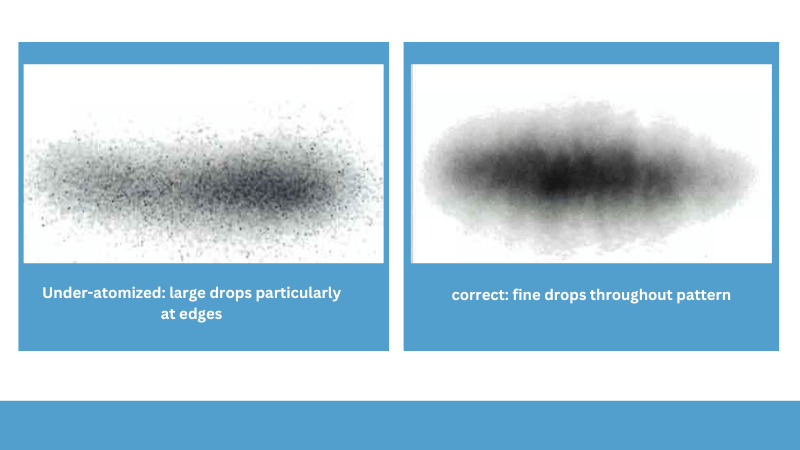
Atomization test
To ensure proper atomization of colored paint, you can spray it onto a white piece of paper. Avoid the undesirable pattern on the left, which indicates under-atomization and may hinder the smooth flow of latex paint if you continue spraying. Instead, aim for a pattern resembling the one on the right side. In spray systems without air control (such as a turbine), you have two options: either thin the paint slightly more or switch to a different nozzle size.

Summary: How to thin latex paint for spraying
In conclusion, water, preferably distilled, can be used to thin latex paint, although tap water may also suffice. Thinning is necessary when using an HVLP gun, while an airless spray rig can handle latex paint without thinning. It’s important to practice to perfect your spraying technique, starting with hard-to-reach areas that are less noticeable in case of any mistakes. Happy painting!