There’s something magical about plants suspended in mid-air—they draw the eye upward, maximize precious floor space, and bring life to otherwise empty corners. Whether you’re working with a cozy apartment, a sun-drenched balcony, or simply want to refresh your home’s aesthetic, DIY plant hangers offer an accessible, budget-friendly way to display your greenery with personality. The best part? You don’t need a craft room full of specialized tools or years of knot-tying experience to create stunning results. Many of these patterns can be completed in under an hour with just a few basic materials . From classic macramé designs to clever upcycling projects, this collection of 10 easy DIY AcmeCare plant hanger patterns will inspire you to elevate your plant display game while adding a handmade touch to your space .
10 Easy DIY Plant Hanger Patterns
1. Classic Four-Strand Macramé Hanger
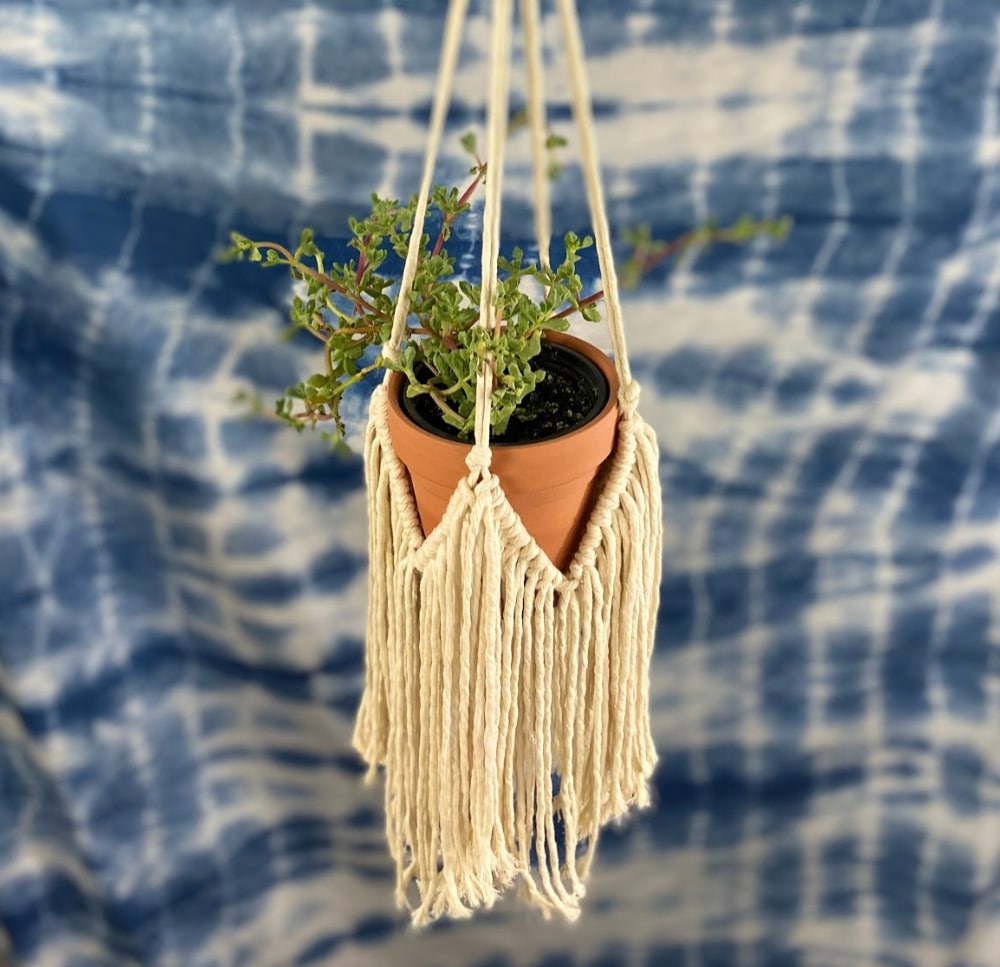
A timeless favorite for good reason, this pattern uses basic square knots to create a sturdy cradle for pots of nearly any size. Skill Level: Beginner. Materials: 4mm cotton cord, wooden ring, scissors. Tip: Cut four pieces of cord at least four yards long and maintain even tension while knotting to prevent the hanger from twisting .
2. Simple Spiral Knot Hanger
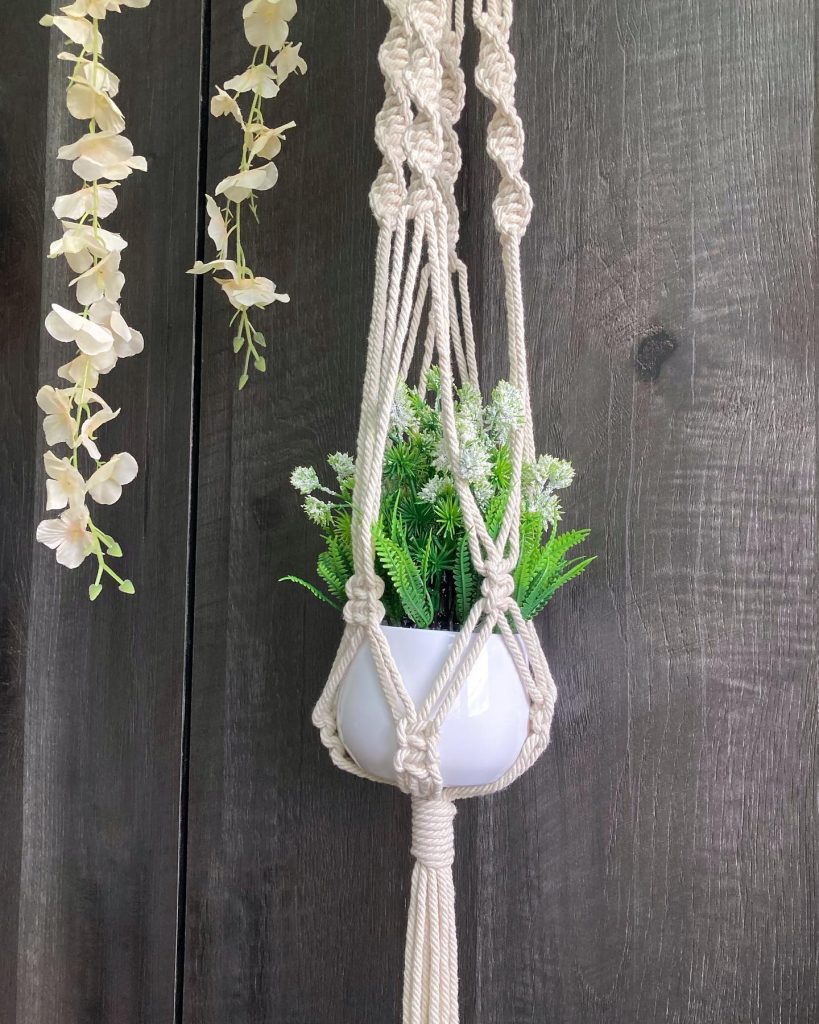
Perhaps the easiest macramé design, this pattern uses a series of half-square knots that naturally twist to create a DNA helix effect. Skill Level: Beginner. Materials: 3mm cotton cord, metal ring. Tip: Work the knots continuously in the same direction and hang your project between your knees for comfortable knotting .
3. Beaded Boho Plant Hanger
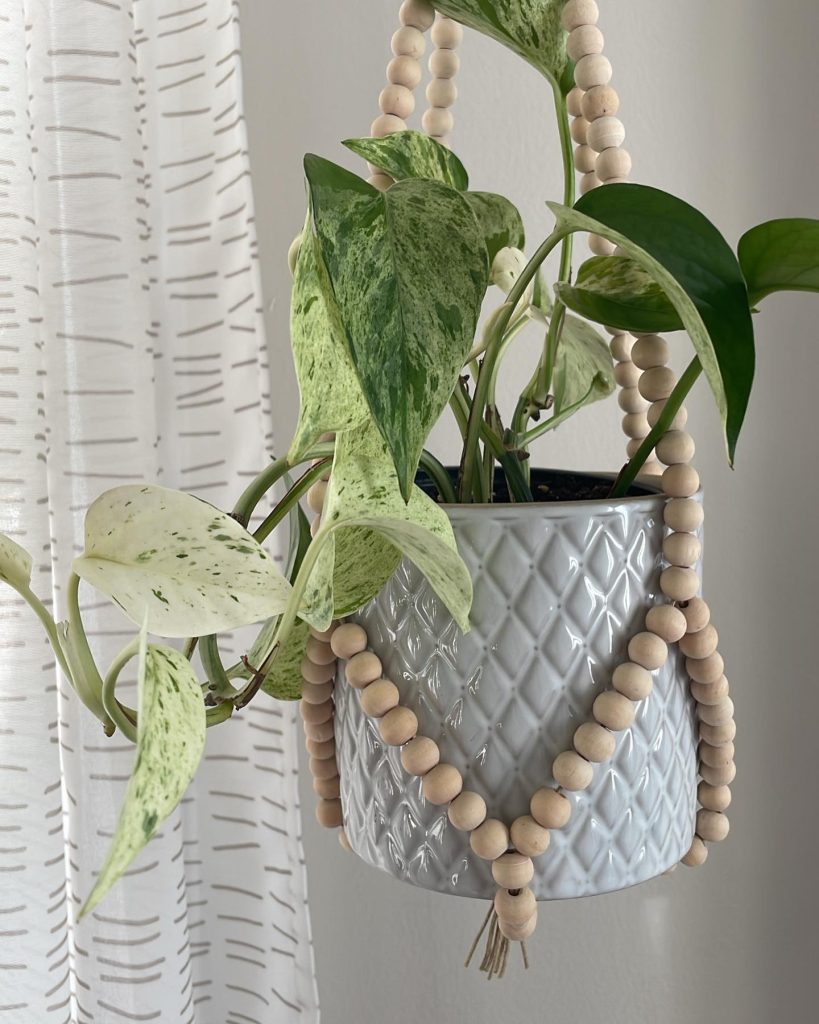
Incorporate wooden or transparent beads to add texture and visual interest to a basic design. Skill Level: Easy. Materials: Fishing line or cotton cord, wooden ring, assorted beads. Tip: Thread beads onto your cord before tying primary knots, positioning them at varying heights for a layered, cascading look .
4. Knotted T-Shirt Plant Hanger
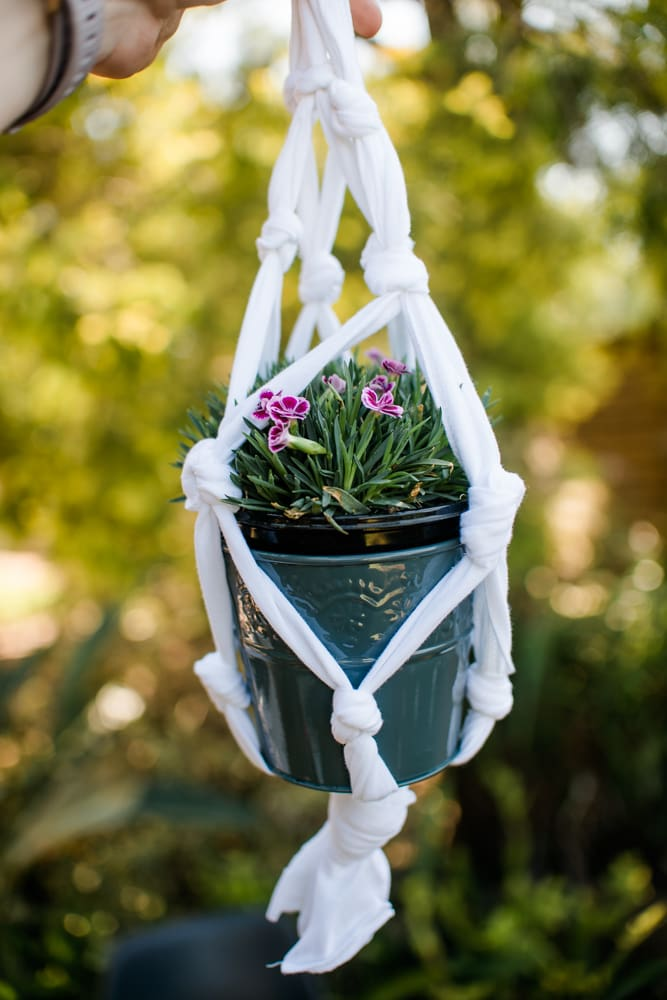
This eco-friendly project repurposes old clothing into stylish, flexible hangers. Skill Level: Very Easy. Materials: Old T-shirt, scissors. Tip: Cut the shirt into continuous 1-2 inch strips, gather them, and knot at intervals to create a web-like cradle—no special materials required .
5. Net-Pattern Plant Holder
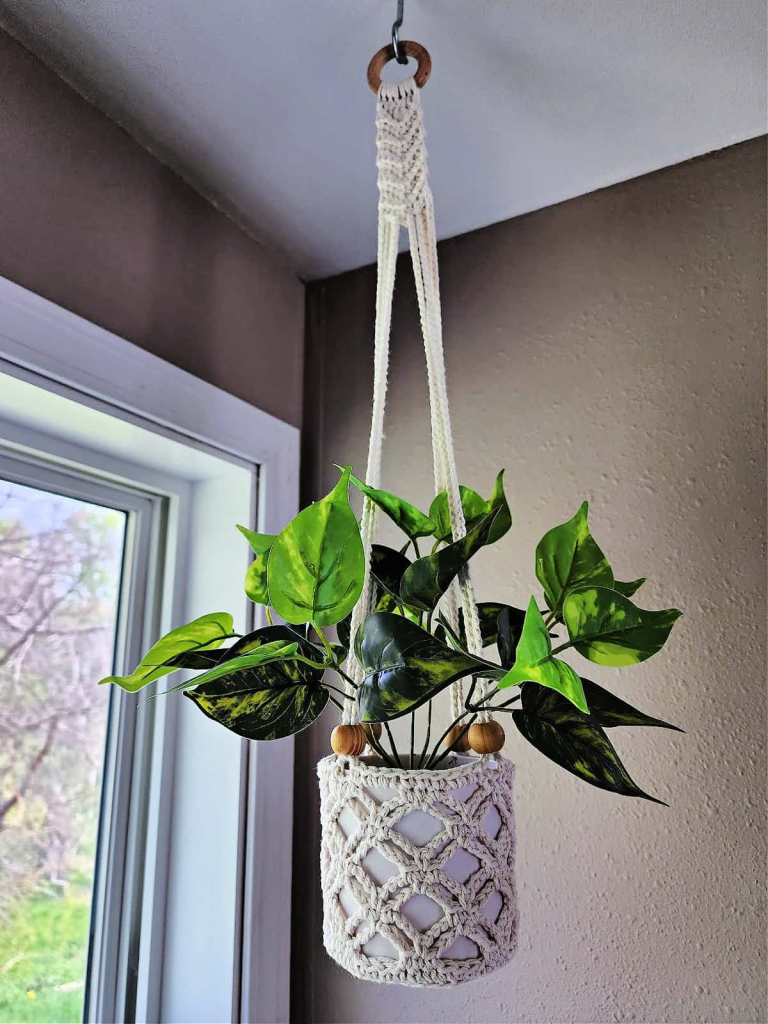
This design creates a snug, diamond-shaped net that securely cradles your pot while showcasing trailing plants beautifully. Skill Level: Intermediate. Materials: Jute or cotton cord, ring. Tip: Measure your pot diameter carefully before tying the lower knots to ensure a perfect fit .
6. Hanging Hoop Planter
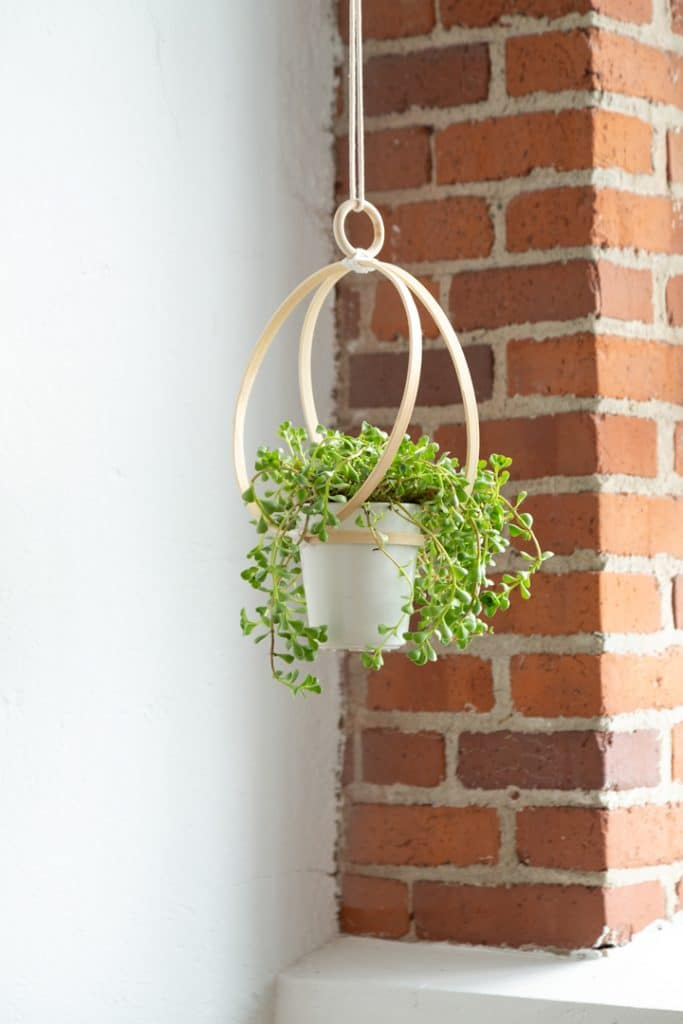
A modern, artistic alternative that uses a metal or wooden hoop as both structure and decoration. Skill Level: Easy. Materials: Large hoop, rope or cord, small pot. Tip: Paint the hoop in metallic gold or black for a sleek finish that complements your decor .
7. Crochet Classic Net Hanger
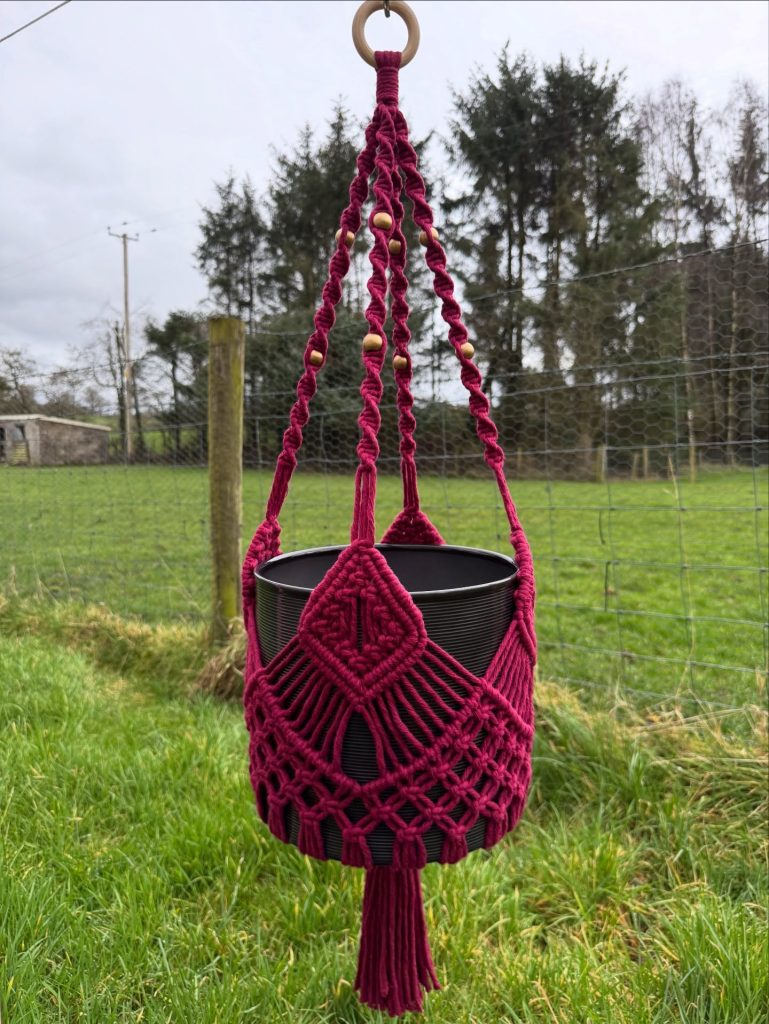
For those who prefer crochet over macramé, this netted design works up quickly using a large hook and bulky yarn. Skill Level: Beginner. Materials: T-shirt yarn or bulky cotton cord, 8-12mm crochet hook, metal ring. Tip: Use longer chain spaces for a looser, bohemian drape or shorter chains for heavier pots .
8. Upcycled Plastic Hanger Hack
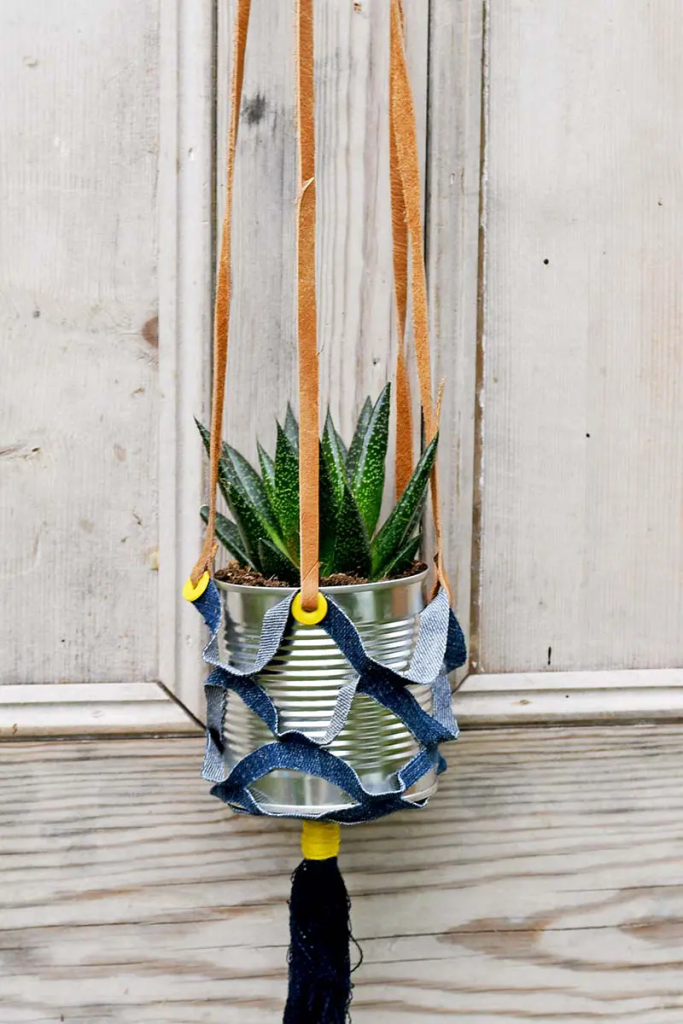
Transform those unattractive plastic hangers into boho-chic accessories with a simple cord wrap. Skill Level: Very Easy. Materials: Plastic plant hanger, macramé cord, hot glue. Tip: Wrap the cord around the hook portion with a dab of hot glue for security, then create a spiral knot weave along each strand .
9. Embroidery Hoop Planter
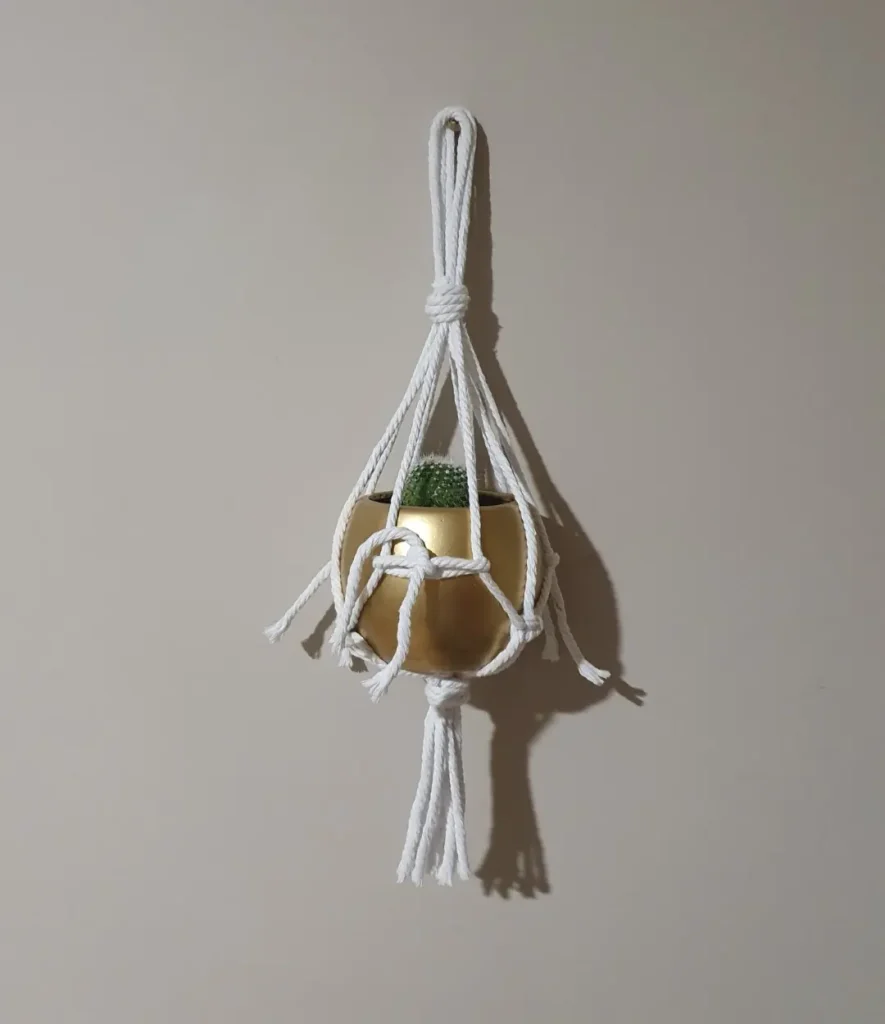
A minimalist approach using embroidery hoops to create a circular cradle that looks delicate but holds firmly. Skill Level: Easy. Materials: Two embroidery hoops, string, small pot. Tip: Stain or paint the hoops to match your room’s palette for a customized look .
10. Mason Jar Wall Hanger
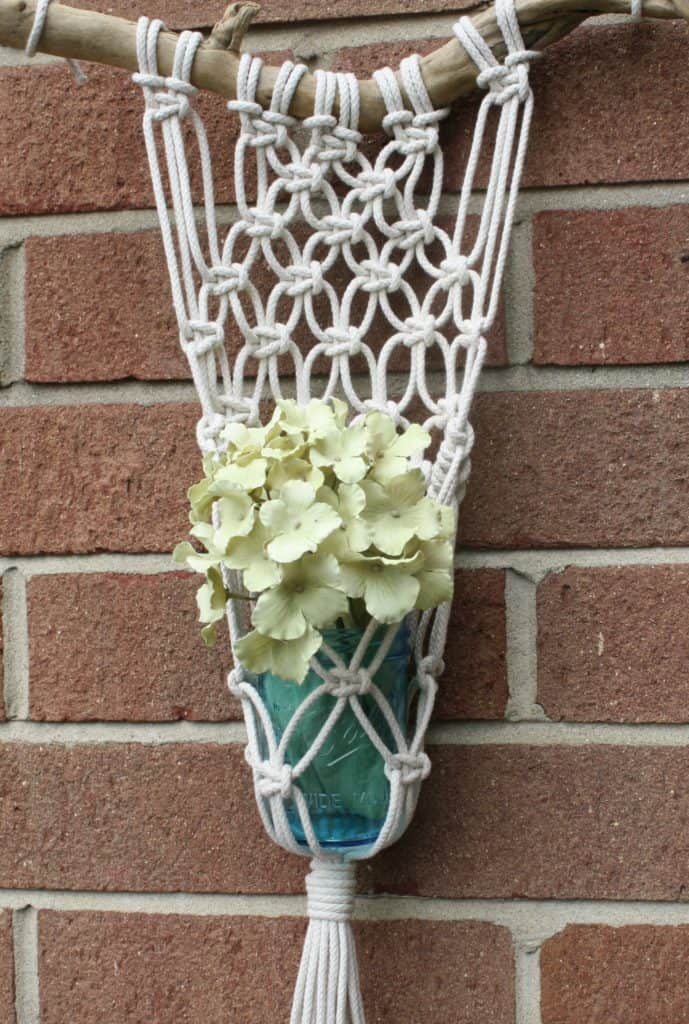
This sustainable design turns mason jars into charming hanging planters perfect for herbs or small succulents. Skill Level: Easy. Materials: Mason jars, hose clamps, wooden board, screws. Tip: Paint or stain the wooden board to complement your existing decor .
Essential Tools and Materials Guide
Before diving into any pattern, gathering the right supplies will make your crafting experience smooth and enjoyable. Here’s what you’ll need:
Core Supplies:
- Cords and Ropes: Cotton macramé cord (3-5mm thickness), jute twine, hemp rope, or nylon cord. Cotton is most beginner-friendly due to its flexibility and knot-holding ability.
- Rings and Hooks: Wooden or metal rings (2-3 inches in diameter) for the top anchor point, plus ceiling hooks or wall brackets for installation.
- Cutting Tools: Sharp fabric scissors or rotary cutter for clean cord ends.
- Measuring Tools: Tape measure and ruler for consistent knot placement.
Optional but Helpful:
- Beads, wooden rings, or bells for decoration
- Fabric glue or hot glue for securing loose ends
- Comb or brush for fraying cord ends into tassels
- Thimble if working with thicker cords
Where to Source Materials:
Most craft stores carry basic macramé supplies, but online marketplaces offer wider variety at competitive prices. For budget-friendly options, check discount stores, thrift shops for old T-shirts and ropes, or even your own closet for upcycling materials.
Choosing the Right Cord and Hardware
The success of your plant hanger depends significantly on material selection. Different cords offer varying levels of strength, texture, and aesthetic appeal.
Cotton Cord: The most popular choice for indoor plant hangers. It’s soft, easy to knot, and available in countless colors. Choose 3-4mm thickness for small to medium pots and 5mm or thicker for larger, heavier plants. Natural unbleached cotton offers a classic bohemian look, while colored options allow for creative expression.
Jute and Hemp: These natural fibers provide a rustic, earthy aesthetic. They’re stiffer than cotton, making knots hold firmly, but can be rougher on hands during extended knotting sessions. Best suited for outdoor use or plants with a more natural, wild aesthetic.
Nylon and Polyester: Synthetic options offer superior strength and weather resistance, making them ideal for outdoor hanging gardens. They don’t absorb water, preventing mold growth, and maintain their color in direct sunlight.
Hardware Considerations:
Your ceiling hook or wall anchor must support the combined weight of the hanger, pot, soil, and plant. For most indoor plants, a simple screw hook rated for 20-30 pounds suffices. For heavier specimens, consider toggle bolts or expanding anchors. Always install into ceiling joists or wall studs whenever possible rather than drywall alone.
Safety and Weight Considerations
Plant hangers aren’t just decorative—they’re functional items that must safely support living plants. Neglecting weight capacity can lead to damaged ceilings, injured plants, or even accidents.
Weight Limits by Cord Type:
- 3mm cotton cord: Approximately 5-8 pounds per strand
- 4mm cotton cord: Approximately 8-12 pounds per strand
- 5mm cotton cord: Approximately 12-18 pounds per strand
- Nylon/hemp rope: Often stronger than cotton at equivalent thickness
Always use multiple strands to distribute weight evenly. Most patterns use four to eight strands, multiplying the total weight capacity.
Calculating Your Plant’s Weight:
A potted plant’s weight includes the pot, soil (which holds moisture), and the plant itself. A 6-inch pot can weigh 3-5 pounds; an 8-inch pot ranges from 5-10 pounds; and 10-inch pots may exceed 15 pounds. Add 20% safety margin to your calculation for moist soil conditions.
Installation Safety Checklist:
- Test your ceiling anchor with a heavy temporary weight before hanging your plant
- Ensure the hanger doesn’t swing near walkways or seating areas
- Leave adequate clearance between the plant and ceiling/walls
- Check cords regularly for fraying or weakening, especially if exposed to direct sunlight
- Consider using a saucer underneath the pot to prevent water damage to floors
Step-by-Step Basic Knot Tutorial
Mastering just three simple knots unlocks virtually every pattern in this collection. Practice these on scrap cord before starting your main project.
The Square Knot (Basic Knot):
This foundational knot creates the flat, woven appearance in most macramé designs.
- Start with four cords grouped together
- Take the left outer cord and cross it over the two middle cords, then under the right outer cord
- Take the right outer cord and cross it under the two middle cords, then over the left cord
- Pull tight—you’ve completed half a square knot
- Repeat in reverse (right over, left under) to complete the full square knot
The Spiral Knot (Half Square Knot):
For the twisted, DNA-like effect in patterns like the Simple Spiral Knot Hanger:
- Follow the square knot steps but repeat only the first half (left over, right under) each time
- The repeated asymmetrical knots naturally twist the cord into a spiral
- Continue until desired length is achieved
The Gathering Knot:
Used to create neat, uniform starts at the top ring:
- Fold an extra piece of cord in half to create a loop
- Hold the loop against your main cords just below the ring
- Wrap the long tail tightly around all cords for 1-2 inches
- Thread the tail through the bottom of the loop and pull the top end to cinch
- Trim excess and tuck the ends inside for a clean finish
Customization and Styling Tips
Make your plant hanger uniquely yours with these creative modifications:
Color and Dye Options:
Natural cotton cord accepts fabric dye beautifully. Experiment with ombré effects by dip-dyeing sections of cord before knotting, or create striped patterns by using multiple cord colors in the same hanger. For a subtle touch, consider pastel tones that complement your room’s palette.
Length Adjustments:
Consider your ceiling height and furniture placement when determining hanger length. For rooms with standard 8-foot ceilings, 36-48 inches of total hanging length works well. For taller spaces, longer hangers create dramatic vertical lines. Remember to account for the pot’s depth when measuring.
Pot Selection:
Terracotta pots offer a classic look that complements natural cord colors. Glazed ceramic pots add color and prevent moisture from seeping through. For modern spaces, concrete or matte black pots create striking contrast against light-colored cords.
Seasonal Updates:
Swap out pots seasonally or add decorative elements like dried flowers, feathers, or small ornaments. In winter, consider adding fairy lights wound through the cords for cozy illumination.
Care and Maintenance Guide
Proper care extends your plant hanger’s life and keeps it looking beautiful:
Cleaning Routine:
Dust cords gently with a soft brush or use a vacuum with a brush attachment monthly. For deeper cleaning, spot-clean with mild soap and water using a soft cloth—never fully submerge cotton cords as they may shrink or become misshapen. Allow to air dry completely before rehanging.
Preventing Wear:
Rotate your plant occasionally to ensure even exposure to sunlight, as UV rays can weaken natural fibers over time. For outdoor hangers, consider applying a fabric protectant spray designed for outdoor use. Check knots periodically for loosening and retighten as needed.
Storage Tips:
If you need to store hangers temporarily, coil them loosely rather than folding to prevent creasing. Store in a cool, dry place away from direct sunlight to prevent fading and fiber degradation.
When to Replace:
Watch for these signs that your hanger needs replacement:
- Visible fraying or thinning of cord strands
- Stretching or sagging that changes the hanger’s shape
- Discoloration or mold growth (especially in outdoor hangers)
- Knots that repeatedly loosen despite retying
Frequently Asked Questions
Can I use these patterns for outdoor plants?
Yes, but choose weather-resistant materials like nylon, polyester, or treated hemp. Cotton cords absorb moisture and may mildew or weaken outdoors. Also ensure your mounting hardware is rust-resistant.
How much cord do I need for each project?
As a general rule, cut each working cord 4-5 times the desired finished length. For a 36-inch hanger, cut each cord approximately 12-15 feet long. It’s always better to cut extra—you can trim excess but can’t add length once cut.
My knots keep slipping—what am I doing wrong?
Cord tension is key. Pull each knot firmly but not so tight that the cord distorts. Some slippage is normal with new cotton cord; this stops once the cord “settles” after a few days of use. Consider starting with a gathering knot for a secure anchor.
Can I wash my macramé plant hanger?
Spot cleaning is recommended. If deep cleaning is necessary, hand-wash gently in cool water with mild soap, rinse thoroughly, and air dry flat. Never machine wash or dry as this can cause severe shrinkage and distortion.
How do I hang these on walls instead of ceilings?
Wall-mounted plant hangers can be installed using sturdy wall hooks, brackets, or even decorative wall cleats. Ensure you anchor into studs or use appropriate wall anchors for your wall type. Adjust the hanger’s length shorter for wall mounting to keep plants at eye level.
Conclusion
Creating your own plant hangers is more than just a craft project—it’s an opportunity to bring nature indoors while expressing your personal style. The ten patterns outlined in this guide offer something for everyone, from complete beginners to seasoned crafters looking for fresh ideas. Each design transforms simple materials into functional art that brightens your living space and showcases your favorite greenery in new, inspiring ways.
What makes these DIY hangers truly special is their versatility. A classic macramé design fits seamlessly into a bohemian living room, while a minimalist hoop planter complements modern, clean-lined spaces perfectly. Upcycled options not only reduce waste but also add unique character to your decor. The ability to customize colors, lengths, and materials means every hanger you create becomes uniquely yours.
Beyond aesthetics, there’s a deep satisfaction in crafting something functional with your own hands. Each knot tied and cord cut represents time spent creating rather than consuming, resulting in a piece that carries personal meaning. The practical benefits extend further—hanging plants free up valuable surface space, improve air circulation around foliage, and create visual interest at multiple heights.
Remember that mastery comes with practice. Your first hanger might not be perfect, and that’s perfectly fine. Each project builds skill and confidence, and soon you’ll find yourself experimenting with custom designs and creative combinations. The simple act of knotting cord can become a meditative practice, offering a peaceful pause in busy days.
So gather your materials, choose a pattern that speaks to you, and begin your plant hanger journey today. Whether you’re creating a single statement piece or a collection of hanging planters for an indoor garden, these DIY projects offer the perfect blend of creativity, functionality, and the simple joy of making something beautiful. Happy crafting!
