Looking for a way to transform your driveway, patio, or sidewalk into an adventure zone? A chalk obstacle course might be exactly what you need. With nothing more than a box of colorful chalk and a bit of imagination, you can create hours of active entertainment that gets kids moving, laughing, and developing essential motor skills .
The beauty of chalk obstacle courses lies in their simplicity and adaptability. They require no expensive equipment, no elaborate setup, and no special skills to create. Whether you have toddlers taking their first hops or older kids craving a challenge, these courses can be tailored to suit any age and ability level .
Beyond the fun factor, chalk obstacle courses offer impressive developmental benefits. As children navigate through jumping, balancing, crawling, and spinning challenges, they build strength, improve coordination, and enhance spatial awareness. The pressure on their joints and muscles during these activities creates body awareness that helps them move more confidently in everyday situations .
What’s more, these courses encourage problem-solving and motor planning. Children must think about, organize, and execute movement sequences as they guide themselves through each station. It’s play that works the body and the brain simultaneously .
Ready to get started? Here are 12 exciting chalk obstacle course ideas that will turn any paved surface into a playground.
12 Exciting Chalk Obstacle Course Ideas
1. The Classic Hopscotch Highway
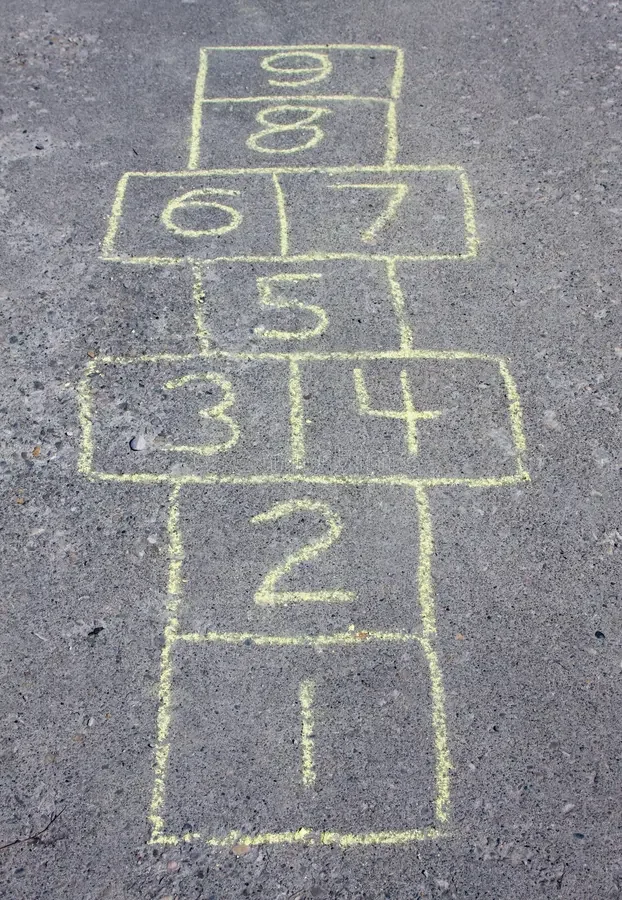
Give traditional hopscotch a fresh twist by creating a zigzag path of numbered squares instead of the standard straight line. Kids hop from number to number, calling out each one as they land. For younger children, use shapes instead of numbers—triangle, circle, square—to reinforce shape recognition while they jump .
Skill focus: Balance, coordination, number/shape recognition
2. Balance Beam Adventure
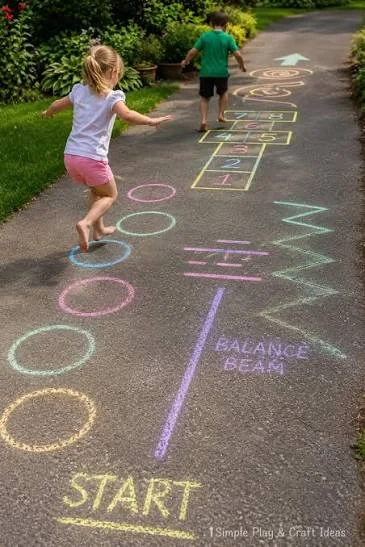
Draw a series of lines—straight, wavy, and zigzagging—that children must walk along heel-to-toe. Make it more exciting by adding “lava pits” on either side of the line that they must avoid at all costs! For an extra challenge, have them carry a beanbag on their head while navigating the beams .
Skill focus: Balance, core strength, concentration
3. Animal Walk Zone
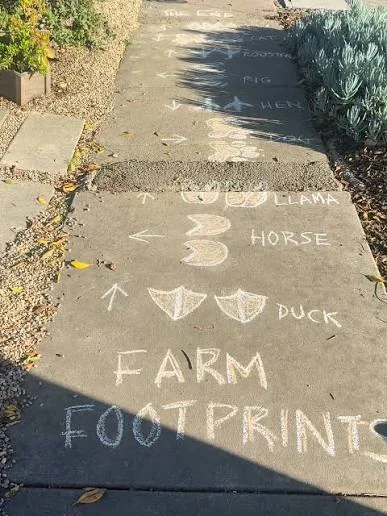
Create sections with paw prints or simple animal shapes. Children must mimic the corresponding animal’s movement through each zone—stomping like a dinosaur, hopping like a frog, crawling like a bear, or waddling like a penguin. This is a fantastic way to engage different muscle groups and spark imaginative play .
Skill focus: Gross motor skills, creativity, muscle development
4. Leapfrog Logs
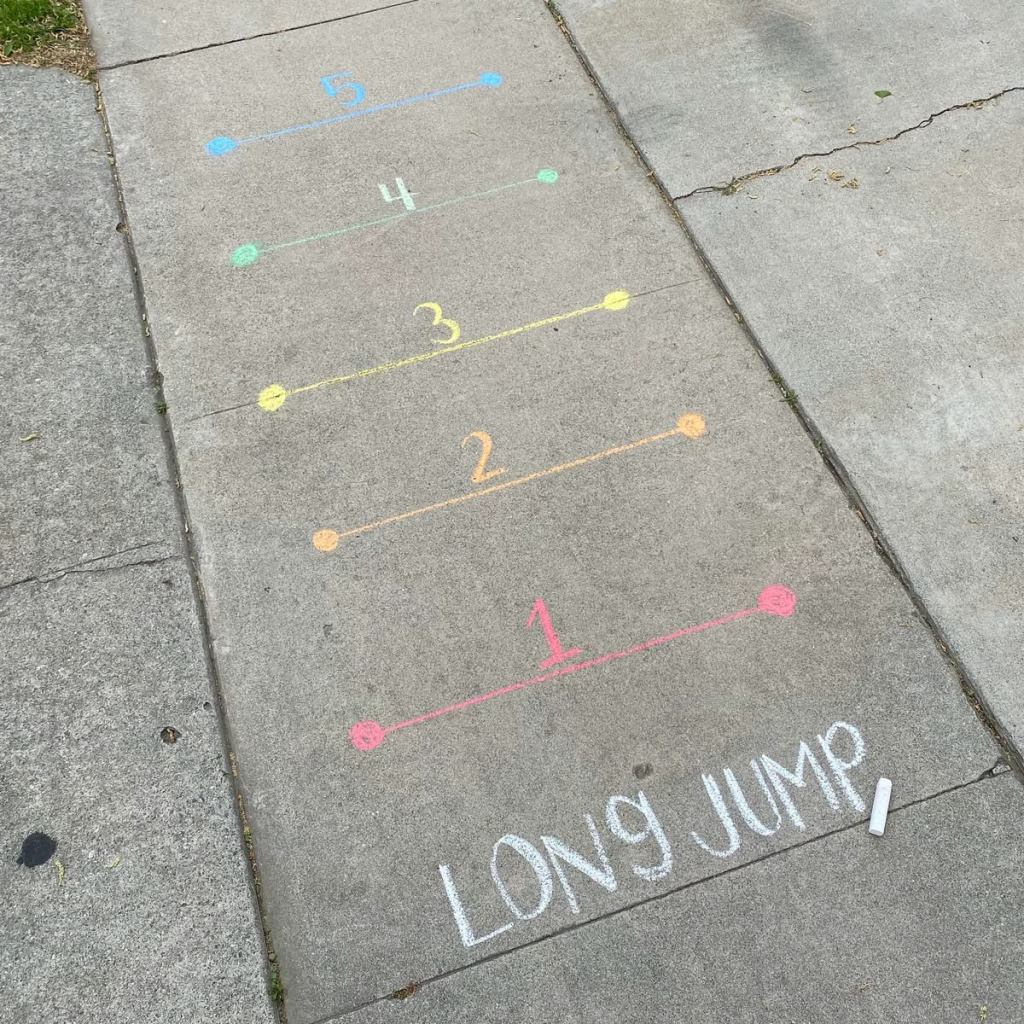
Draw several short, thick “logs” spaced out along the course. Children must jump over each log, pretending there are crocodiles lurking below! Vary the distances between logs to adjust the difficulty level. This simple but effective obstacle keeps kids engaged and builds leg strength .
Skill focus: Jumping, leg strength, spatial awareness
5. Spiral Sprint
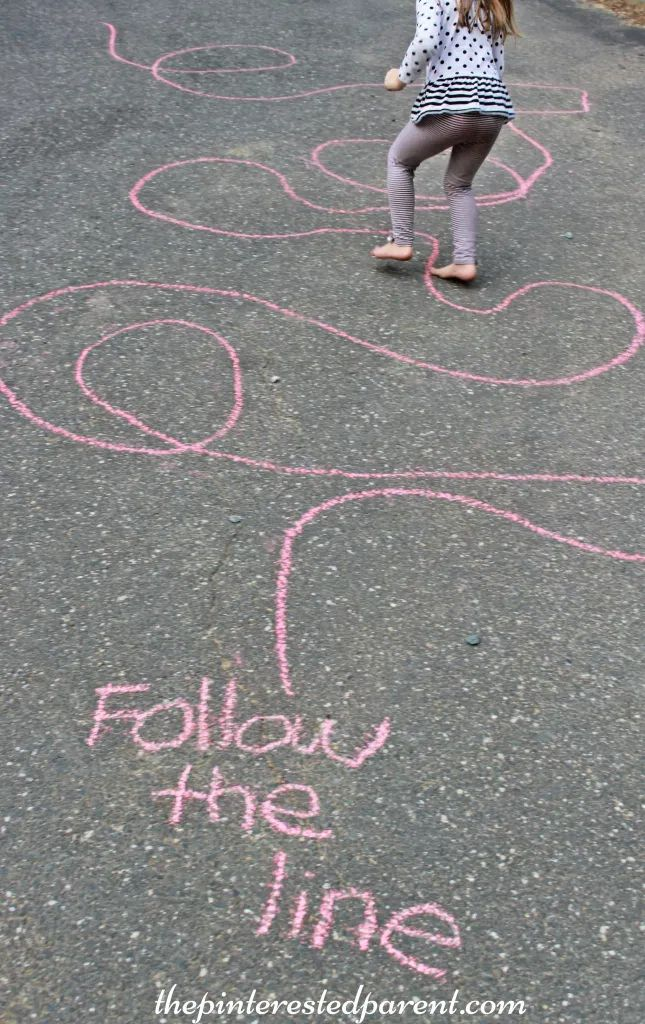
Draw a large spiral on the ground and challenge kids to run around it, getting faster as they reach the center. This tires them out in a fun way and is perfect for burning off excess energy. Time them to add a competitive element .
Skill focus: Speed, agility, cardiovascular fitness
6. The Crawl Tunnel

Draw two parallel lines forming a tunnel that children must crawl between. For an extra challenge, make the tunnel narrower or curve it so they have to navigate turns on their hands and knees. This simple obstacle is surprisingly effective for building upper body strength and coordination .
Skill focus: Upper body strength, coordination, motor planning
7. Jack-O’-Lantern Jump
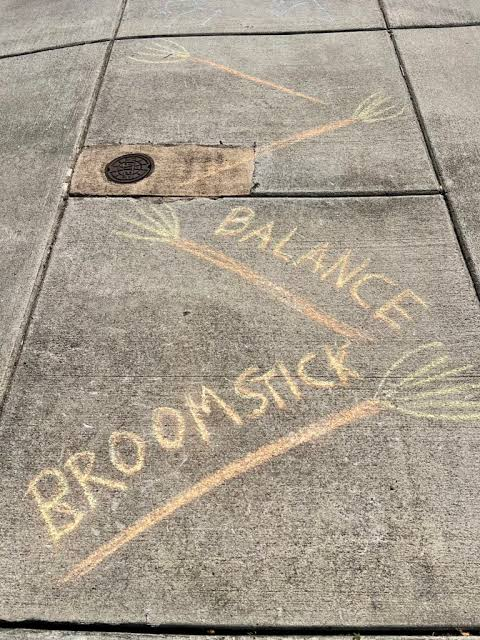
Create a hopscotch-style course featuring pumpkins or other themed shapes instead of traditional squares. Kids hop from pumpkin to pumpkin, with the goal of landing in each one. This seasonal twist (or any theme you choose) adds extra excitement .
Skill focus: Jumping, balance, theme-based engagement
8. Don’t Step on the Web!
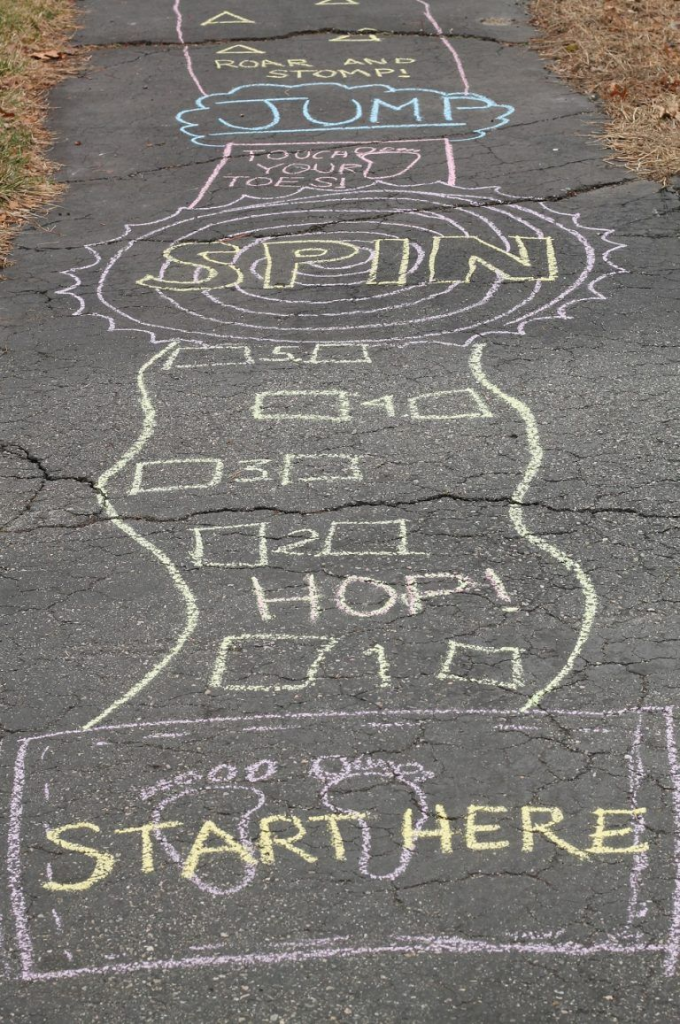
Draw a giant spiderweb with intersecting lines. The challenge is to navigate through the web without stepping on any of the lines. This tests balance, spatial awareness, and careful foot placement. Add spiders to make it more visually engaging .
Skill focus: Balance, spatial awareness, careful movement
9. Target Toss Finish
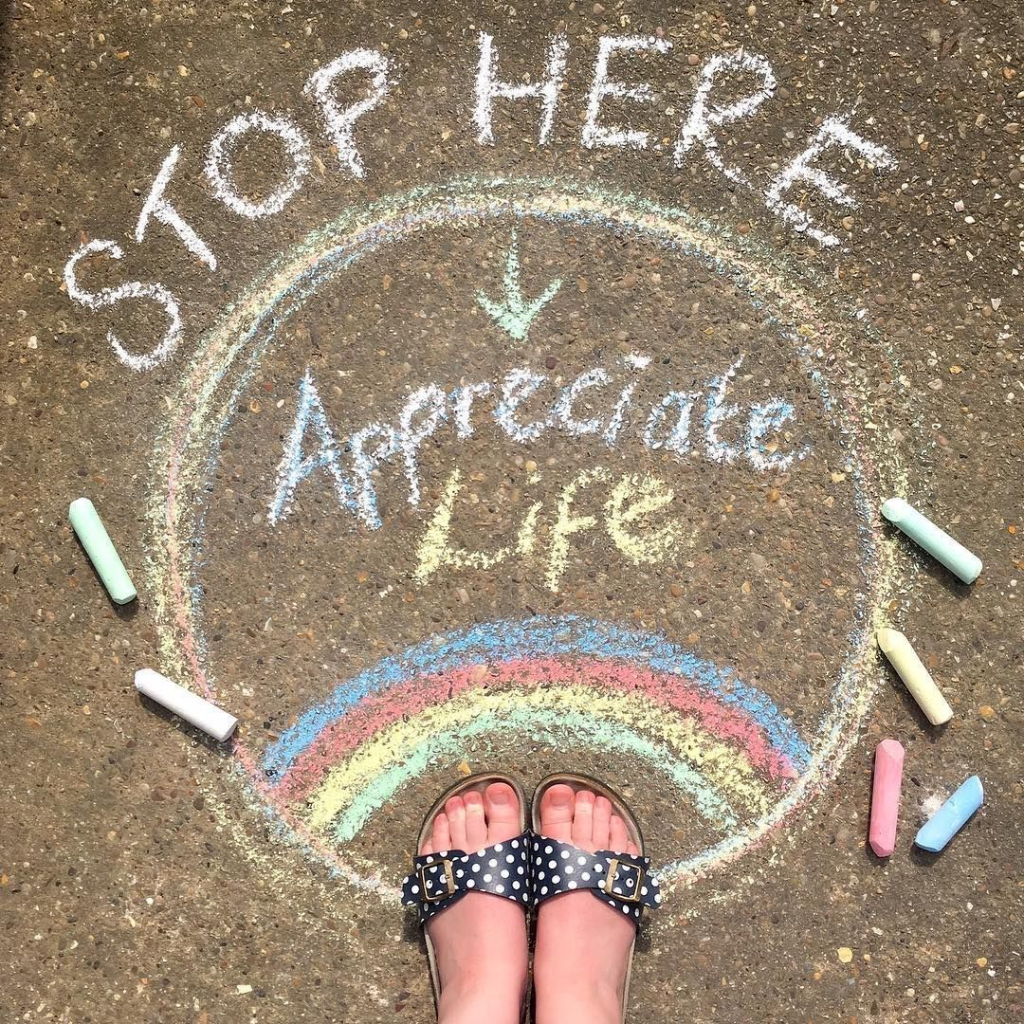
End your course with a target challenge. Draw concentric circles with point values (like a bullseye) and have kids toss a beanbag or small stone into the highest-scoring circle. This provides a calm finish to an active course and works on hand-eye coordination .
Skill focus: Hand-eye coordination, fine motor skills, counting
10. Spin Station
Draw a swirl or spiral and instruct kids to spin around several times before moving to the next obstacle. The dizziness that follows adds a fun challenge to the next task! Combine this with a balance element immediately afterward for maximum laughs and skill development .
Skill focus: Balance, vestibular system, coordination
11. The Rainbow Path
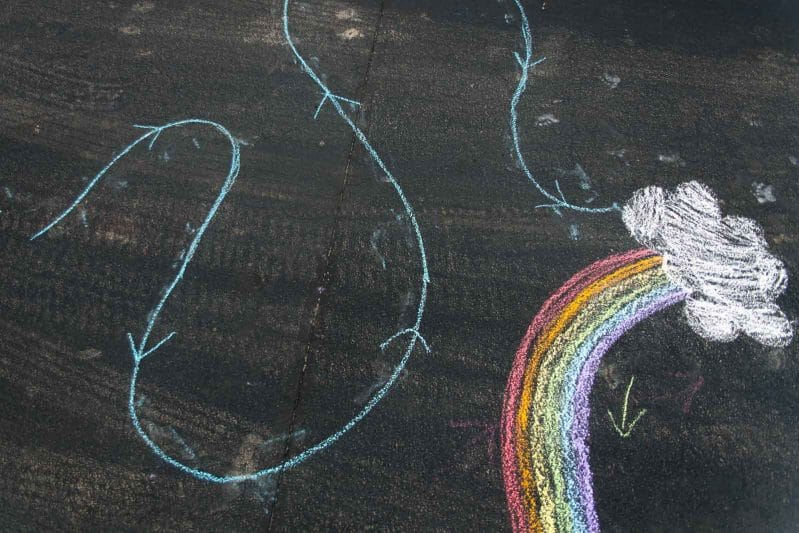
Create a path of colored circles or squares and call out colors for kids to hop to. Take it further by combining colors and shapes—”hop to the blue triangle” or “jump to the red circle.” This adds a cognitive element to the physical activity .
Skill focus: Color/shape recognition, listening skills, jumping
12. Alphabet Adventure
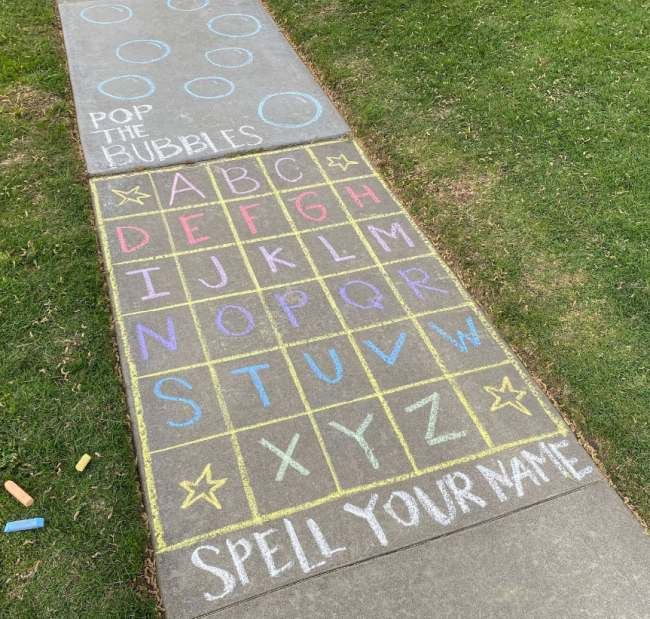
Draw a path with letters instead of numbers. Kids spell simple words by hopping from letter to letter, or younger children can find and land on the first letter of their name. This clever twist on hopscotch blends literacy skills with physical activity .
Skill focus: Letter recognition, spelling, gross motor skills
Benefits of Chalk Obstacle Courses for Child Development
Physical Development
Chalk obstacle courses are a powerhouse for physical growth. Jumping between squares builds leg strength and bone density. Balancing on wavy lines engages core muscles and improves stability. Crawling through tunnels strengthens arms, shoulders, and back muscles. Running through spirals boosts cardiovascular fitness and endurance. Every movement contributes to overall physical literacy—the foundation for a lifetime of active living.
Cognitive Development
These courses are not just physical—they’re mental workouts too. Children must remember the sequence of obstacles, plan their movements, and make split-second decisions. Counting hops, recognizing shapes and letters, and following color-coded paths all engage the brain. The cognitive load of navigating a course while staying coordinated helps build neural pathways that support learning in other areas.
Social and Emotional Growth
When children tackle obstacle courses together, they learn valuable social skills. They take turns, cheer for one another, and celebrate each other’s successes. Overcoming challenges builds confidence and resilience. The sense of accomplishment when completing a difficult course boosts self-esteem and encourages a “can-do” attitude that carries into other aspects of life.
Sensory Integration
The variety of movements—spinning, balancing, jumping, crawling—provides rich sensory input. This helps children develop proprioception (body awareness) and vestibular function (balance and spatial orientation). For children with sensory processing challenges, these activities can be particularly beneficial in helping them regulate their bodies.
How to Design the Perfect Chalk Obstacle Course
Step 1: Choose Your Surface
Any smooth, paved surface works beautifully—driveways, patios, sidewalks, basketball courts, or school playgrounds. Ensure the area is clean, dry, and free from cracks or debris that could cause trips. If using a public space, always get permission first.
Step 2: Consider Your Audience
- Toddlers (ages 2-4): Stick to 3-5 simple stations. Focus on basic movements like stepping, gentle hopping, and walking along thick lines. Keep instructions visual and simple.
- Young Children (ages 5-7): Offer 5-8 stations with more variety. Include balance elements, jumping challenges, and some cognitive tasks like color or number recognition.
- Older Kids (ages 8-12): Create 8-10 challenging stations. Add timed elements, more complex movement patterns, and opportunities for friendly competition.
Step 3: Plan the Flow
Design your course in a logical sequence that guides children from one obstacle to the next. A loop or zigzag pattern works well. Always include clear “Start” and “Finish” markers. Use arrows to indicate direction and keep the flow intuitive so kids can navigate independently.
Step 4: Mix Up the Movements
Variety is the spice of life—and the key to keeping kids engaged. Include:
- Jumping activities: Hopscotch, leapfrog logs, jumping jacks
- Balancing activities: Tightrope walks, beam crossings
- Crawling activities: Tunnels, bear crawls
- Spinning activities: Spiral runs, spin stations
- Precision activities: Target throws, stepping stones
Step 5: Add Themes
Themes elevate a simple chalk course into an unforgettable adventure. Consider:
- Jungle Safari: Balance beams become tree trunks, hopscotch becomes lily pads, crawl tunnels become caves
- Space Mission: Hop between planets, balance on asteroid beams, avoid alien “lava”
- Under the Sea: Jump over sharks, crawl through coral tunnels, spin like a whirlpool
- Superhero Training: Complete challenges to earn “powers” at each station
Step 6: Test and Adjust
Before declaring your course complete, walk through it yourself. Is the spacing appropriate? Are the instructions clear? Can younger children complete it safely? Make adjustments based on your observations, and don’t be afraid to modify stations on the fly as children interact with them.
Essential Materials and Setup Guide
What You’ll Need
| Item | Purpose | Tips |
|---|---|---|
| Sidewalk chalk | Drawing the course | Buy multiple colors; thick sticks last longer |
| Measuring tape | Planning distances | Ensure safe spacing between obstacles |
| Beanbags or small balls | Target toss activities | Soft materials prevent injury |
| Cones or markers | Start/finish indicators | Helps children understand the sequence |
| Timer or stopwatch | Adding challenges | Great for older kids and races |
| Water spray bottle | Fixing mistakes | Spray and wipe away errors |
| Broom | Cleaning the surface | Remove debris before drawing |
Drawing Techniques
- Thick lines work best: Use broad strokes for visibility and durability
- Outline before filling: Sketch shapes lightly, then fill them in
- Use stencils: For younger children, you can use round objects or stencils to draw perfect circles
- Create texture: Add dots, stars, or zigzags inside shapes for visual interest
- Layer colors: Outline shapes in one color and fill with another for vivid designs
Weather Considerations
- Best conditions: Dry pavement, temperatures between 65-80°F
- Avoid: Rainy days, extreme heat (chalk fades faster), windy conditions (blows debris onto the course)
- After rain: Allow pavement to dry completely before drawing
- Fading: Chalk typically lasts a few days to a week, depending on weather and foot traffic
Fun Variations and Adaptations
For Different Age Groups
- Toddler-friendly version: Simplify to large, spaced-out shapes with basic movements. Draw family members’ faces in circles to make it personalized.
- School-age version: Add math equations, spelling words, or science facts at each station. Complete the challenge correctly to advance.
- Teen adaptation: Add fitness challenges—push-ups, squats, jumping jacks at stations. Time the full course for competition.
For Different Group Sizes
- Single child: Create a “quest” or adventure theme where one child completes the course as a hero’s journey.
- Small groups (2-6): Run relay races, taking turns to complete the course fastest.
- Large groups (classroom or party): Set up stations simultaneously with groups rotating through each.
Themed Course Ideas
- Minute to Win It: Each station has a different timed challenge using chalk “zones”
- Weather Adventure: Sunny squares, windy balance beams, rainy spin zones, stormy crawl tunnels
- Construction Zone: Draw tools, machinery, and building sites—kids complete “construction tasks” at each stop
Adaptive Options for Children with Disabilities
- Wheelchair users: Widen paths for easy navigation, use reaching and tossing challenges instead of jumping
- Visual impairments: Use highly contrasting colors, add texture with puffy paint or sand, give verbal guides
- Mobility challenges: Lower or remove jumping requirements, add seated balance activities, use reaching tasks
Safety Tips and Best Practices
Surface Safety
- Always inspect the surface for cracks, broken glass, or sharp objects before starting
- Avoid drawing on sloped areas where children could lose balance
- Ensure the course is set back from roads, driveways, and other vehicle areas
- Draw on cool pavement; hot surfaces can burn little feet
Physical Safety
- Require proper footwear—sneakers are best, no flip-flops or bare feet
- Ensure children are properly hydrated, especially on warm days
- Supervise children at all times
- Space obstacles far enough apart to prevent collisions
- Adjust difficulty based on the youngest or least experienced participant
Chalk Safety
- Use non-toxic, washable chalk specifically designed for children
- Avoid chalk dust inhalation—encourage children not to blow on drawings
- Wash hands thoroughly after completing the course
- Supervise toddlers to prevent them from putting chalk in their mouths
Sun Safety
- Apply sunscreen before outdoor play
- Schedule activities during cooler parts of the day (morning or late afternoon)
- Provide shade breaks between rounds
- Have water available at all times
Emergency Preparedness
- Keep a first aid kit nearby
- Have a phone accessible for emergencies
- Know the address of your location in case you need to call for help
Engaging the Whole Community
Neighborhood Events
Why keep the fun to your driveway? Organize a neighborhood chalk obstacle course day where multiple families create courses in their driveways. Families can tour each other’s courses, with participants voting on favorites. This builds community connections and doubles the fun.
School and Daycare Integration
Chalk obstacle courses are perfect for field days, PE classes, and after-school programs. They require minimal setup, engage large groups, and can be adapted to any age or ability level. Teachers can incorporate educational elements—spelling words, math problems, science facts—at each station for cross-curricular learning.
Birthday Party Activities
A chalk obstacle course makes an unforgettable birthday party activity. Set up the course before guests arrive, and let it serve as a central activity throughout the celebration. Award small prizes for completion, fastest times, or best effort. The chalk course also makes fantastic photo opportunities.
Family Bonding
Creating and tackling a chalk obstacle course together is a family activity that bridges generations. Parents and grandparents can design courses, children can test them, and everyone can participate. The collaboration, laughter, and shared accomplishment create lasting family memories.
Expanding the Experience
Pair with Other Activities
- Water play: Include a spray bottle station where children mist a chalk target
- Music: Play upbeat music to enhance the energetic atmosphere
- Storytelling: Create a narrative to accompany the course—”You’re exploring a magical forest…”
- Art extension: After completing the course, let children create their own chalk drawings
At-Home Versus Park Use
- At home: Full control over space, can keep the course for multiple days, easy to modify
- At park: Larger space available, attracts other children to join, requires permission and cleanup
Documentation and Creativity
- Take photos and videos of children completing the course
- Keep a “course journal” with designs for future inspiration
- Create a friendly competition with leaderboards for fastest times
- Let children design their own courses—the creativity benefits are immense
Conclusion
A chalk obstacle course is proof that the best adventures don’t require expensive equipment or elaborate planning. A few sticks of chalk, a paved surface, and a spirit of creativity are all you need to transform an ordinary afternoon into something extraordinary.
These courses deliver far more than just entertainment—they build strength, coordination, balance, and cognitive skills while children are having the time of their lives. The laughter, the challenges, and the sense of accomplishment as kids navigate each obstacle create memories that last long after the chalk has washed away.
Whether you’re a parent looking for screen-free entertainment, a teacher seeking an engaging activity, or a caregiver wanting to get kids moving, a chalk obstacle course is the perfect solution. It celebrates childhood in its purest form—active, imaginative, and joyful.
So grab that box of chalk, head outside, and start creating. Your driveway is about to become the most exciting destination in the neighborhood!
Remember: The only limit is your imagination. Draw, play, laugh, and watch the magic unfold. Happy creating!
